
我用来拍摄更高质量 iPhone 视频的 10 个技巧
 浏览:517
Your iPhone can shoot great videos, whether you’re creating Instagram reels, documenting your travels, or pursuing higher-quality productions. Here’s how to get the most out of your iPhone and shoot the best possible video, whatever the occasion.
1 Set Up Your Camera Settings Properly
Perhaps the most important step in getting good, usable video capture from your iPhone is to ensure that your camera settings are configured correctly. There’s nothing more frustrating than finding out that you’ve been shooting at the wrong resolution or frame rate after the fact.
Head to Settings > Camera and tap “Record Video” to toggle between 720p, 1080p, and 4K resolution. Though 4K will take up the most space (about 190MB per minute at 30 fps in HDR), it will give you the best possible quality. Even if you’re shooting for a 1080p resolution production, having 4K footage allows you to “punch in” and crop out parts of the frame without losing quality.

Frame rate is another thing to consider. Depending on your iPhone, you can choose between 24, 30, and 60 fps in 4K mode. 24 fps is the frame rate used by filmmakers to get a “cinematic” look. 60 fps is a high frame rate mode that will take up more space (about 440MB per minute at 4K HDR).
A safe bet is to choose 4K at 30 frames per second, which gives you a solid resolution without sacrificing too much storage space. If you are interested in slowing your footage down, 60 fps is a better option since you can halve the speed of your video and it will still play back smoothly at 30 fps.
HDR is another setting you might want to consider. The iPhone 12 and later can shoot high dynamic range video in Dolby Vision. This captures a wider range of colors, better shadow detail, and higher peak brightness. Enabling this will make your footage stand out on HDR-compatible displays, but any video editor you intend to use will also need to support HDR video if you want to preserve your footage.
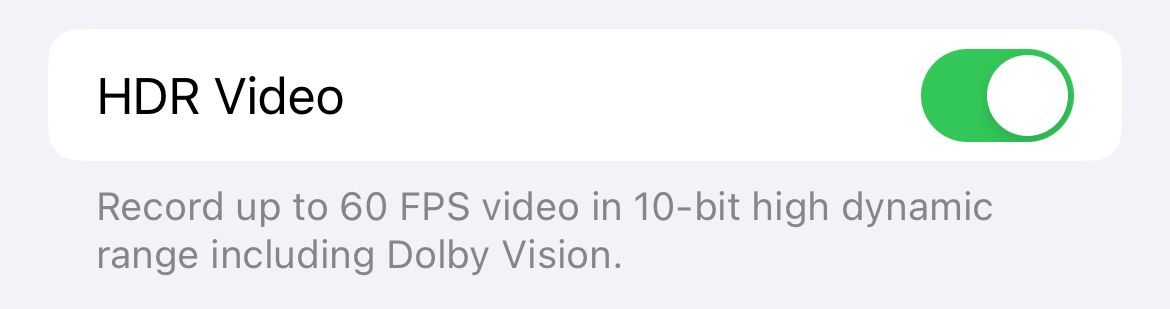
Use the “HDR Video” toggle to turn the feature on or off. Once you’ve seen your videos in HDR, it’s hard to go back to SDR footage. Most video editors do a decent job of converting HDR video to SDR when necessary. As time passes, HDR video will become much more prevalent until it is eventually a standard feature.
Think of HDR video a bit like 4K. The iPhone could shoot in 4K way before most people had a 4K-capable TV. If you started shooting old videos in 4K when the setting first became available, you'll probably notice how good they look on modern TVs when you watch them today. HDR will pay off in the future, though it consumes more storage space.
2 Better Lighting Means Better Video
The problem with smartphone cameras isn’t necessarly the optics, it’s the size of the sensor. Because your smartphone is essentially a handheld computer first and a camera second, there’s not a lot of room available for camera components. Your iPhone may have two or three lenses, but the sensors beneath those lenses are tiny.
This is why your iPhone struggles in low light, despite advances made in computational photography. The greater a sensor’s surface area, the more light can enter the shot. Poor lighting results in grainy footage, which can become blocky and garbled when it’s compressed. To give yourself the best chance of success, take lighting into account when shooting video.
This isn’t necessarily always possible when you grab your phone to shoot a quick video. But if you’re using your iPhone for something more deliberate, like when creating content for Instagram, or even when speaking on a FaceTime call, it’s well worth it.
This may mean standing next to a window and using the available light to better light your face or subject. It could mean buying an iPhone ring light or other video light for use in dark conditions. It might even simply mean turning a few lamps on, or standing beneath a streetlight when shooting at night.
3 Lock Focus and Exposure When Shooting
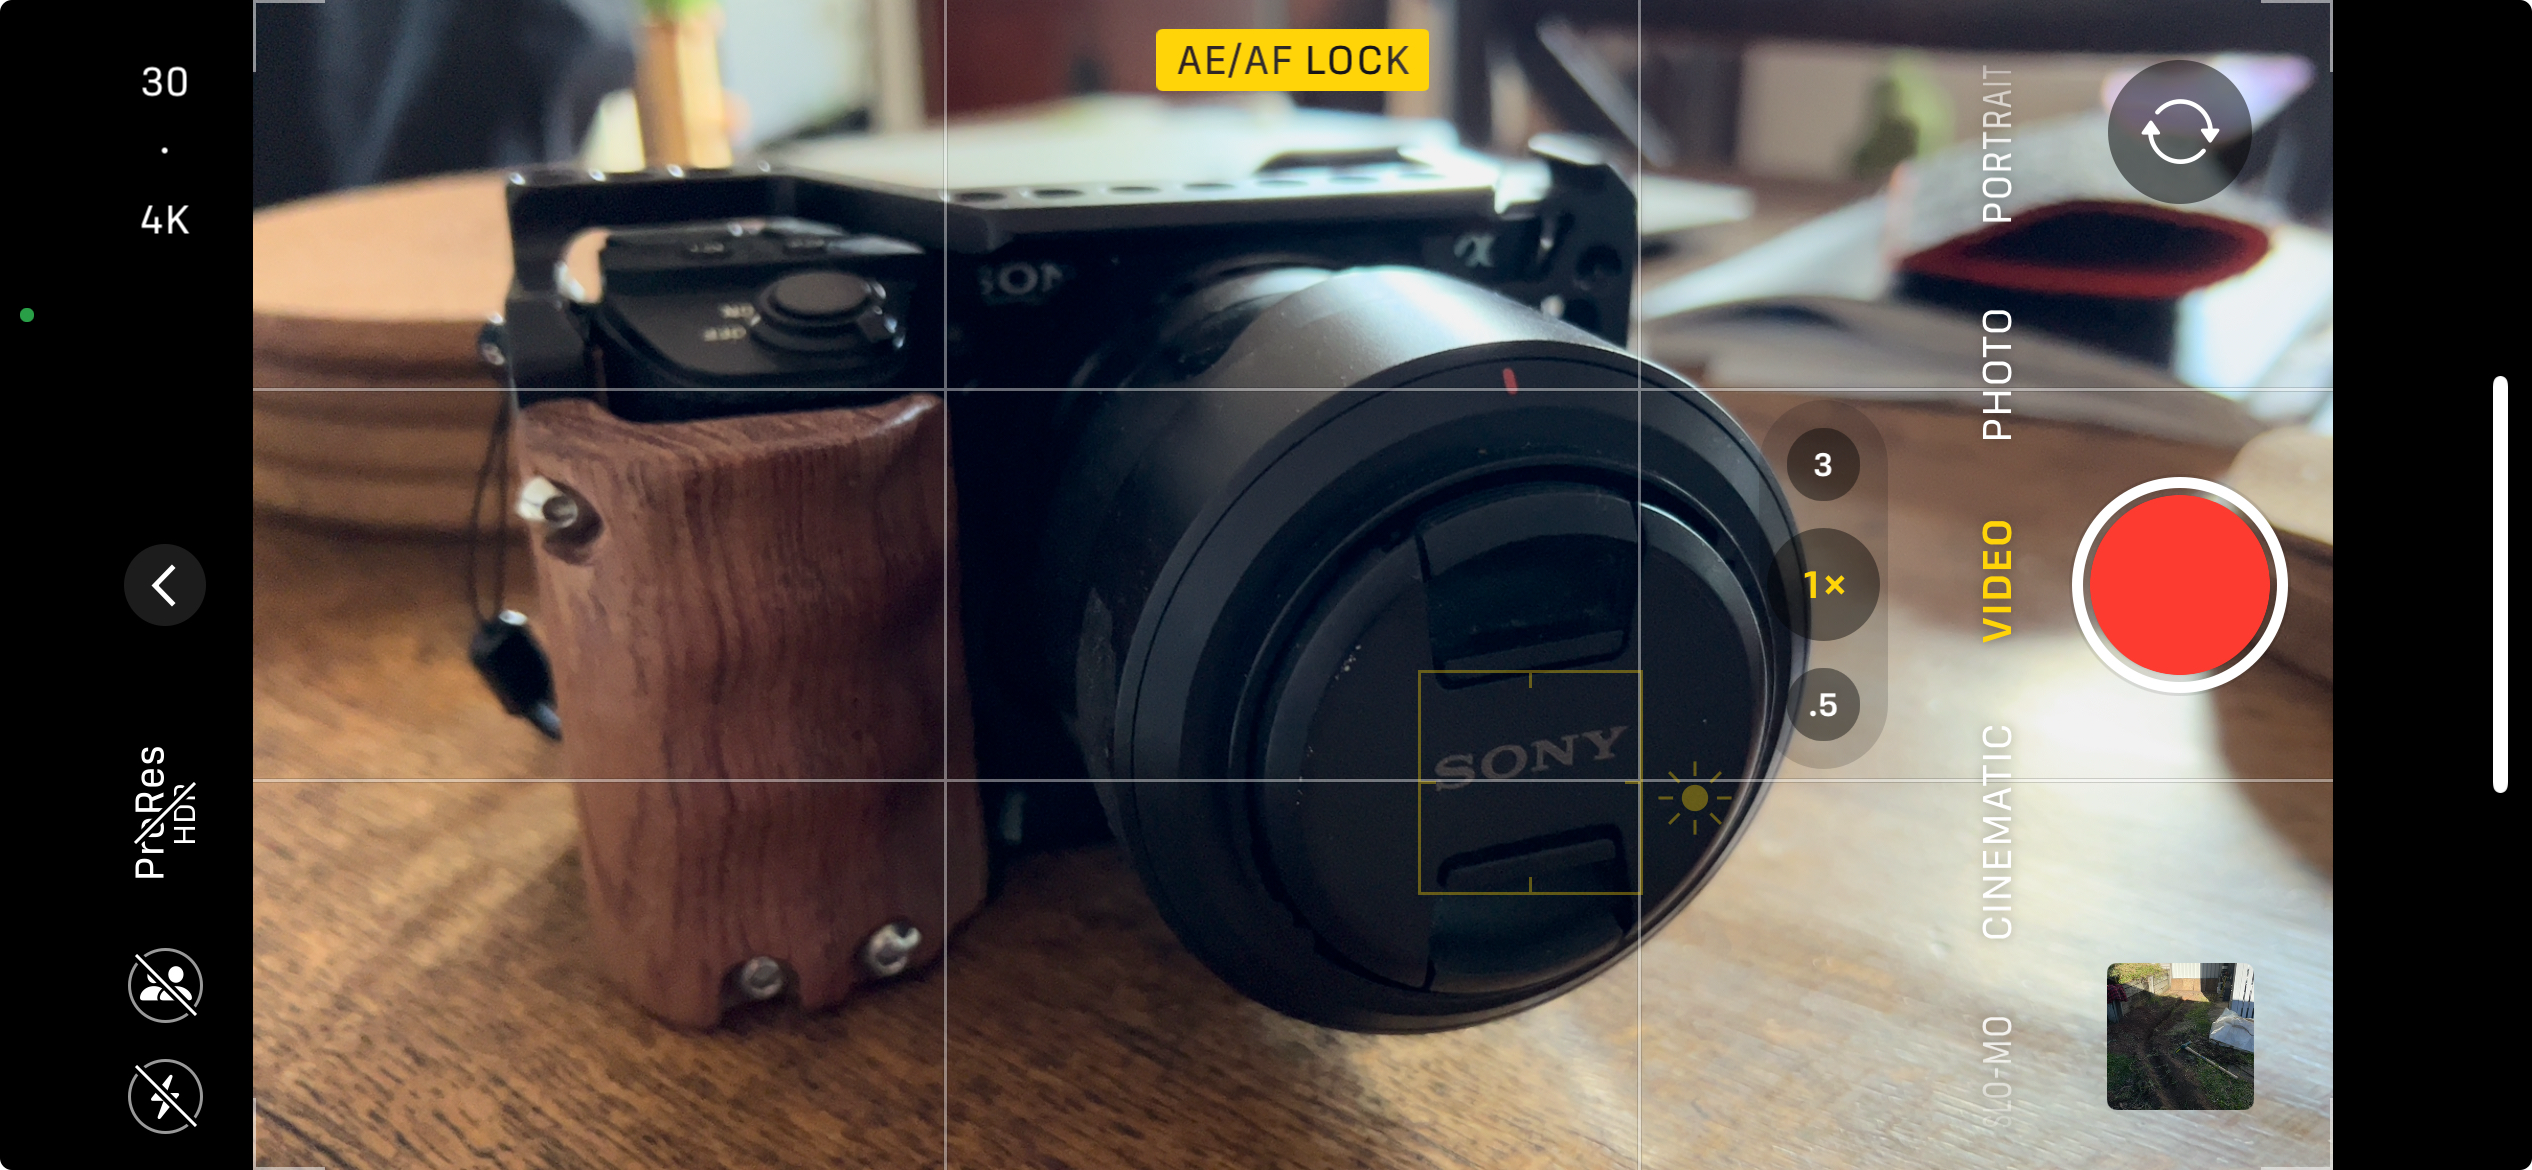
There’s one small thing you can do to improve the production quality of your iPhone video: lock focus and exposure. While setting up your shot, tap and hold on a focus point until you see “AE/AF Lock” appear on the screen. This means that your focus point won’t move, and your iPhone won’t adjust its exposure while you shoot.
Sometimes the focus point doesn’t necessarily match up with your desired exposure, so tap and drag your finger up and down the viewfinder to adjust how much light is entering your scene. Now hit record and start shooting. You can always adjust the exposure by smoothly dragging your finger up and down on the viewfinder as you shoot.
This prevents your iPhone from “hunting” for focus points. It means you’ll be locked to a specific focus distance for as long as the “AE/AF Lock” label appears, and it allows you to do things like capture a shot of a sunset through trees without the camera constantly adjusting the exposure and losing the focus point.
It’s great for shots where you’re moving, like if you’re walking down a street or along a narrow path and you always want to be focused on a set point in the distance. It's also good for avoiding the iPhone “blooming” and adjusting exposure constantly.
4 Not All Focal Lengths are Equal
Your iPhone probably has at least two lenses on the back, three if you have an iPhone Pro. The standard “1x” lens in your iPhone is known as the “wide” lens, and it generally has the best quality sensor. It’s the default lens for a reason, and you’ll do well to stick to it where possible.
Take the iPhone 14 Pro, for example. It has a fantastic 48MP "wide" sensor and uses a large aperture of f/1.78, but the ultrawide (0.5x) and telephoto (3x) top out at only 12MP with apertures of f/2.2 and f/2.8 respectively. While the ultrawide can be fun in narrow environments and the telephoto is convenient for getting closer, these come at the cost of image quality.

I frequently encounter this issue with my iPhone 13 Pro. The telephoto sensor is visibly worse than the wide, managing an aperture of only f/2.8 compared to f/1.5 on my main wide camera. Low light shots in particular look noticeably worse on the telephoto. You’re better off zooming with your feet (by moving closer or further away) and sticking to the main “1x” wide camera where possible.
5 Stable Footage Looks Best
Even older iPhone models have some form of image stabilization, which should be enabled automatically when shooting. You can enable “Enhanced Stabilization” on iPhone 14 and later which zooms in slightly to improve image stabilization.
The iPhone 14 and later also feature Action Mode, which you can enable by tapping the “Running person” icon at the top of the screen when in video mode on compatible models.

This mode will crop your footage to HD (1080p) or 2.8K, so it should be used only when the resolution hit (down from 4K) is justified. It does a tremendous job of stabilizing very shaky footage, like when you’re shooting handheld while running or have your iPhone mounted to a bike's handlebars.
Otherwise, use a quality tripod or handheld gimbal like the Insta360 Flow to stabilize your footage manually.
6 Shoot in Cinematic Mode
Cinematic mode was introduced to the iPhone 13 family, then improved in the iPhone 14 and later to support 4K resolution in HDR at up to 30 fps. The feature lets you shoot with a shallow depth of field, use smooth focus transitions, and can automatically detect objects within your shot to pull and hold focus.
You also get more options when editing your footage, allowing you to select a desired (simulated) depth of field, and choose different points of focus within the frame. You can even time these transitions to pull focus at opportune times, which is great for drawing attention to subjects and pretending you’re a serious filmmaker.
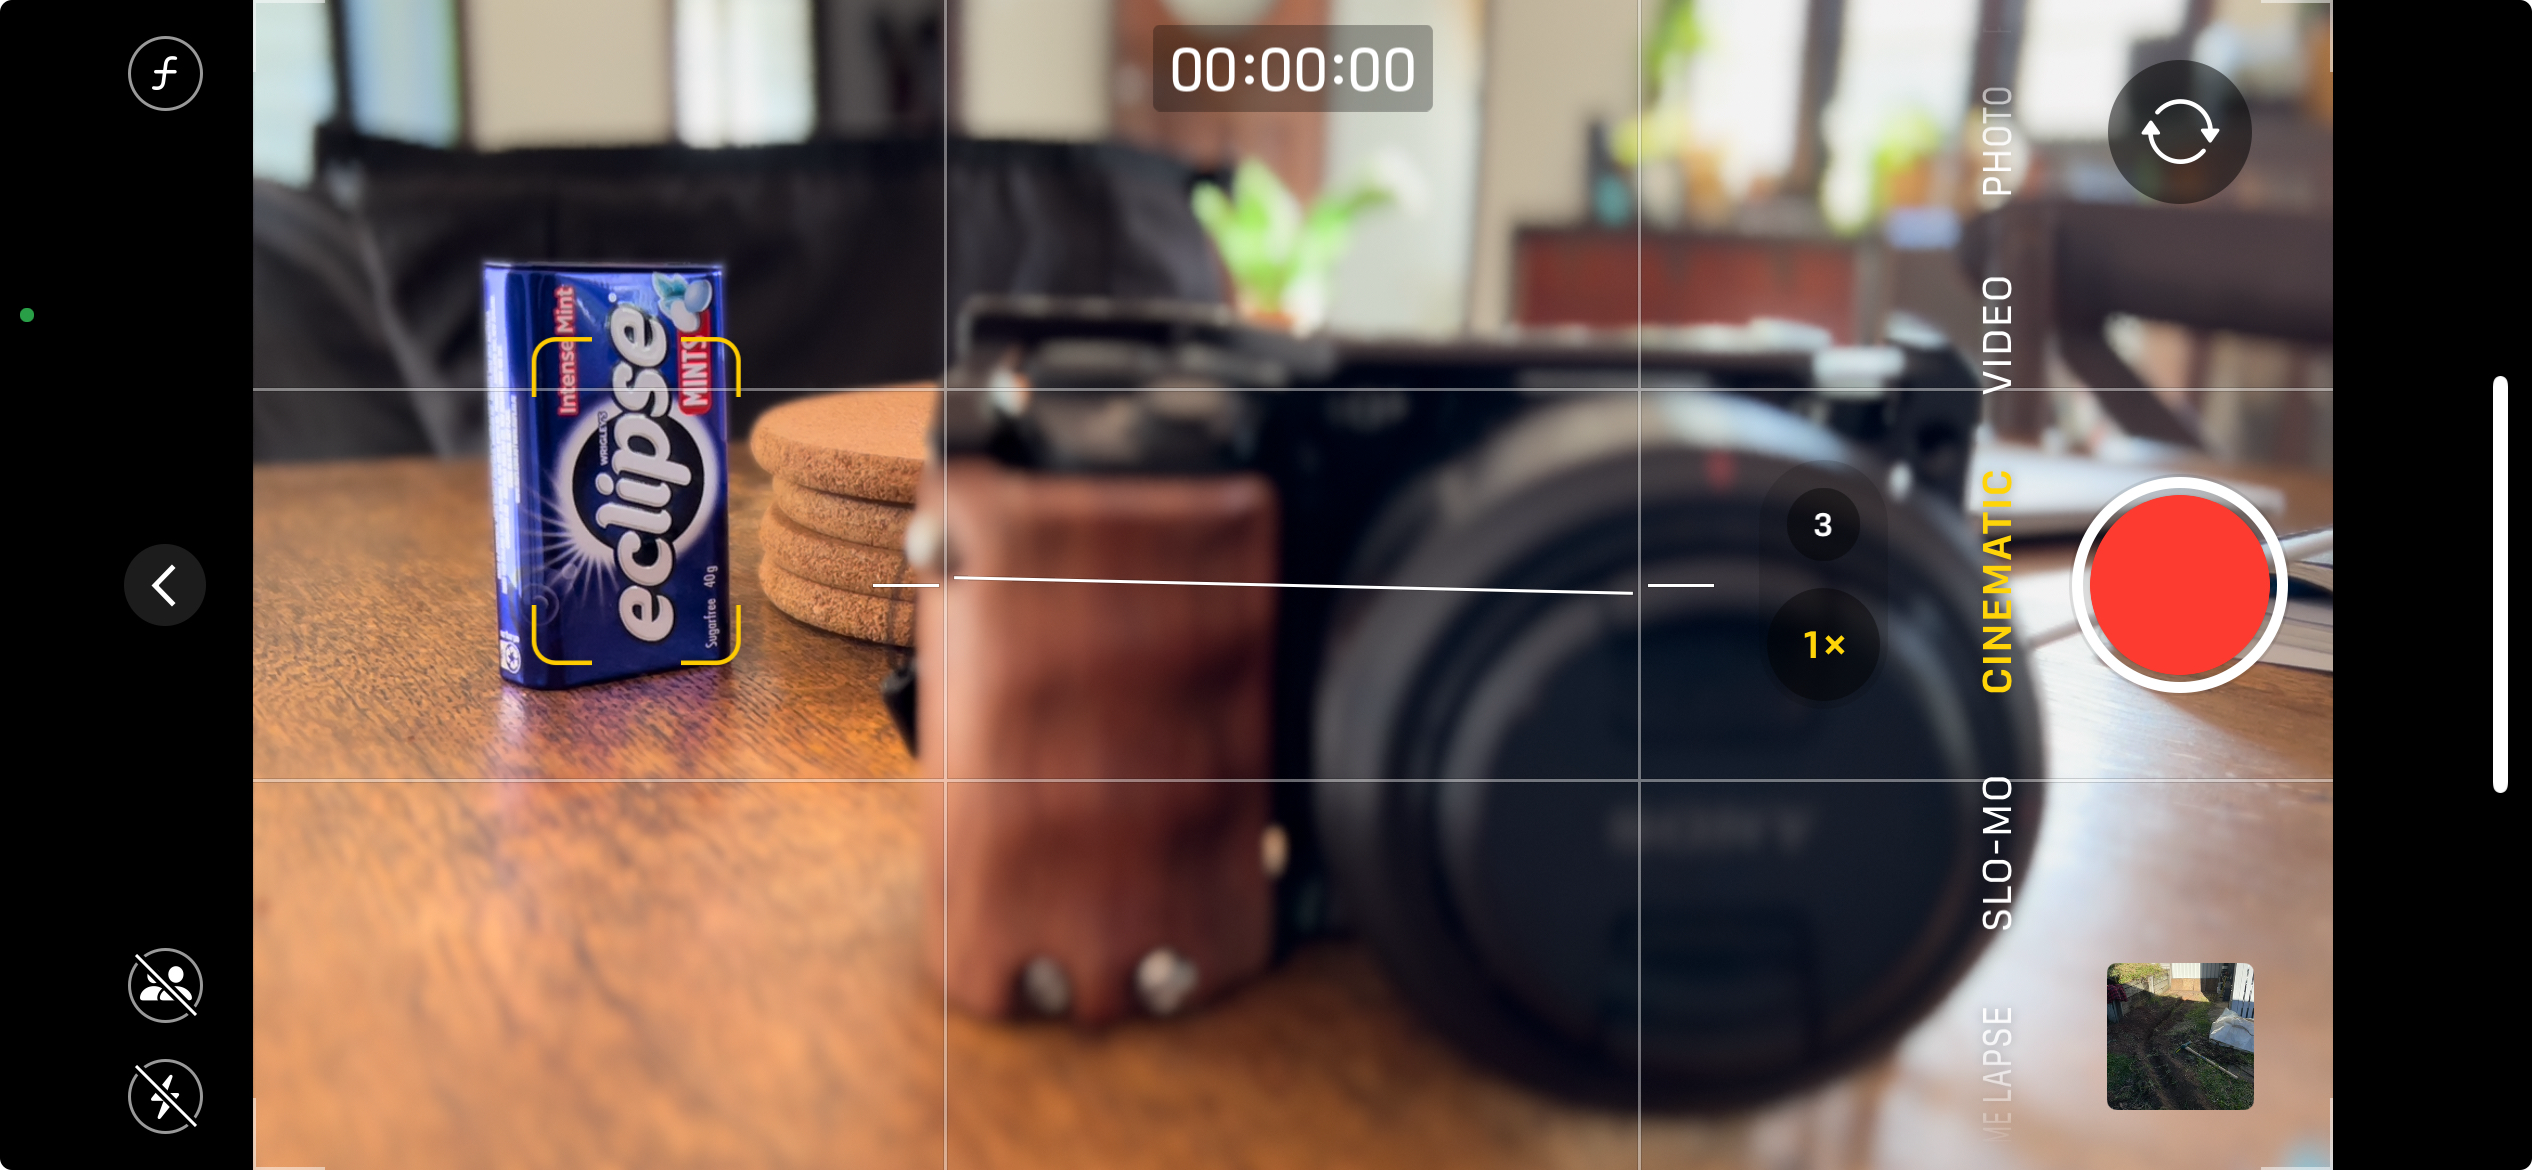
Cinematic Mode isn’t perfect for all occasions, and some may find the faux depth effect a little over the top. It’s fun to experiment with, just switch to it in the Camera app (it’s a separate mode, next to Video).
7 Don’t Forget About Time Lapse Mode
The iPhone Camera app can shoot great Time Lapse videos with zero input from you. You don’t get to customize things like image intervals, but the iPhone will work everything out for you and condense minutes or hours into seconds, perfect for creating small movies of the setting sun, a backyard project, or even a car journey.
This under-appreciated feature can be found as a separate mode in the Camera app. Select it, frame your shot, make sure your iPhone isn’t going to move (if you want a stable shot, anyway), and tap the shutter. Your iPhone will record for as long as you allow it to, then stitch your images together into a video.
Remember that you can tap and hold an object to lock focus and exposure, then adjust exposure to your liking before you start your time lapse. This is essential if you want to capture a video where the exposure remains the same to visualize fading light, like during a sunset.
8 Consider Shooting in ProRes
Under Settings > Camera > Formats you’ll find a “ProRes” toggle as long as you have a Pro iPhone (starting with the iPhone 13 Pro). ProRes captures much higher video quality at the expense of file size.
Apple describes ProRes as “one of the most popular video formats in professional video production and post-production.” The format attempts to capture as much data from the sensor as possible to preserve image quality and enhance color grading possibilities, and Apple has built ProRes support into many of its modern Apple Silicon chips to make editing more performant.
Once you’ve enabled ProRes in Settings, you’ll need to tap the “ProRes” button in the top-left corner of the viewfinder to turn it on. Depending on your iPhone capacity, you’ll be limited to 1080p resolution at 30 fps (128GB) or up to 4K at up to 60 fps (256GB or 128GB models with external storage).

ProRes is just a toggle, your other preferences (resolution, frame rate, and HDR or SDR) will also need to be set accordingly. You can export your video to a computer for editing, or edit on the same device that you shoot on. You’ll need to use a ProRes capable editor for editing like free app DaVinci Resolve or Apple’s Final Cut Pro.
9 Use a Third-Party App for More Control
Cinema P3 Pro Camera provides professional-level control over iPhone video production. Pretty much every setting that’s hidden in Apple’s Camera app is exposed for you to tweak here including white balance, shutter speed, ISO, and focus.
There are three different exposure modes, presets for storing custom settings, and support for HDR modes like hybrid log gamma (HLG), logarithmic video modes including C-Log and D-Log, Dolby Vision in BT.2020, and 8-bit Rec 709 and P3 wide color modes.
There’s a lot more to this app than first meets the eye. You can sample it all with a free trial and then purchase the app outright for a one-off fee of $12.95. Previously I would have recommended FiLMiC Pro here, but the app was sold on and has since moved to a subscription model. FiLMiC Legacy may still be worth a look, if you want a free video app.
10 Don’t Forget About Sound
Patching up bad video footage with some clever processing and editing isn't so hard, but the same can't be said for audio. We’d recommend investing in a proper microphone for your iPhone or using a separate audio recorder to get the best possible sound quality.
Something like the Saramonic Blink500B2 is a great wireless option at around $200 with both USB-C and Lightning connector. For a clip-on shotgun mic, try something like the Movo X1-Mini for less than $100, though older iPhone users will need to provide their own USB-C to Lightning cable (or adapter).
Don't be afraid to use your iPhone for more adventurous video projects. Looking for more creatie tips? Check out our guide to getting the best quality audio recordings on your iPhone.
Your changes have been saved
Email Is sent
Please verify your email address.
Send confirmation emailYou’ve reached your account maximum for followed topics.
Manage Your List Follow Followed Follow with Notifications Follow Unfollow-
 Mac上如何删除重复照片?数字混乱是一个常见的问题,尤其是照片。 大多数人从相似角度拍摄了许多镜头,从而导致其设备和MAC的重复图像扩散。本文提供了几种识别和删除这些冗余照片,释放有价值的存储空间并改善Mac性能的方法。 重复照片会随着时间的推移积累,减慢了Mac并消耗存储空间。它们不仅限于图片文件夹;他们经常居住在下载,...软件教程 发布于2025-05-02
 -
2025年最佳太阳能充电器推荐Whether you often camp off the grid, go backpacking, or grapple with power outages, a solar charger is a nifty gadget to have in your arsenal. It can ...软件教程 发布于2025-05-02
-
重置手机不丢数据的终极攻略使您的智能手机恢复活力:出厂设置指南 还记得在新手机上电力的初始刺激吗? 原始的界面,闪电快速和无限潜力?您可以随时使用iPhone或Android设备的出厂设备重新捕获这种感觉。 出厂重置不仅仅是一个新的开始;它是解决持久软件故障,删除不必要的应用程序和恶意软件以及收回宝贵的存储空间的强大工具。...软件教程 发布于2025-05-01
-
苹果新版Messages应用7大实用技巧iMessage的隐藏宝石:掌握iOS 16的增强消息传递功能 苹果的安全消息平台Imessage自2011年首次亮相以来,它已经显着发展。 iOS 16引入了几种增强功能,使其更强大。本指南重点介绍iMessage到imessage通信(蓝色气泡)。 当消息传递非应用程序用户时,功能可能会有...软件教程 发布于2025-05-01
-
如何在Instagram、Facebook、X等社交平台上隐藏自己这是在Facebook,Instagram和X(以前为Twitter)上最小化您的在线足迹的方法:大多数平台都提供可见性设置。 在注册期间,使用最少的个人信息:考虑替代名称和个人资料图片。避免共享您的电话号码(或使用次要的电话),因为平台通常会根据联系人建议连接。 如果可能的话,请使用燃烧器电子...软件教程 发布于2025-05-01
-
手机如何传真文件的简单教程一些组织仍然不通过电子邮件接受文档 - 您可能需要传真文件。不,您不能将智能手机的手机连接用作传真机或拨号调制解调器。您需要依靠为您提供传真的应用程序或第三方服务,就像您将偶尔从PC发送传真一样。 是的,这将使您花费您,但是,尽管这会花费您,但它可以节省您的钱,而且比其他替代方案更方便。替代方案是付...软件教程 发布于2025-04-29
-
Mac临时文件如何删除?查找与清除方法在Mac上清除临时文件:回收磁盘空间并提高性能 通常被忽略的临时文件可以在Mac上消耗大量磁盘空间,从而影响性能。本指南详细详细介绍了手册和自动化方法,可有效删除这些文件,释放存储并改善MacBook的速度和稳定性。 什么是临时文件? 临时文件,主要是缓存和日志文件,是由应用程序和浏览器创建的。 ...软件教程 发布于2025-04-29
-
Windows音量卡在100%?试试这些解决方法Windows音量卡在100%?轻松修复! 电脑音量问题令人头疼!如果你的Windows音量一直卡在100%,别担心,MiniTool这篇指南将助你快速解决! 每次重启电脑,音量滑块就失灵,无论设置为多少,都停留在100%。我发现禁用Synaptics音频驱动程序可以解决问题,但下次重启后又失效了。...软件教程 发布于2025-04-29
-
如何从人物查找网站删除你的数据[2 本文最后一次更新于2025年2月24日。 许多人都不知道很容易在线访问他们的大量个人数据。这包括敏感信息,例如您的姓名,年龄,地址,联系方式,关系状态甚至法院记录。许多网站,通常是收费的,并提供此信息。虽然可以拆除,但这可能是一个具有挑战性的过程。 根据电子边界基金会研究副总监Gennie G...软件教程 发布于2025-04-21
-
iPad如何伪装成笔记本电脑此更新的文章(最初发布于2019年10月31日)探讨了如何使用iPados 16 beta功能将iPad转换为笔记本电脑替代方案。 文章强调,尽管Apple长期以来一直将iPad作为笔记本电脑替代品提升,但iPados显着增强了此功能。 [2 [2 在最大化iPados功能之前,键盘至关重要。 ...软件教程 发布于2025-04-21
-
如何清理Mac邮箱缓存?Mac上如何删除?本指南说明了如何在Mac上清除邮件缓存,从而解决了诸如慢速性能和电子邮件加载问题之类的常见问题。 MacOS邮件应用程序虽然受欢迎,但由于较大的缓存可能会变得迟钝。本文详细介绍了邮件缓存是什么,为什么清除邮件是有益的,以及如何影响性能。 它还提供了清除缓存的手册和自动化方法。 [2 邮件应用程序...软件教程 发布于2025-04-21
-
如何优先分配WiFi给最需要的设备现代家庭通常有多个设备同时连接Wi-Fi访问网络,这常常导致带宽紧张,尤其是在进行在线游戏或视频流媒体等高带宽需求活动时。 为了帮助您管理网络负载,一些路由器(例如Google、Netgear、Eero等厂商生产的路由器)提供了一种名为“服务质量”(QoS)的功能。简单来说,它允许您优先处理Wi-...软件教程 发布于2025-04-19
-
McAfee杀毒软件测评:够用吗?【功能、价格】McAfee:老将防病毒,但这是Mac的最佳吗? 什么是mcafee? McAfee提供了领先的网络安全解决方案,包括功能强大的防病毒软件,具有诸如VPN,密码管理和身份保护的集成功能。 订阅计划,例如全面保护和LiveAfe,满足不同的用户需求和预算。 McAfee Antivirus功能...软件教程 发布于2025-04-19
-
OnePlus Watch 3推迟至四月,因搞笑问题期待已久的OnePlus Watch 3智能手表发布后,购买计划可能需要稍作调整。一处令人哭笑不得的生产问题导致OnePlus不得不推迟大部分手表的出货。 OnePlus宣布,其最新智能手表OnePlus Watch 3的发布将推迟到2025年4月。原定于今天发布,由于OnePlus在预购期间已发...软件教程 发布于2025-04-19
-
充分利用iPhone背部轻点功能的技巧多年来,苹果公司开发了大量工具,让使用iPhone变得更加便捷。“轻点背面”功能虽然名称平淡无奇,却常常被忽视。它可能不够炫目,但这个辅助功能快捷键能让你快速访问许多难以打开的功能。你只需轻点手机背面两下或三下即可。 没错——就是手机背面。如果你熟悉这个快捷键或iOS辅助功能设置,这对你来说不算新...软件教程 发布于2025-04-18


学习中文
- 1 走路用中文怎么说?走路中文发音,走路中文学习
- 2 坐飞机用中文怎么说?坐飞机中文发音,坐飞机中文学习
- 3 坐火车用中文怎么说?坐火车中文发音,坐火车中文学习
- 4 坐车用中文怎么说?坐车中文发音,坐车中文学习
- 5 开车用中文怎么说?开车中文发音,开车中文学习
- 6 游泳用中文怎么说?游泳中文发音,游泳中文学习
- 7 骑自行车用中文怎么说?骑自行车中文发音,骑自行车中文学习
- 8 你好用中文怎么说?你好中文发音,你好中文学习
- 9 谢谢用中文怎么说?谢谢中文发音,谢谢中文学习
- 10 How to say goodbye in Chinese? 再见Chinese pronunciation, 再见Chinese learning


