
《过山车之星 2》:如何建造定制商店和设施
 浏览:950
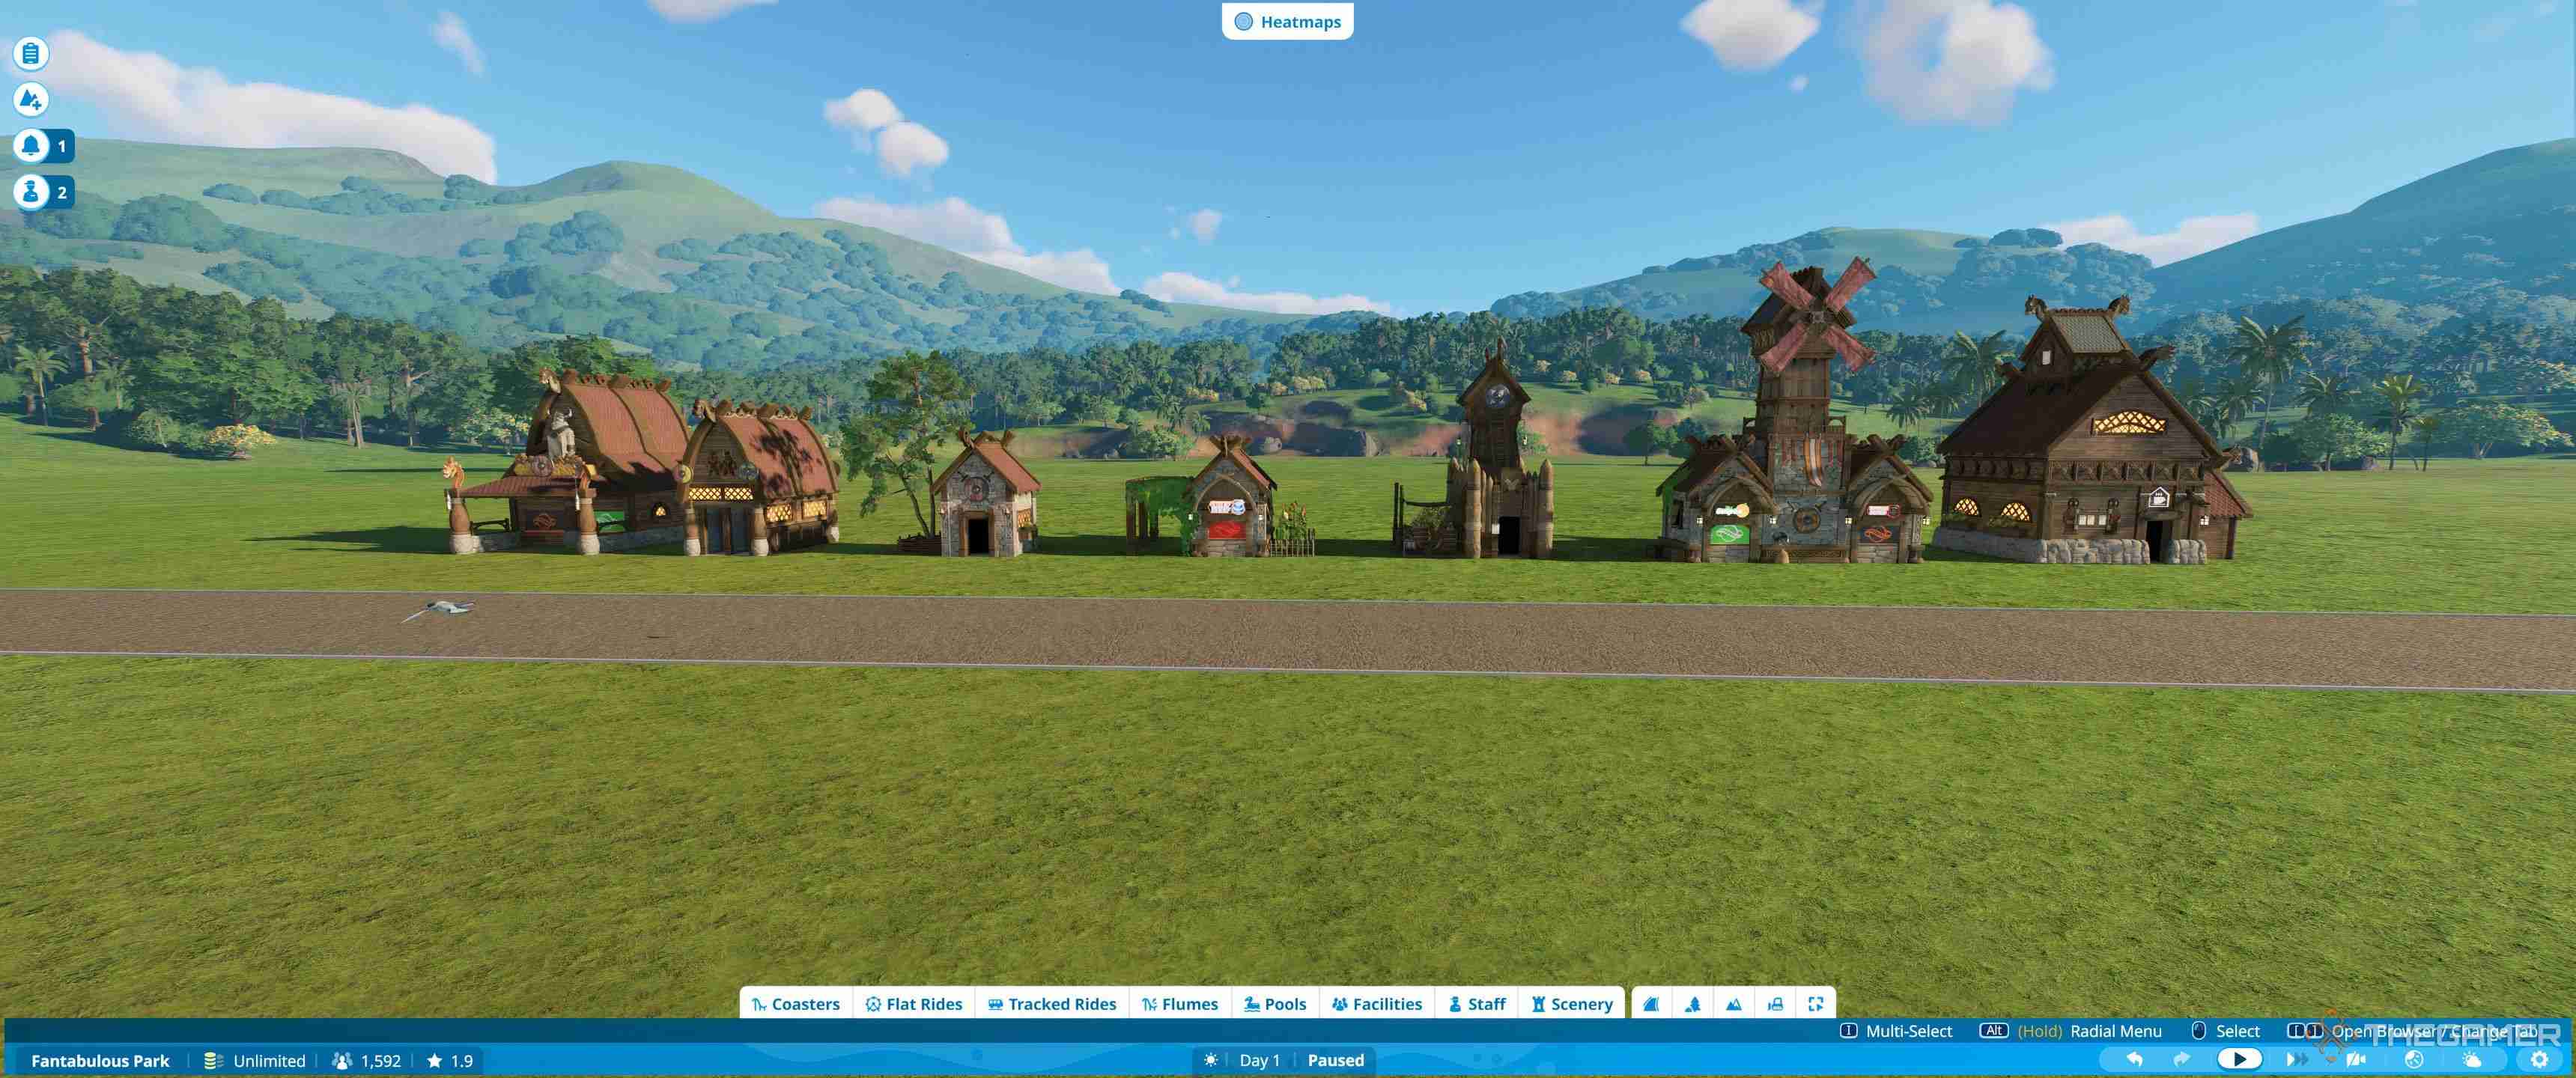
Planet Coaster 2 brings back the custom build system from the first game, allowing you to fully customize your shops and facilities. You can either use shop and facility blueprints, edit blueprint shells, or build completely from scratch. The choice is yours.
Here we will look at the two main ways to build, by using shells - either from the in-game catalog or the Frontier Workshop - or by building from scratch. Here's how to make your buildings unique.
What Are Blueprints?
The blueprint system allows you to choose from a wide range of pre-built shells for shops and facilities. Some of these are designed for specific buildings, while others are more generic. Most can be edited to fit whatever building you like, with minimal fuss.
There are some blueprints in the game already, and you can download others from the Frontier Workshop. Anything you create yourself can also be saved as a blueprint, so you can reuse it in the future.
Where Can I Find Blueprints For Shops And Shells?
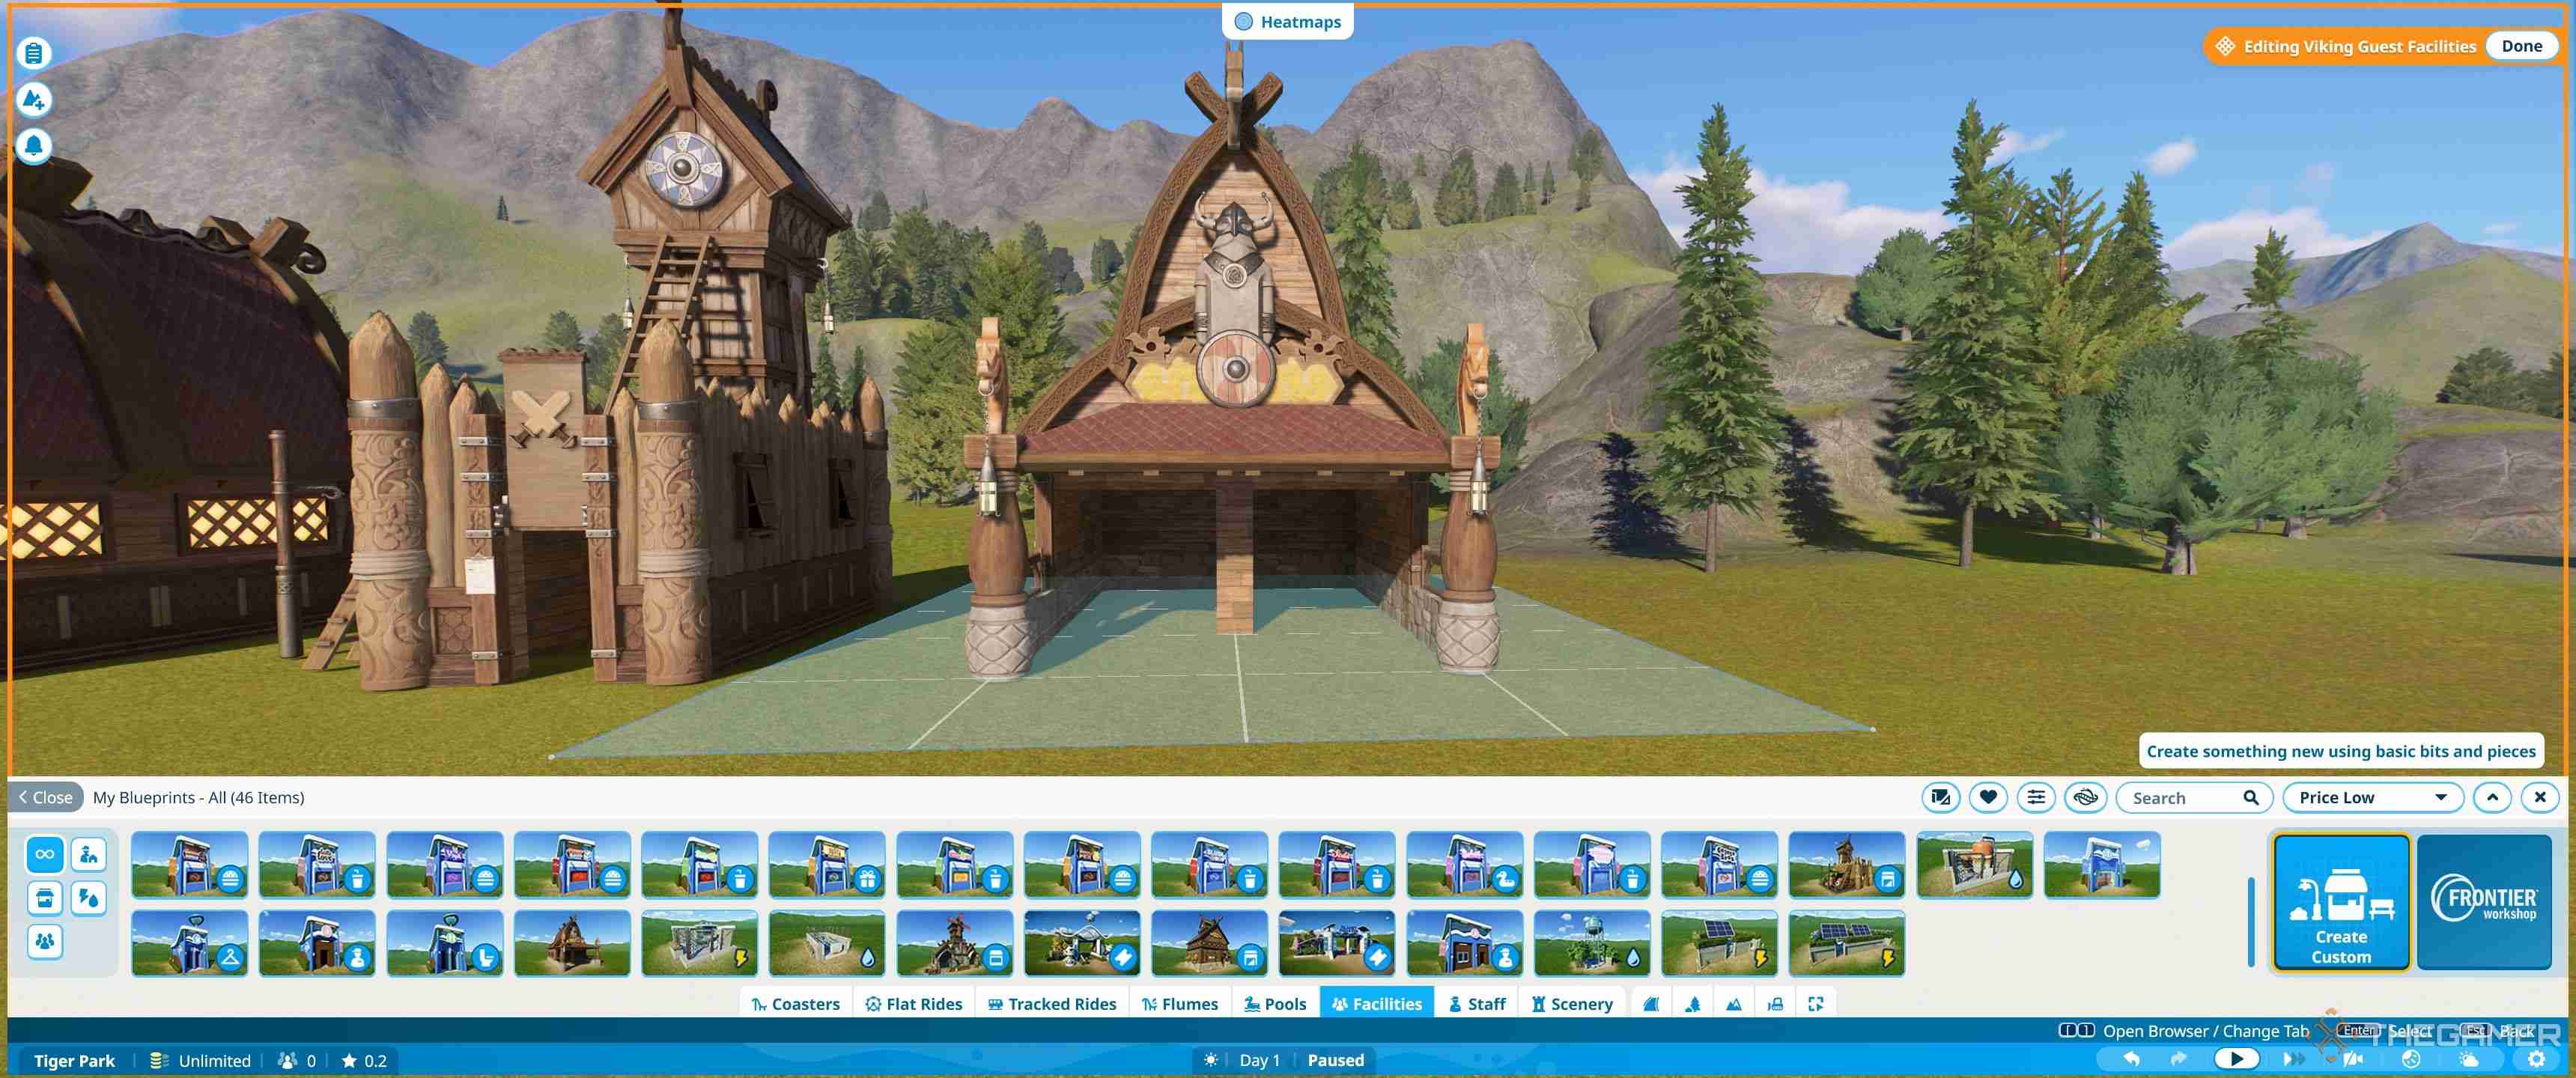
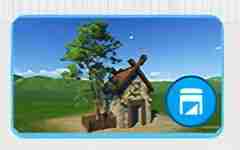
The facilities tab shows you all the pre-built Planet Coaster-themed buildings and some of the Viking shells. However, to access the full range of blueprints go to the scenery tab.
The scenery tab also includes blueprints for other types of decoration and scenery, and the default setting shows all the blueprints. As such, you'll want to click the castle icon in the bottom left to show just the buildings.
If you have a lot of downloaded or saved blueprints, try using the search facility or custom filter - which has an icon of sliders in a line. This can help you narrow down further by theme, content pack, brand or source and allow you to find specific items if you know their name.
Some of these blueprints will be for decorative buildings, but many are shells you can place your choice of shops and facilities into your choice of shops and facilities . The shells are the best place to start editing and in turn learning the building mechanics, but if you want to just place buildings, there are a full set of Planet Coaster-themed pre-built options.
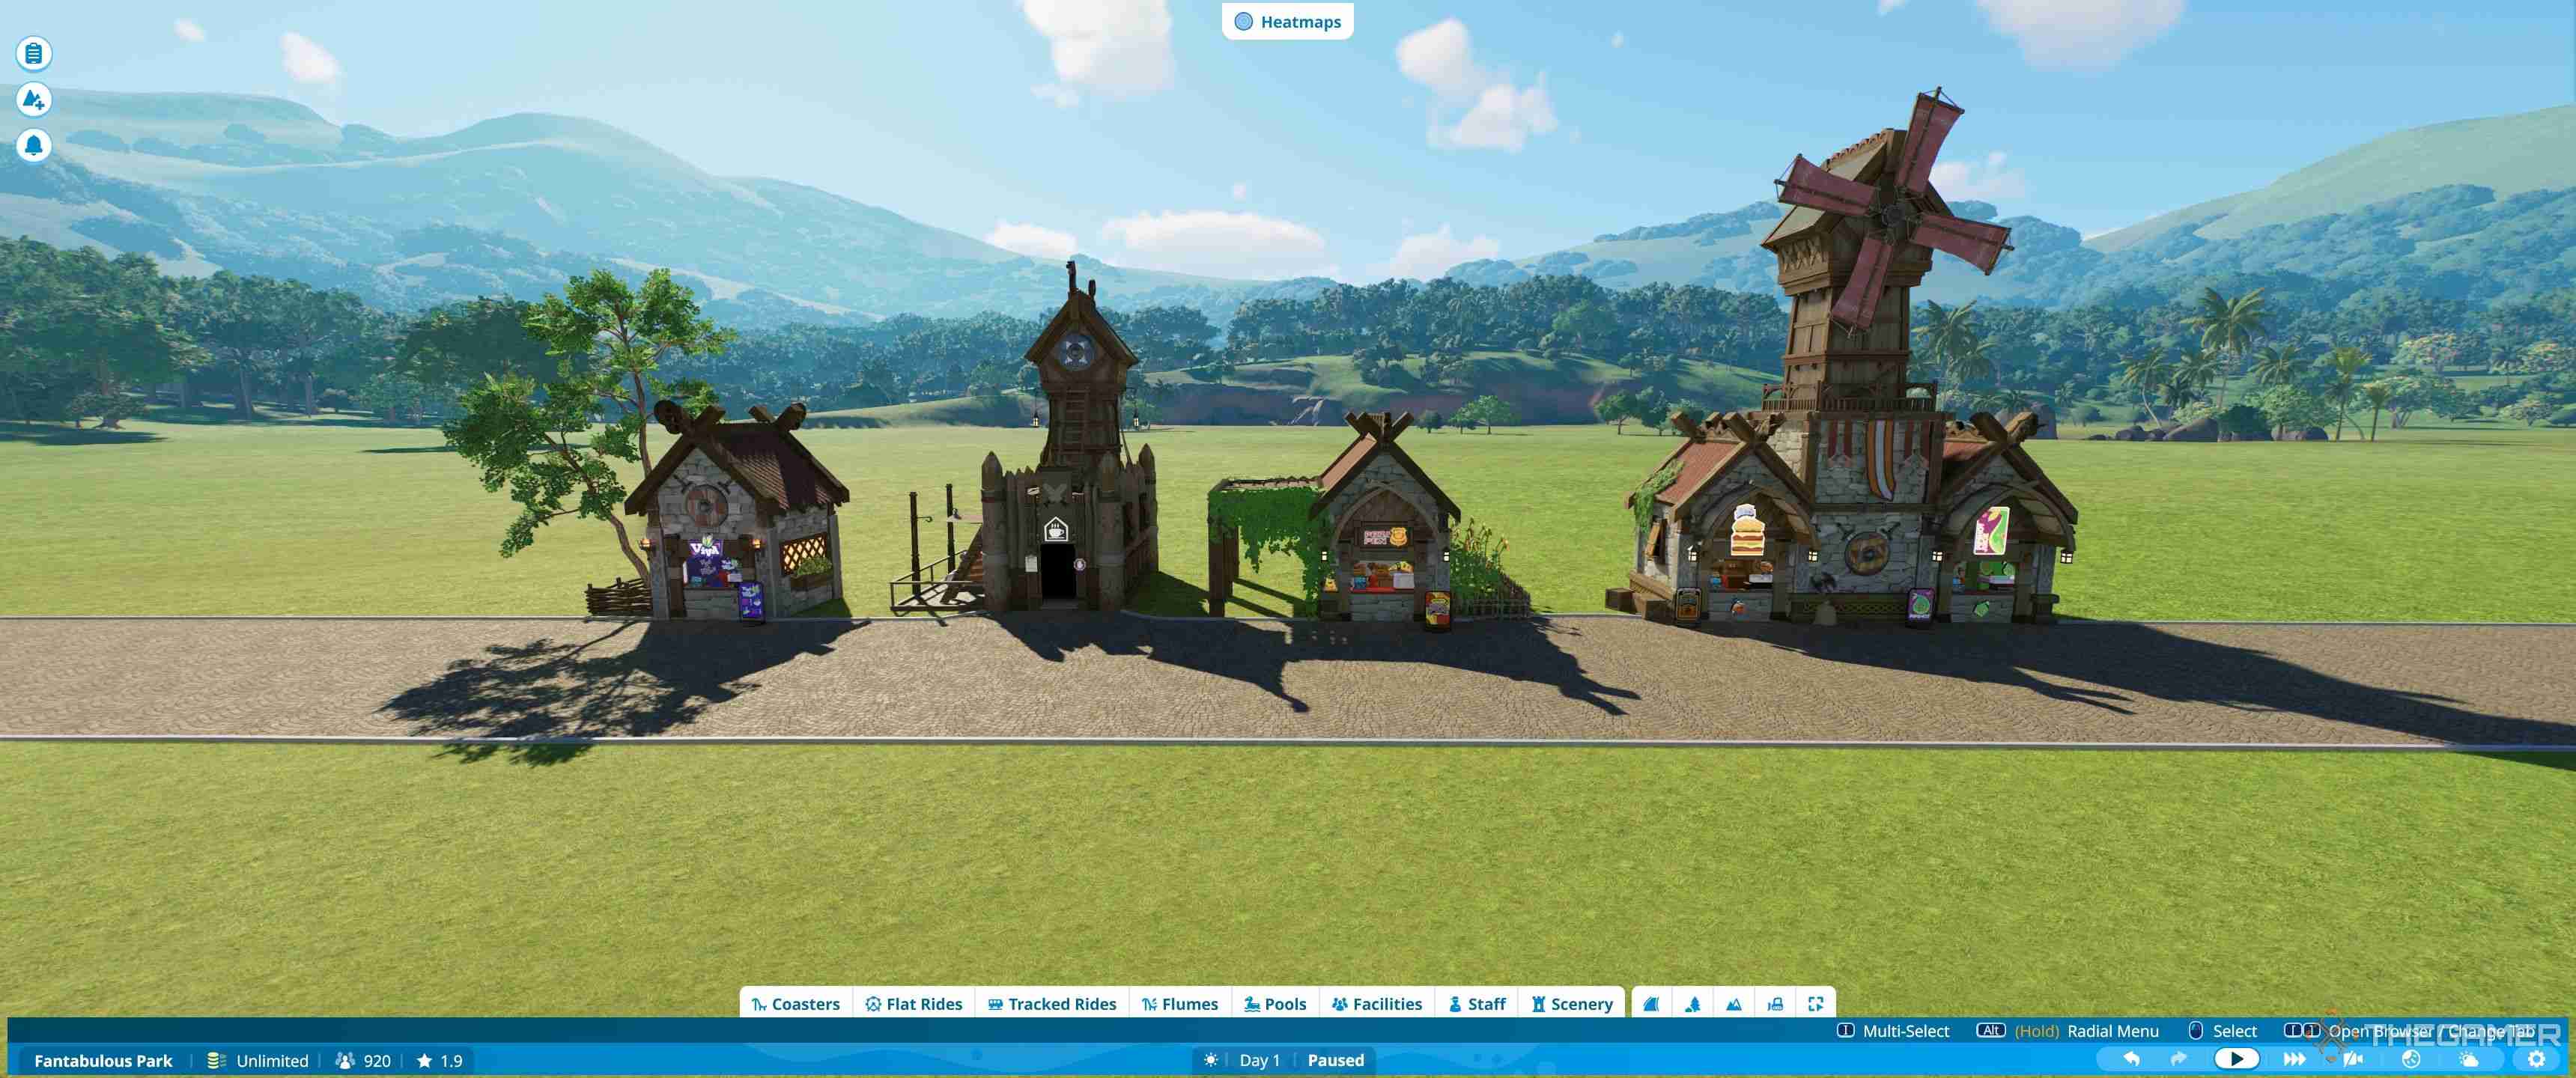
Pre-Built Shops And Facilities
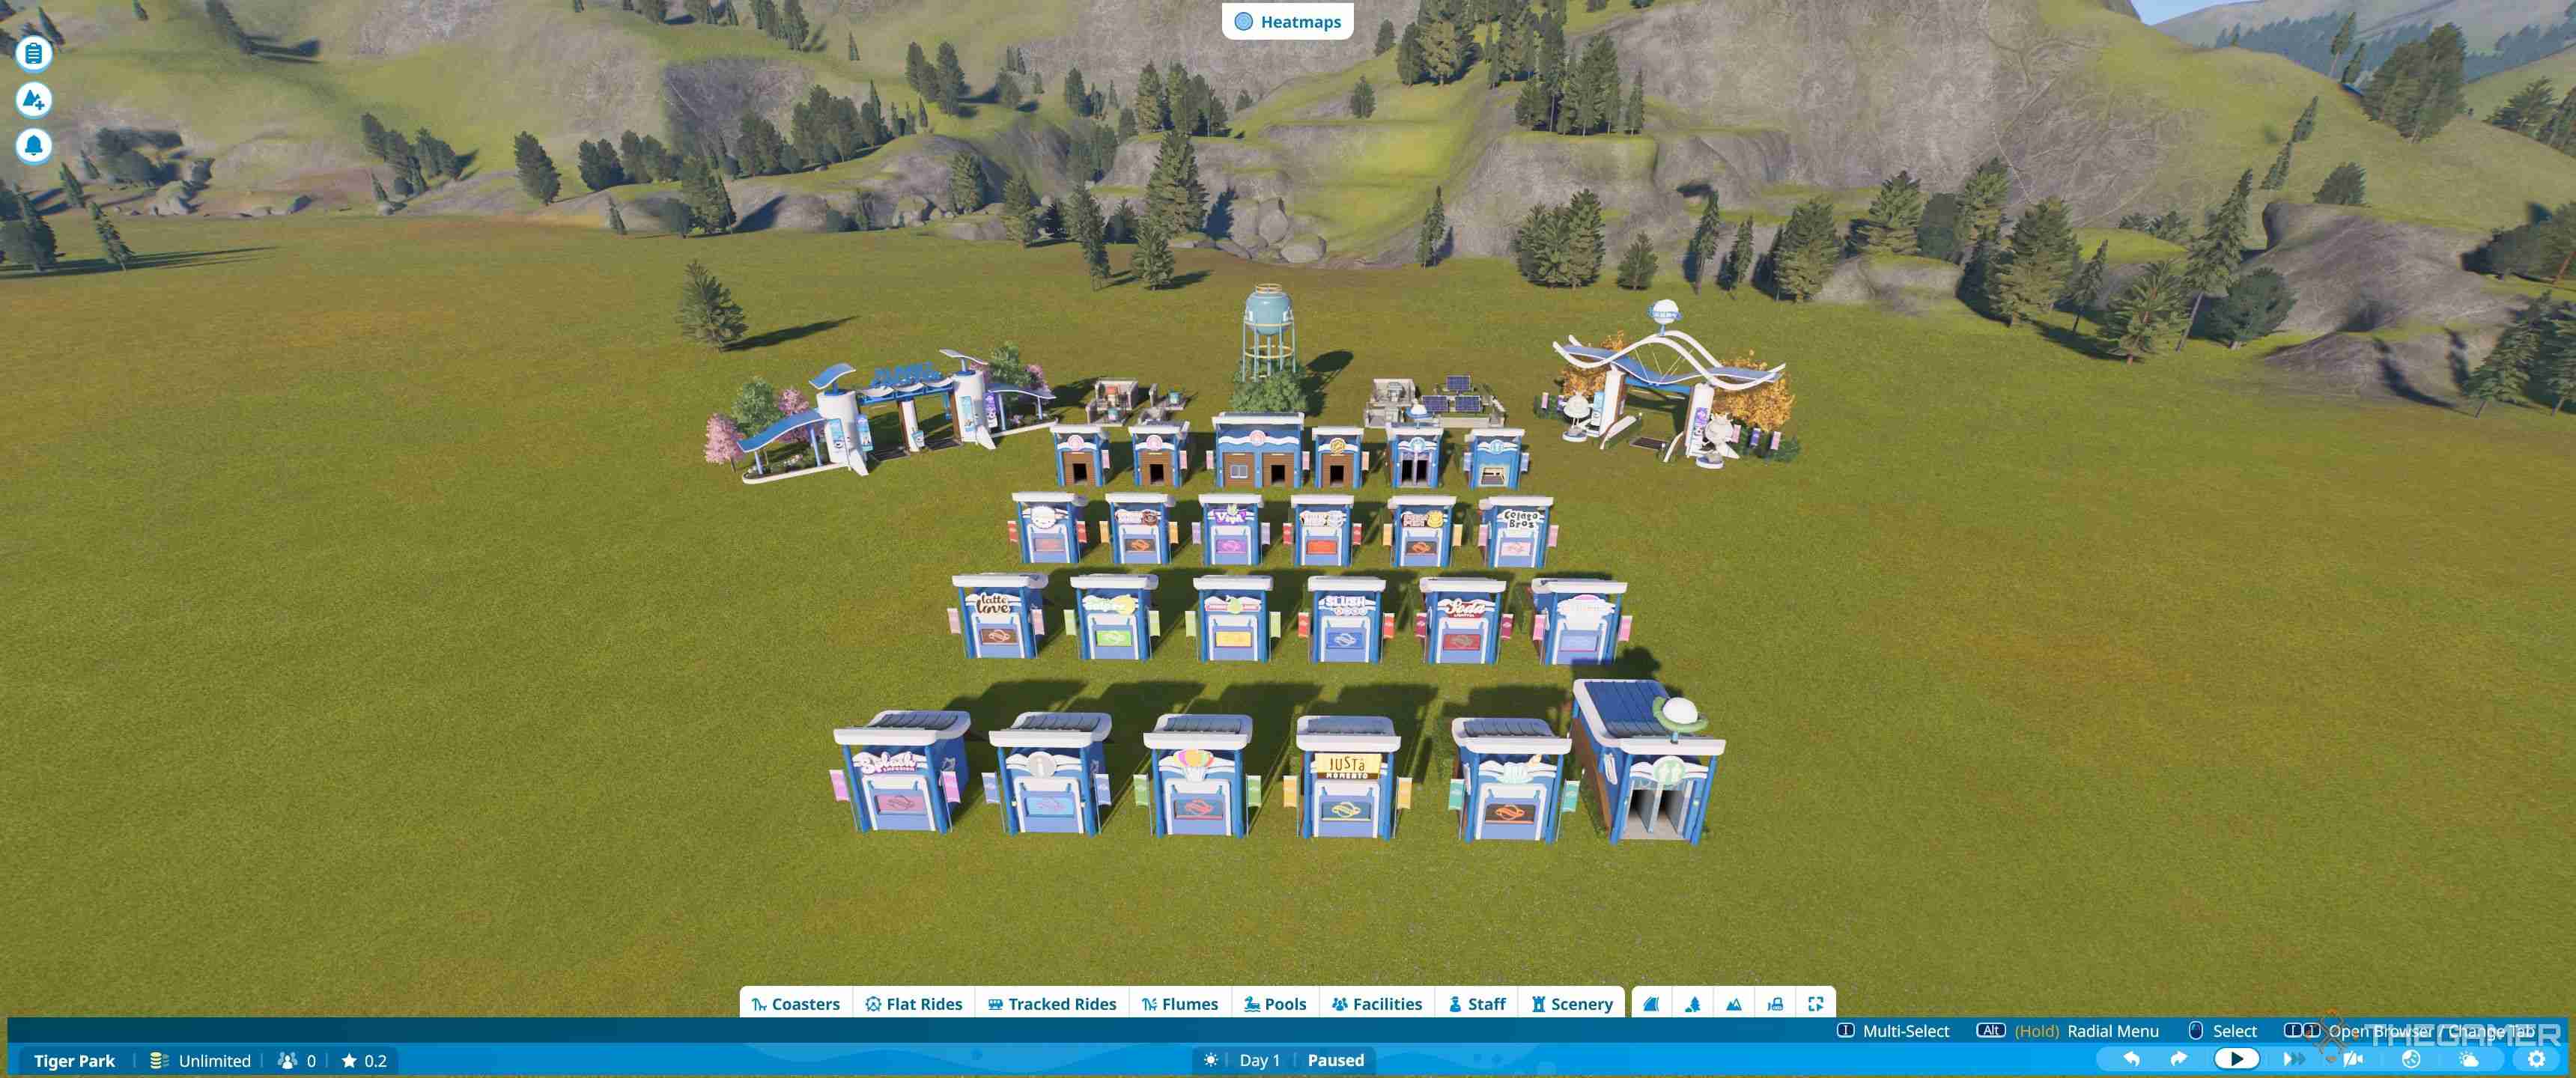
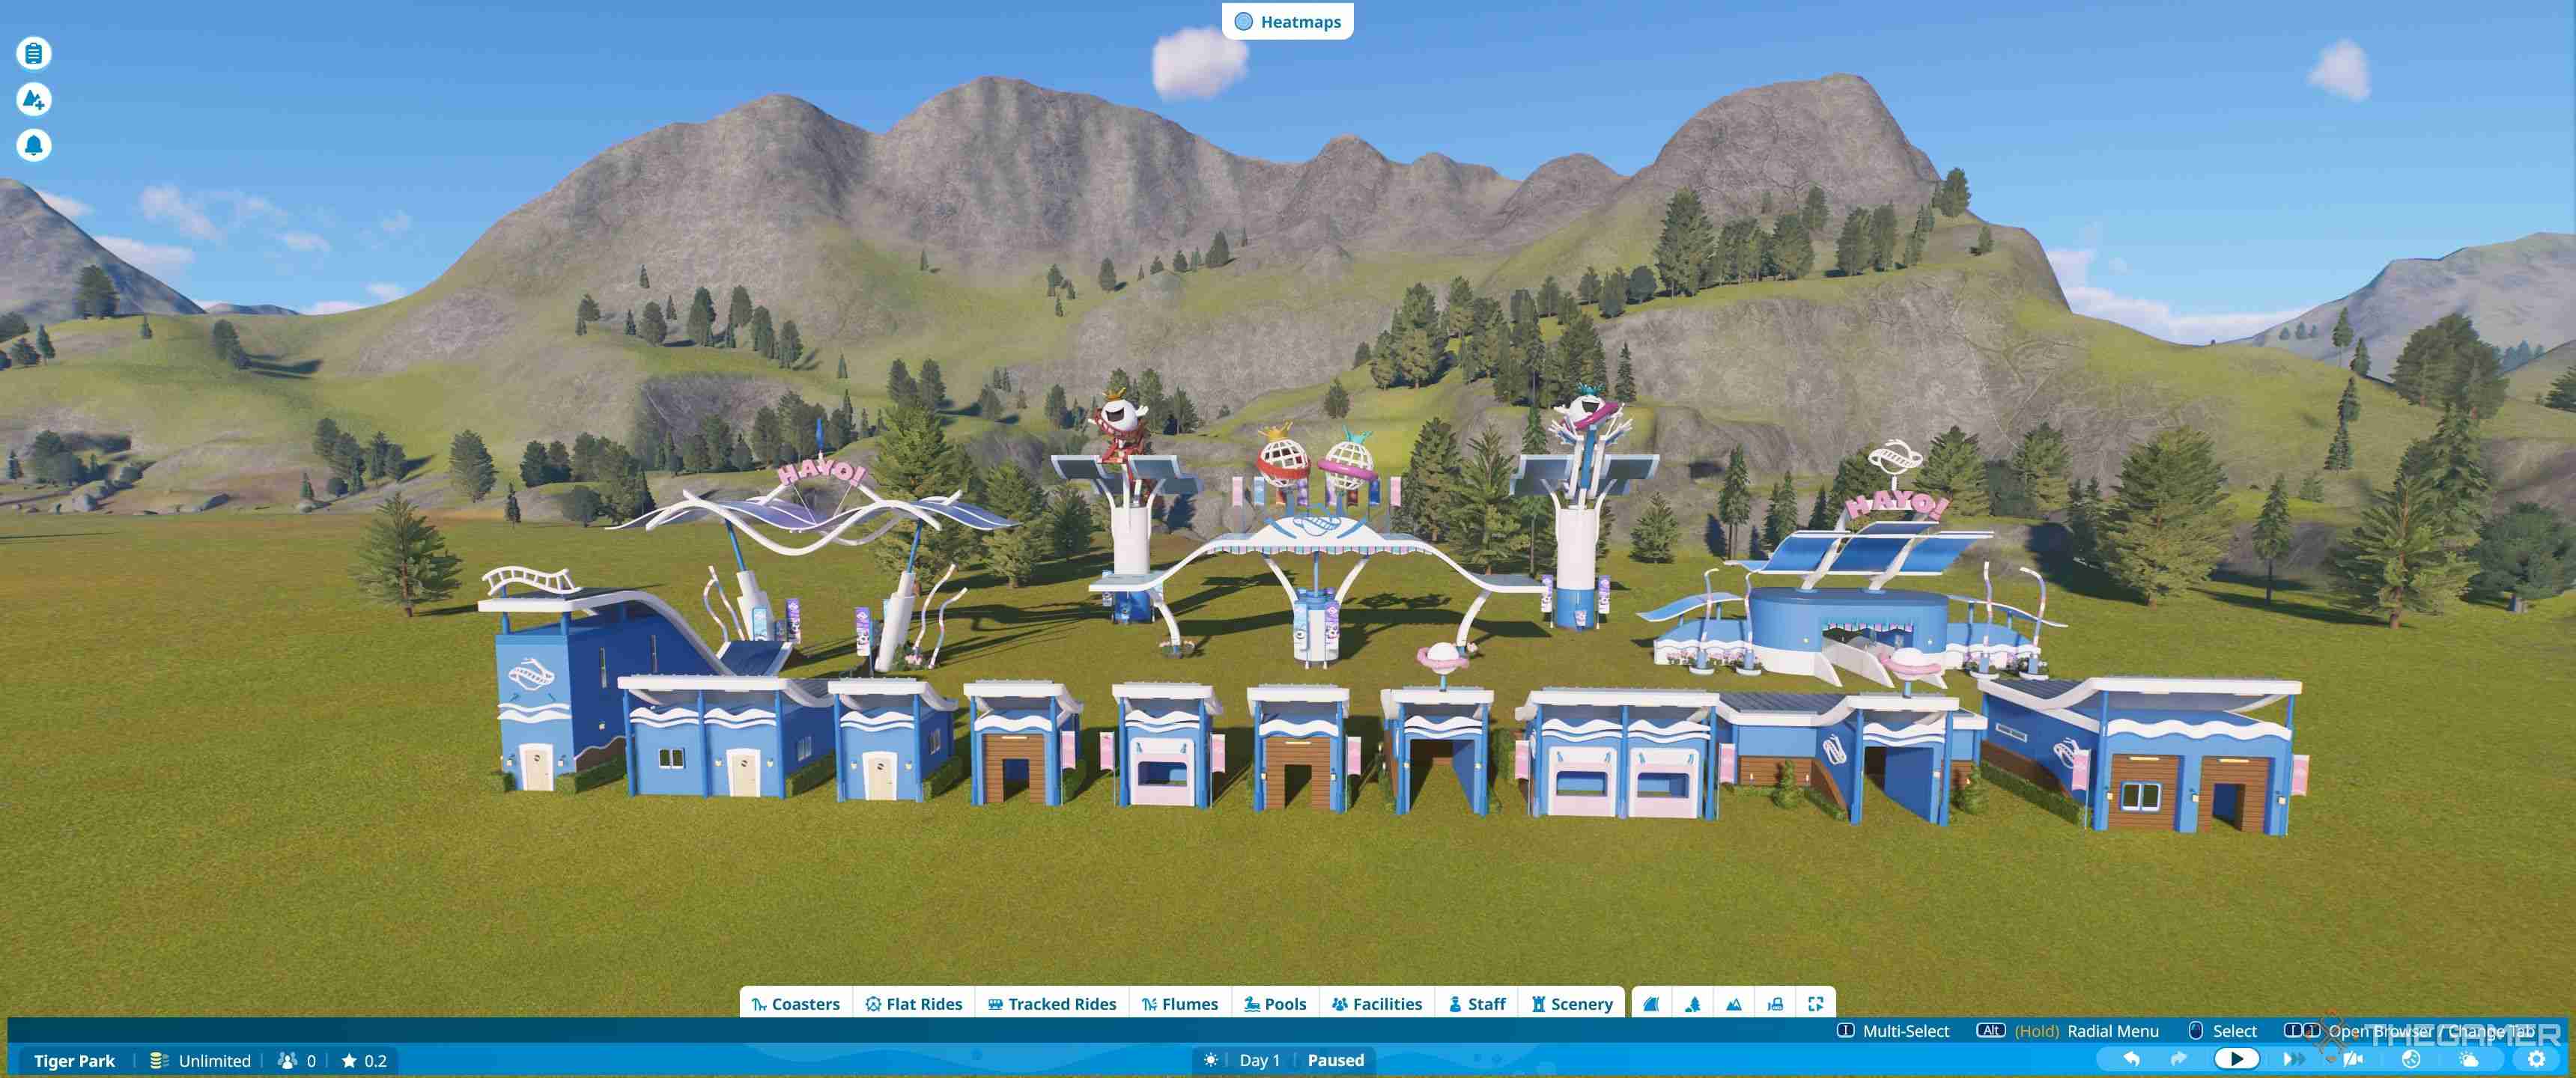
The full set of pre-built shops and facilities is found under the facilities tab. Everything has a pre-built version and there are also many shells. As a result, it can get confusing to work out what is what without opening everything up. Luckily, there is an icon system to help.
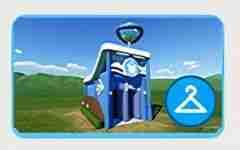
If you want to see what a blueprint is for at a glance, make sure to check out the icons.
|
Icon |
Description |
Blueprint Type |
|---|---|---|
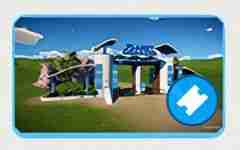 |
Ticket Icon |
Entrance |
 |
Toilet |
Toilets |
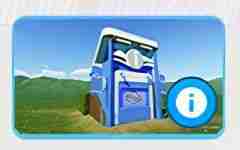 |
Letter i In A Circle |
Guest Services |
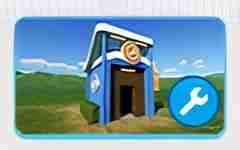 |
Wrench |
Workshop |
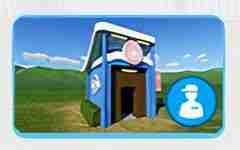 |
Person In Hat |
Staff Break Room |
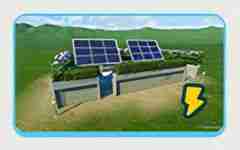 |
Lightning Icon |
Power Generator |
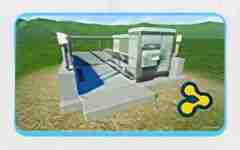 |
Three Yellow Linked Dots |
Power Distributor |
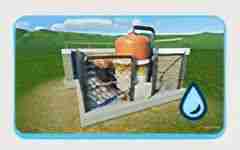 |
Water Droplet |
Water Pump |
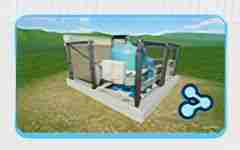 |
Three Blue Linked Dots |
Water Distributor |
 |
Clothes Hanger |
Changing Rooms |
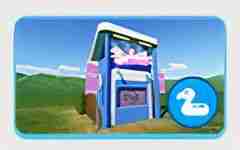 |
Duck Floatie |
Pool Items |
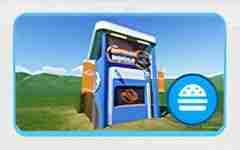 |
Burger |
Food |
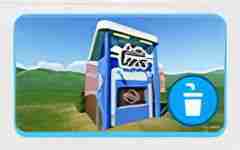 |
Cup With Straw |
Drink |
 |
Hut With Triangle |
Facilities Shell |
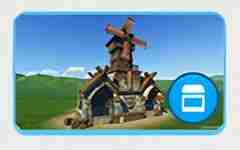 |
Hut With Open Front |
Shop Shell |
|
|
Scroll And Triangle |
Custom Design |
How To Edit Pre-Built Shells
The best way to learn how to build is to explore the pre-built shells. By editing these, you can see how they fit together and also get used to the basic editing tools.
The only buildings that are harder to fit into pre-built shells are the staff rooms, which are larger than the regular buildings.
To start editing, first locate your chosen shell in the scenery menu and then place it down. You should have the entire building selected.
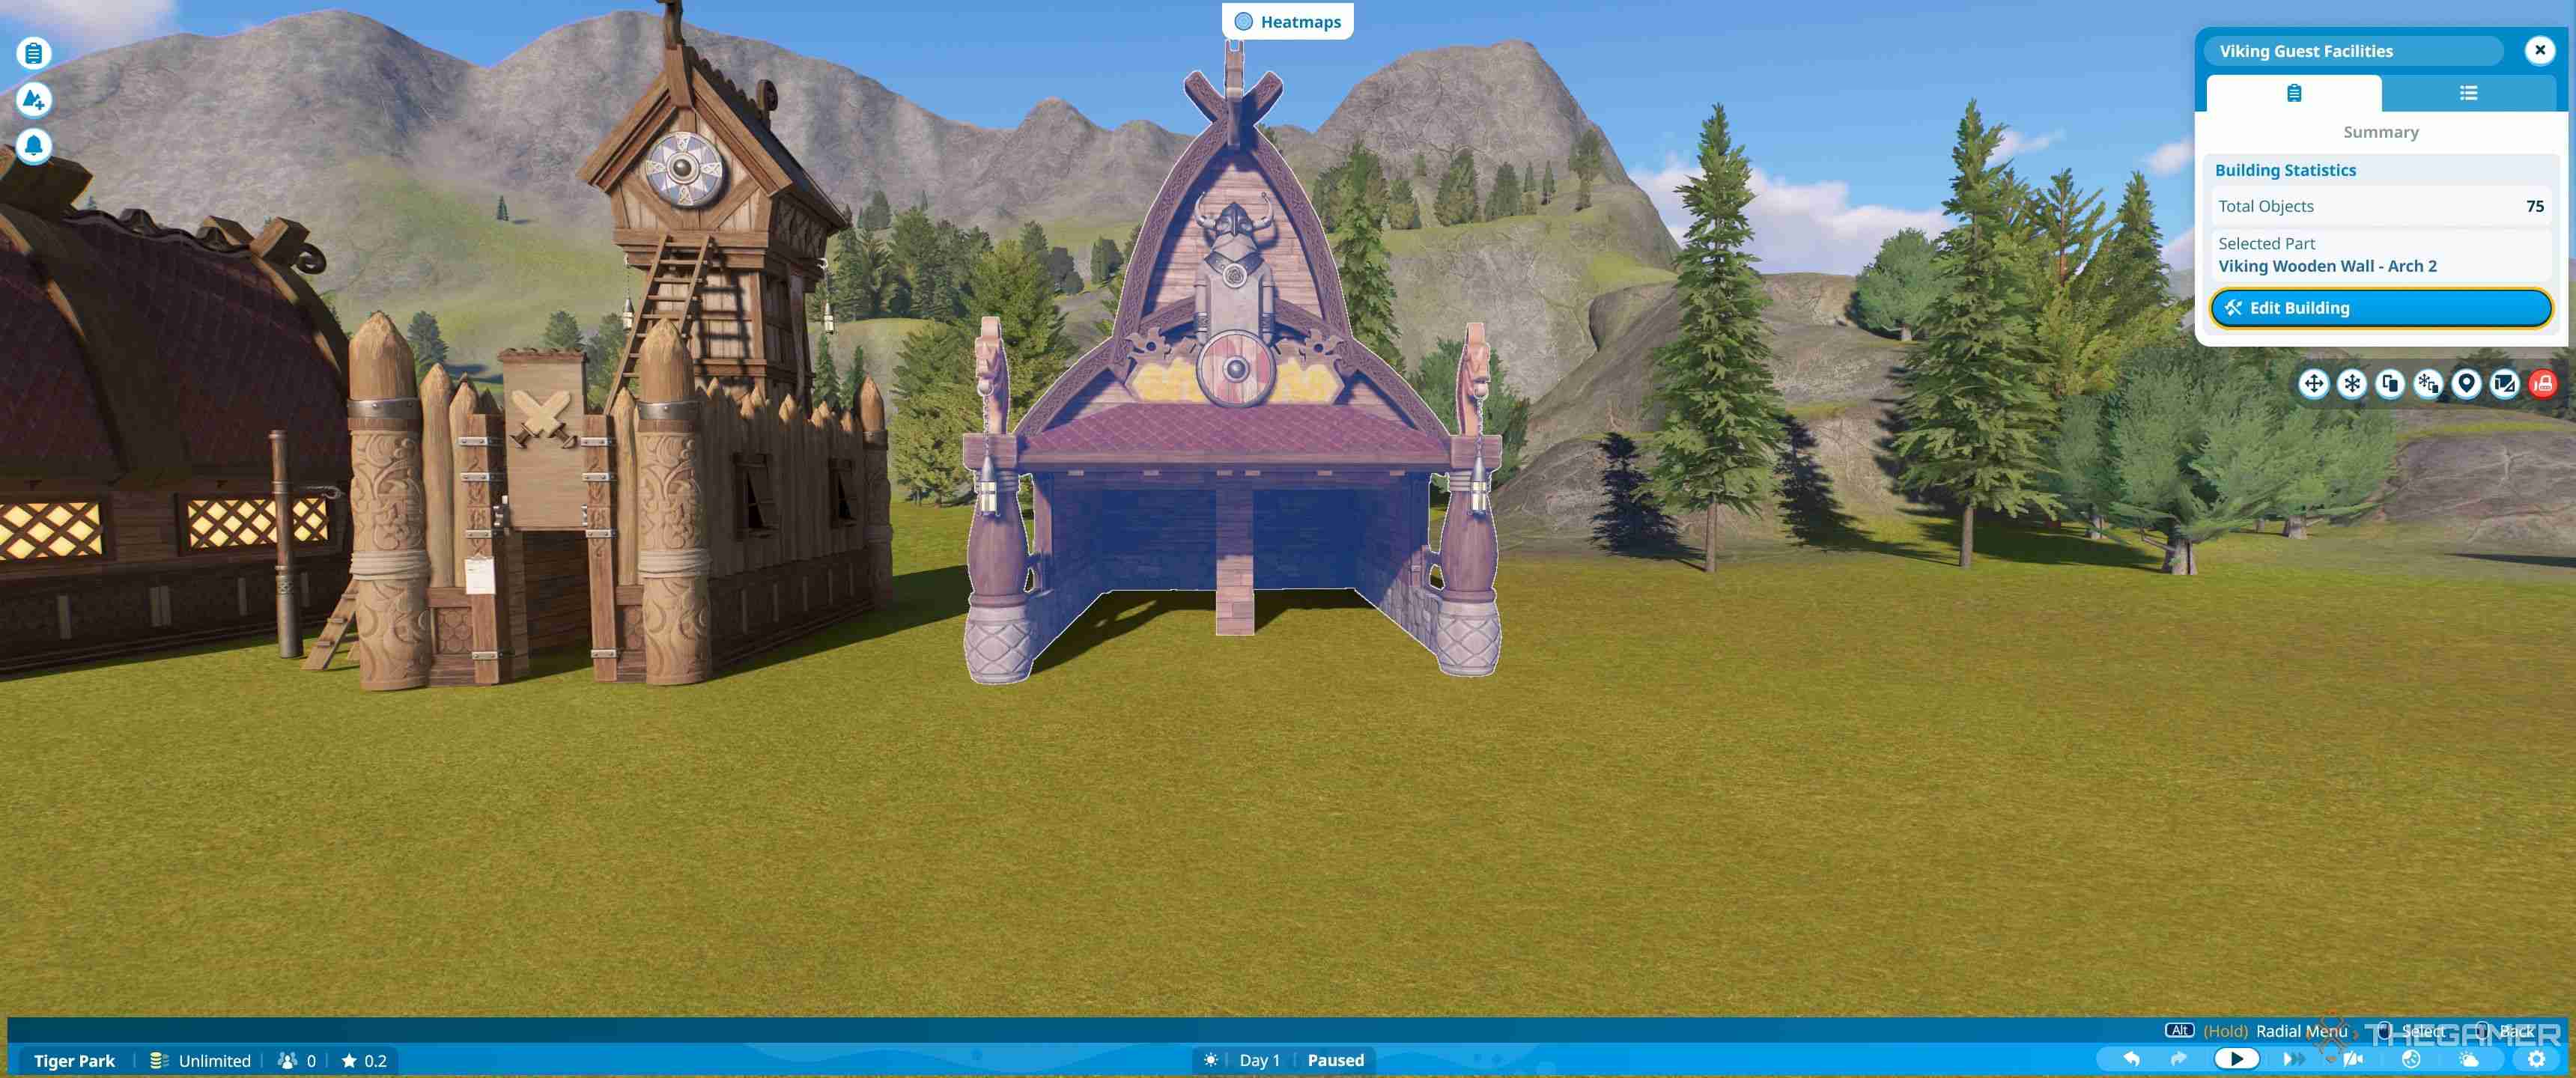
From this menu you can choose edit building. This will flip you into a view where you are shown a grid around the shell, which you can use to make sure you are lined up properly if you are placing a shell near a path.
When buildings are placed into a shell, they will try and connect to the nearest path, assuming it is close enough. This means that if you place the shell out of line you may find that you can't add the shop, or it adjusts your paths or terrain when it is placed, depending on your settings.
If you are unsure about being able to line things up, simply edit the building somewhere out of the way, then move the entire thing once complete.
Getting Started
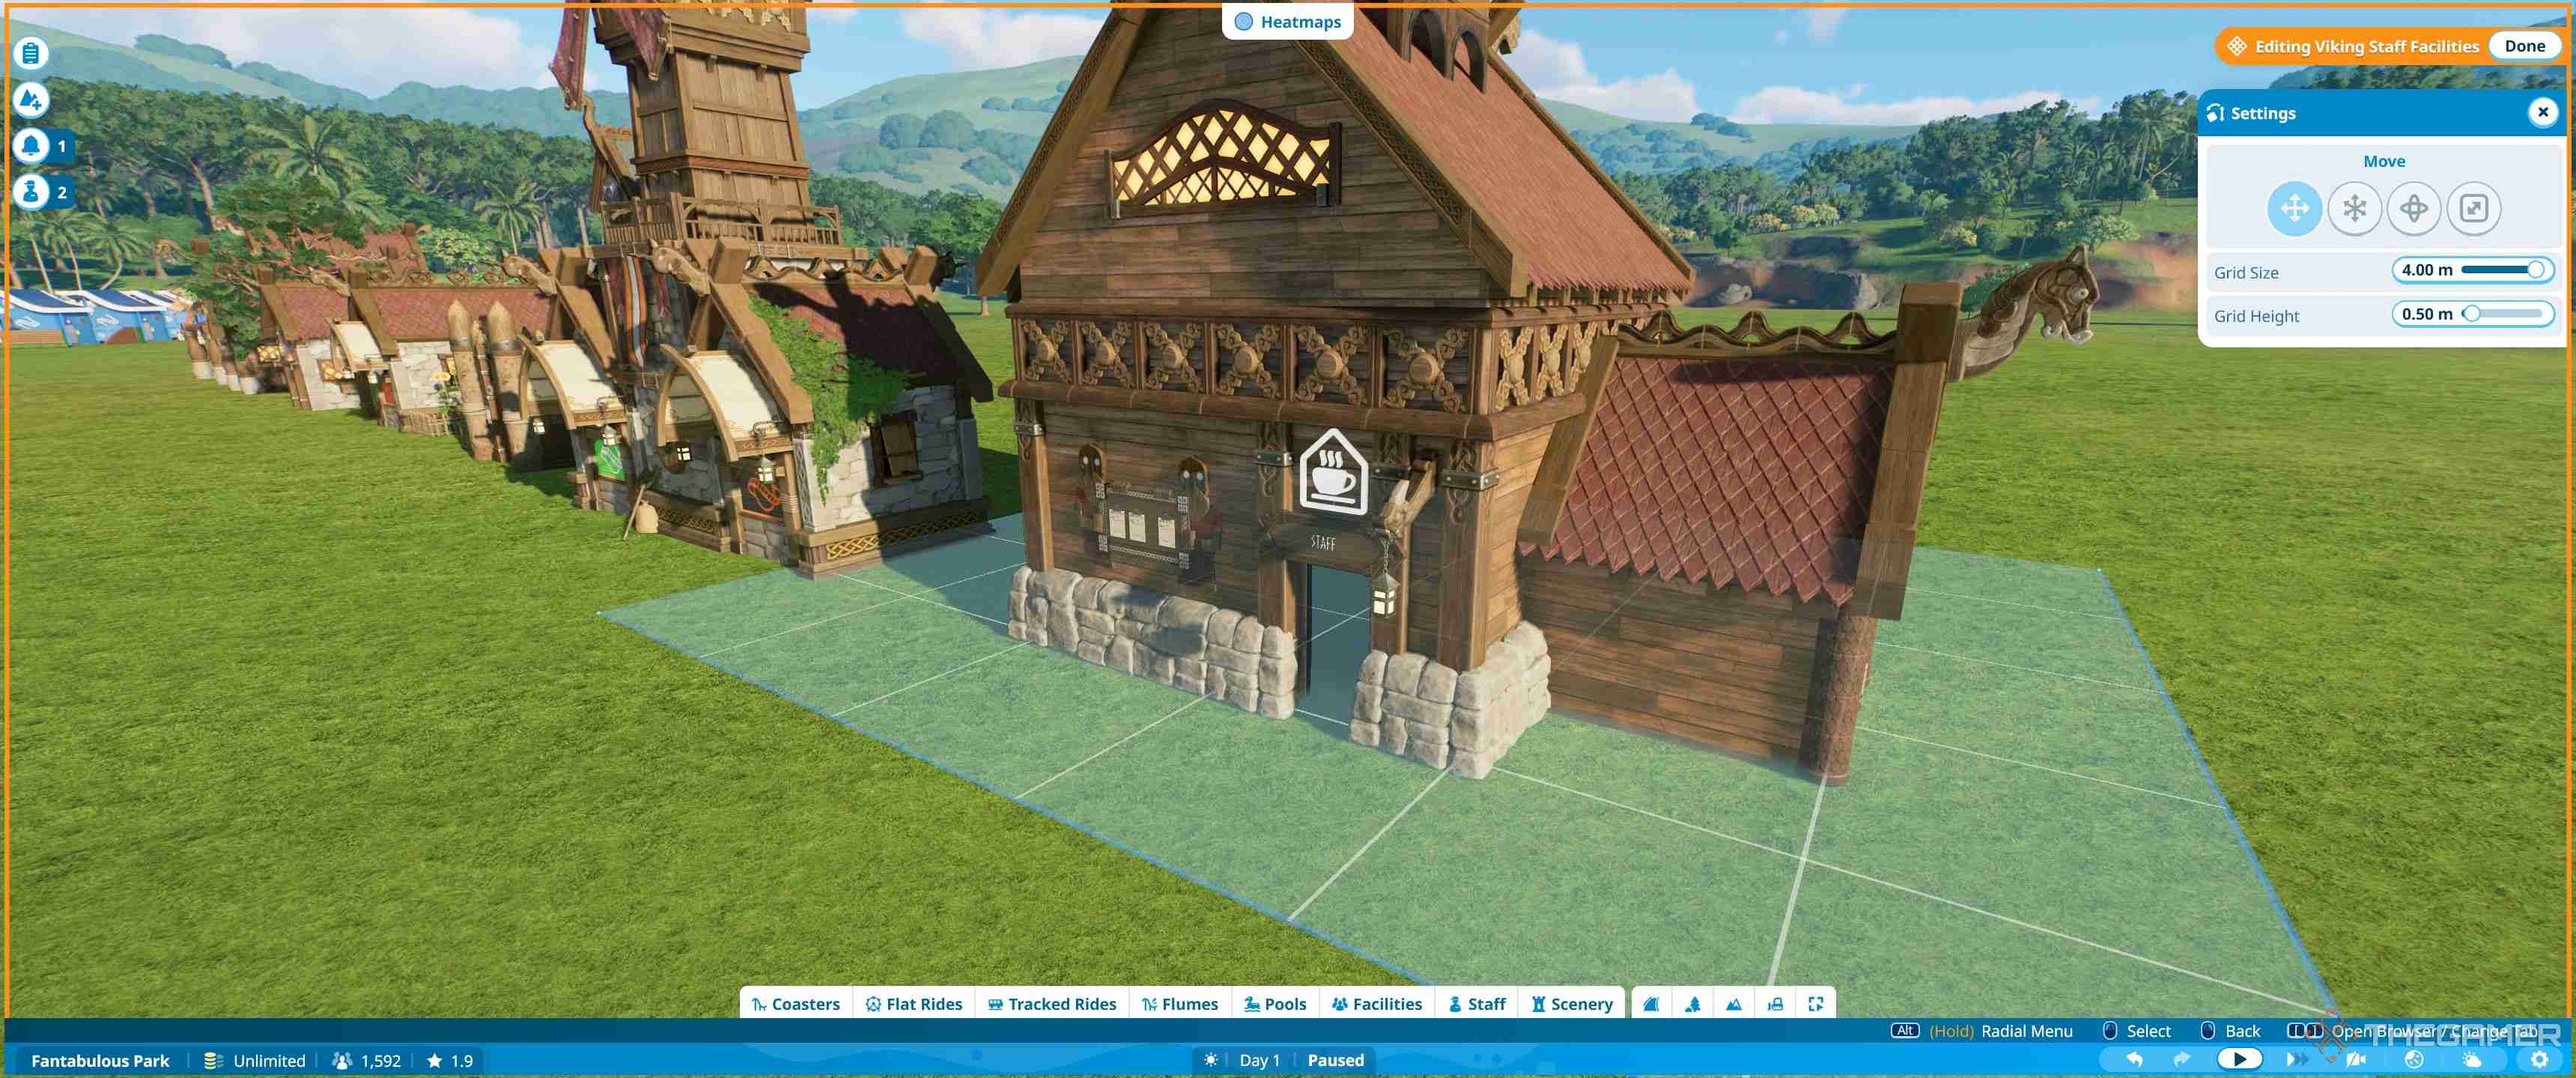
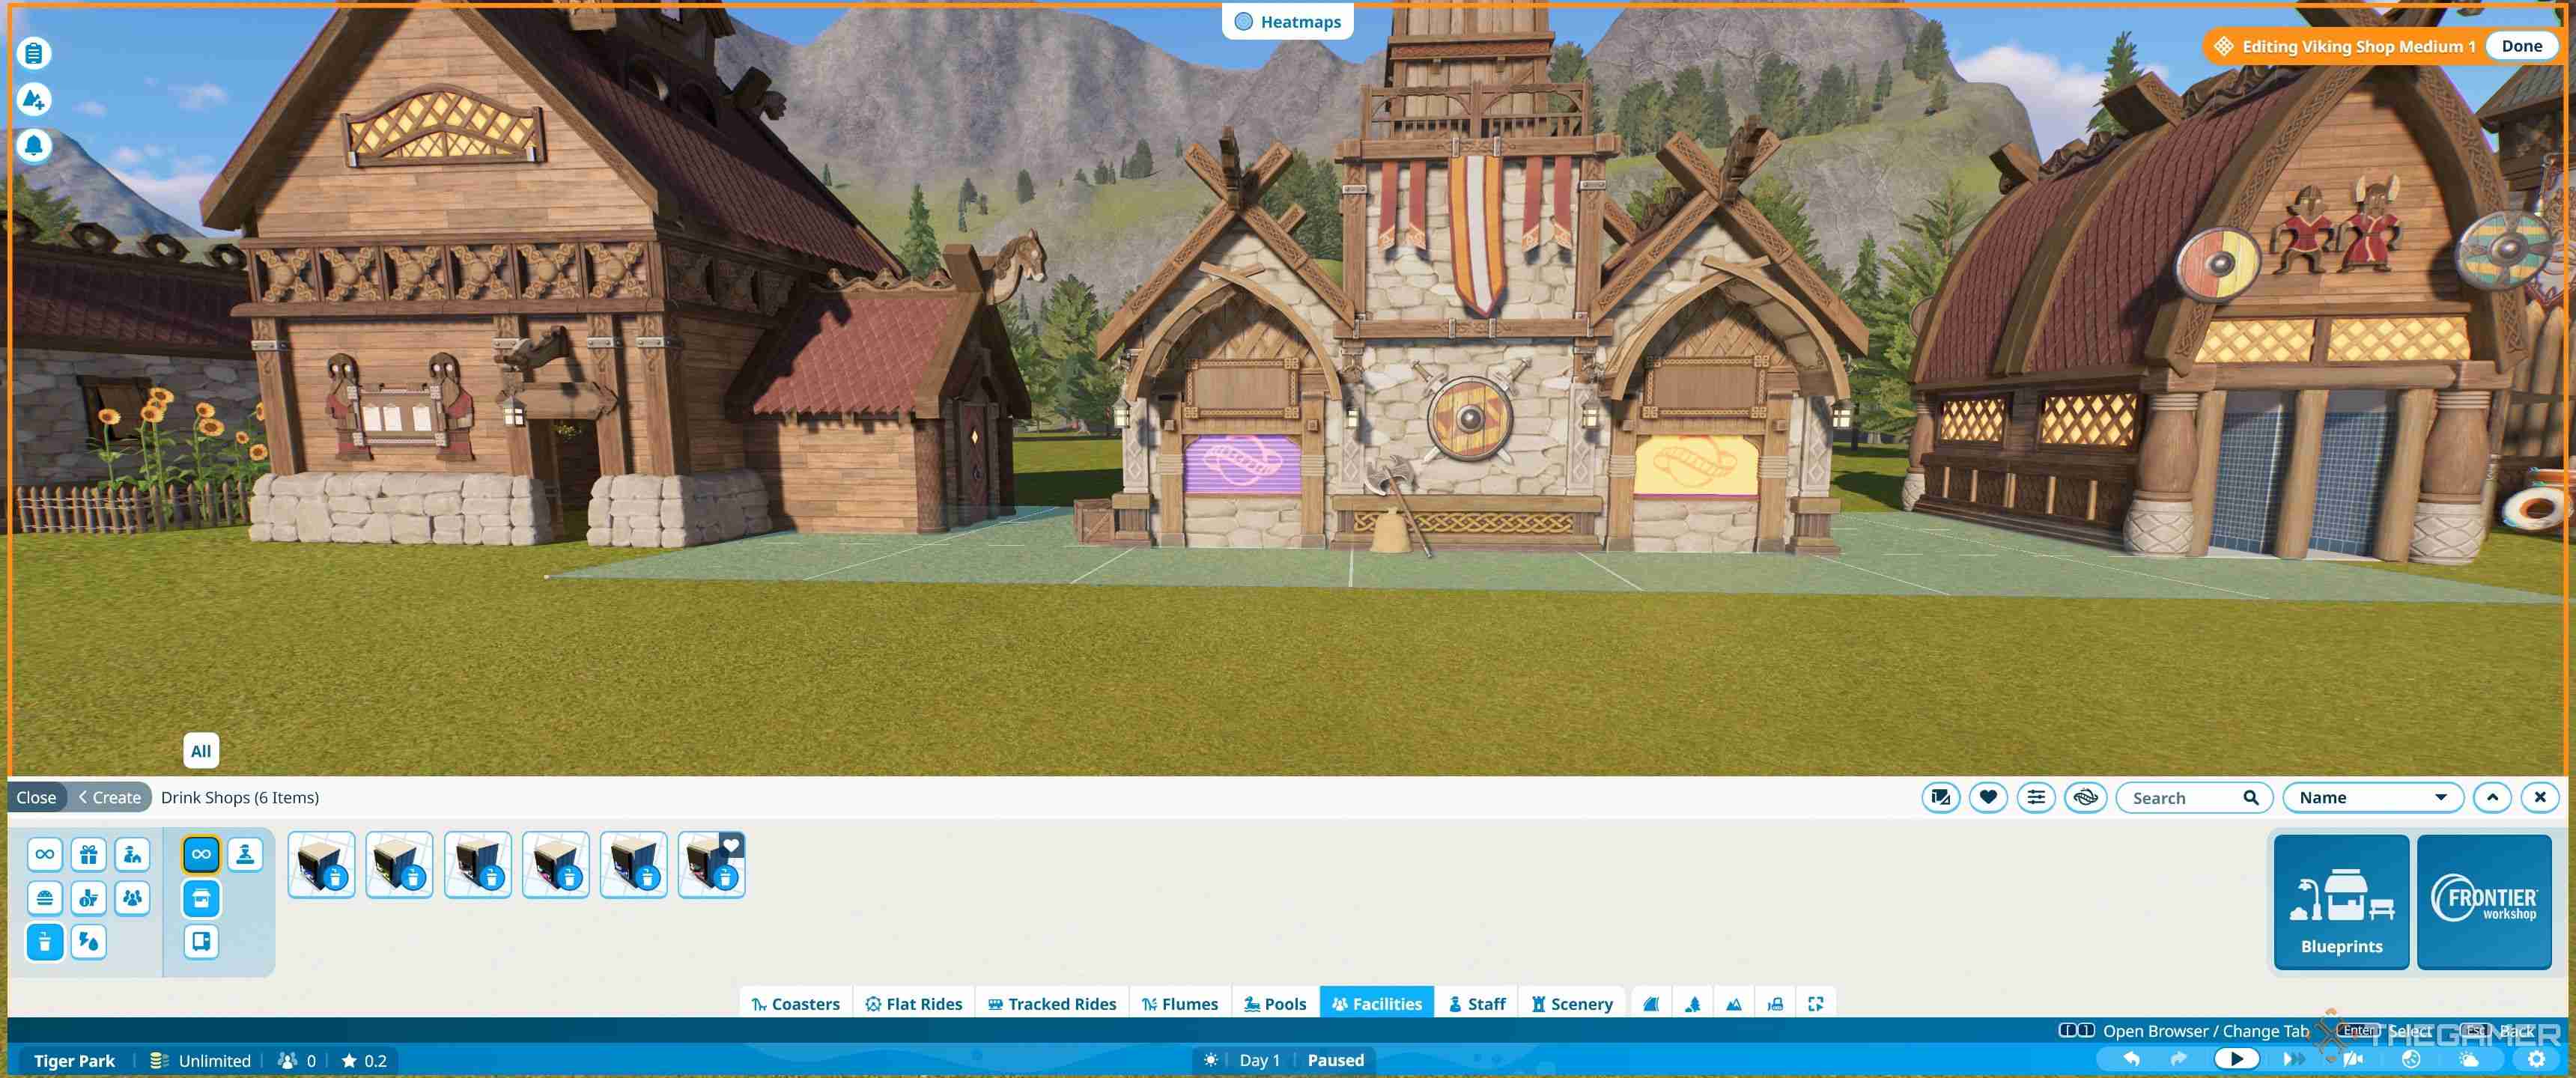
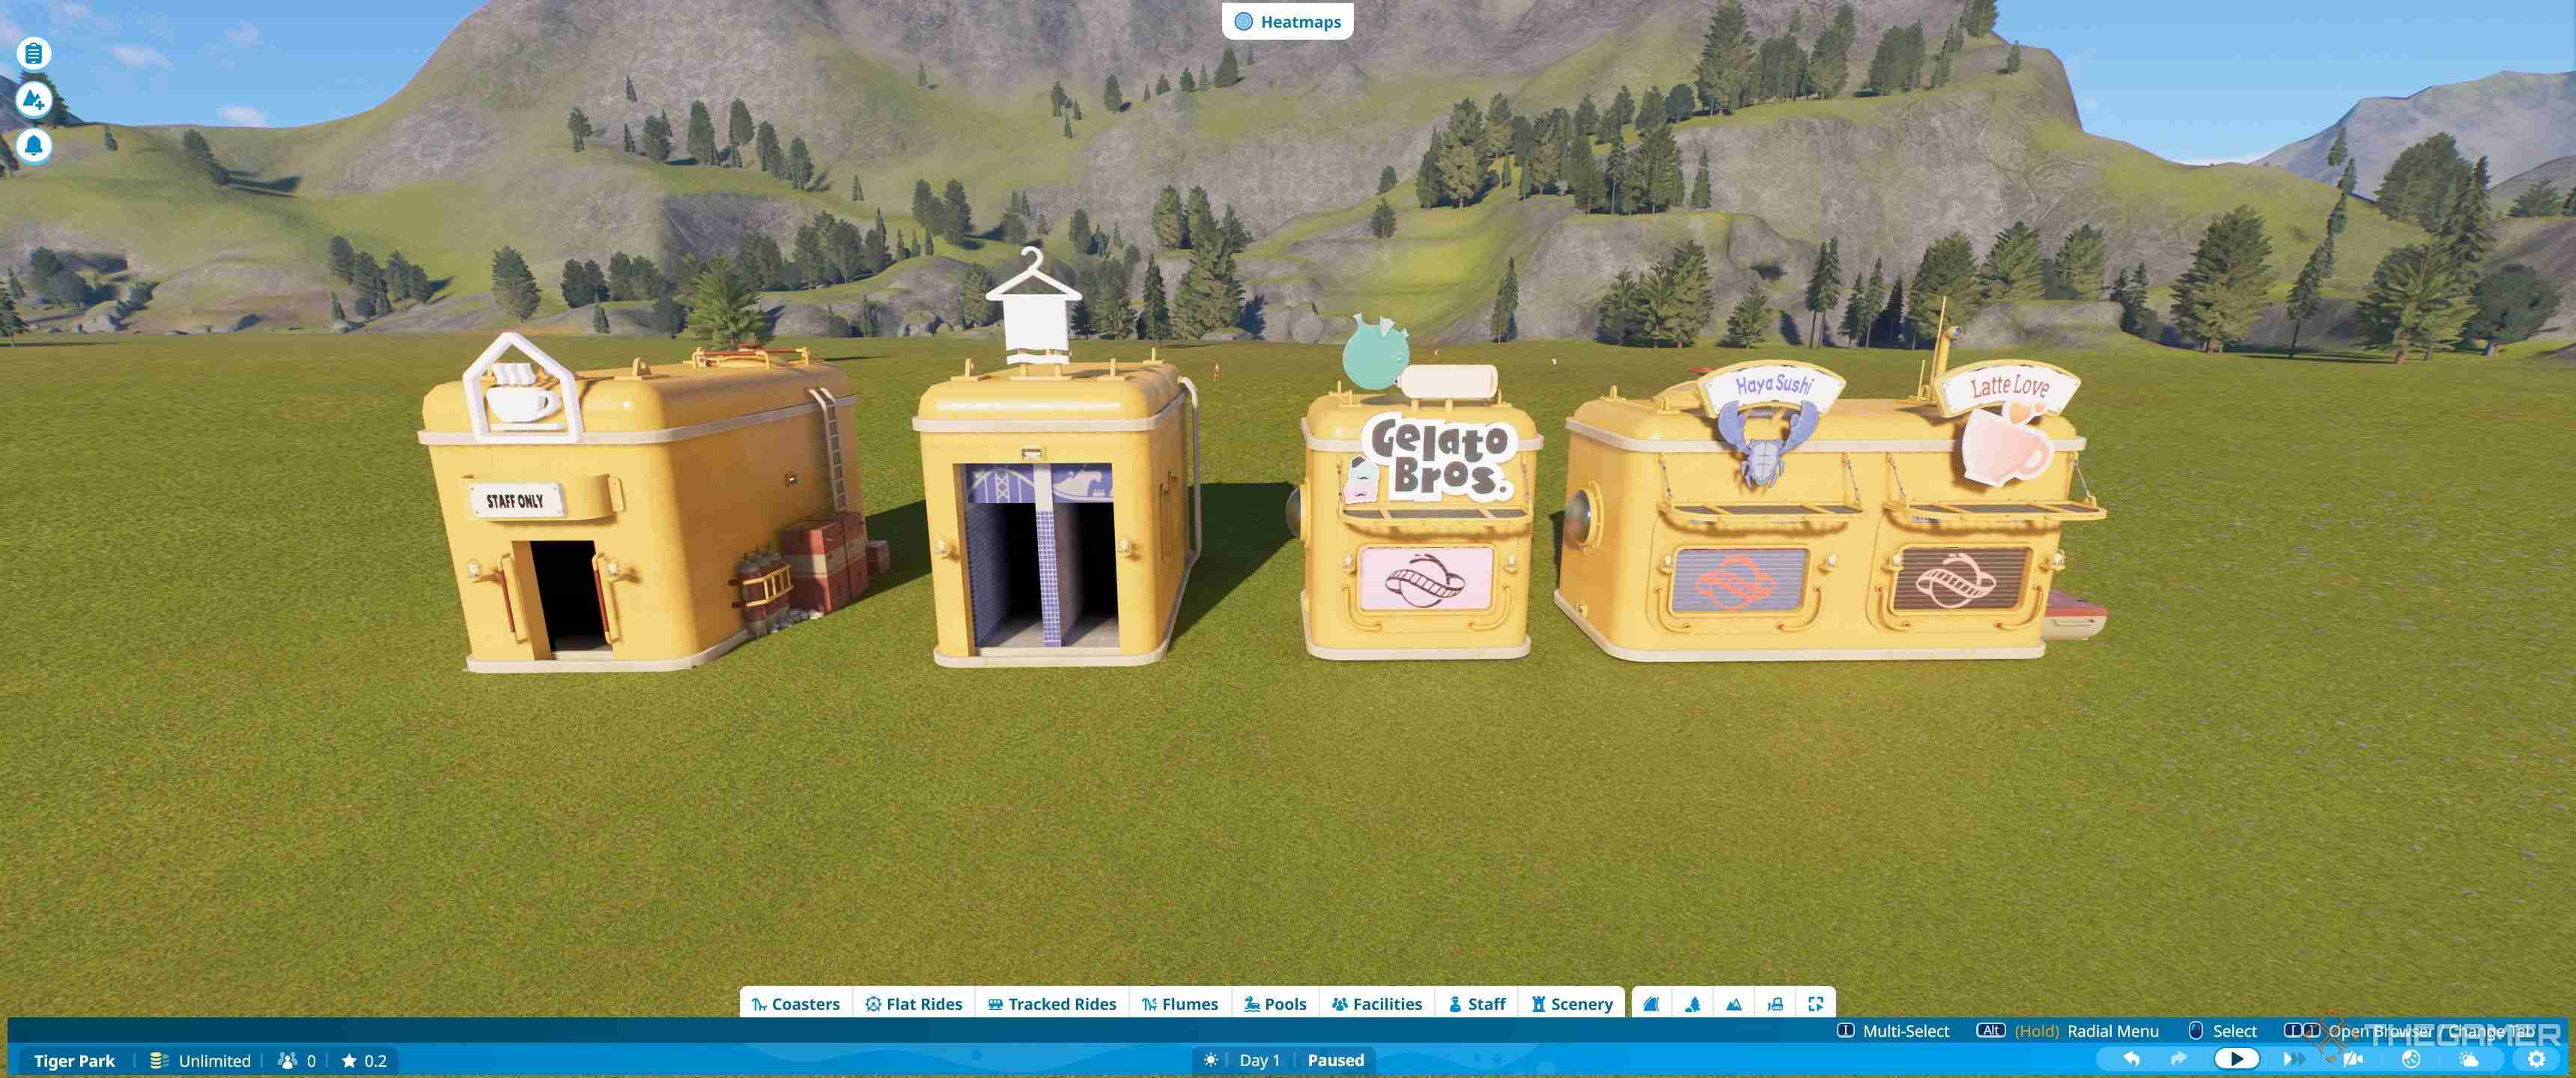
To start editing, make sure you are zoomed in and then click on the piece you want to change. For most buildings, you'll want to focus on the front. This is so you can adjust them to fit the type of building you are placing.
There are three types of building frontage:
- Shops - These have a window at the front where customers are served from.
- Staff Facilities - These have a small door for staff to enter.
- Guest Facilities - These have two side by side entrances that take up most of the front.
By changing out the fascias and frontage, you can fit all the small and medium-sized buildings into most shells.
To find the correct pieces, you'll first need to click on the shell and select the existing front. You can use the name of the piece to work out which theme set it is from.
How To Find The Right Scenery Pieces
To find the matching pieces:
- Unselect the piece to go back to the main settings of the building (grid mode)
- Select the scenery tab from the main tab menu at the bottom.
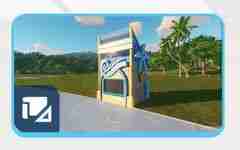
- Select create custom - the large button on the right-hand side with an icon of a resort.
You'll now see a lot of individual pieces, but don't panic. We won't need to touch most of these. To find what you need, you'll need to go deeper into the menus, since these split down the items by category.
Each section of the menu is an icon, but if you hover over it with your cursor it will tell you the name of the category.
The sections you'll want are as follows:
Building (Castle Icon) > Walls (Brick Wall Icon)
Here are all the main walls. They include plain flat walls in multiple sizes. You'll only want to look for the shop fronts, which have a window cut out, and walls with a door cut out for now.
Building (Castle Icon) > Arches (Archway With Line Under Icon)
Under here you'll find different archways. You may not use any of these, but the wider ones can sometimes be useful for covering the edge and some of the top of facilities such as changing rooms and toilets.
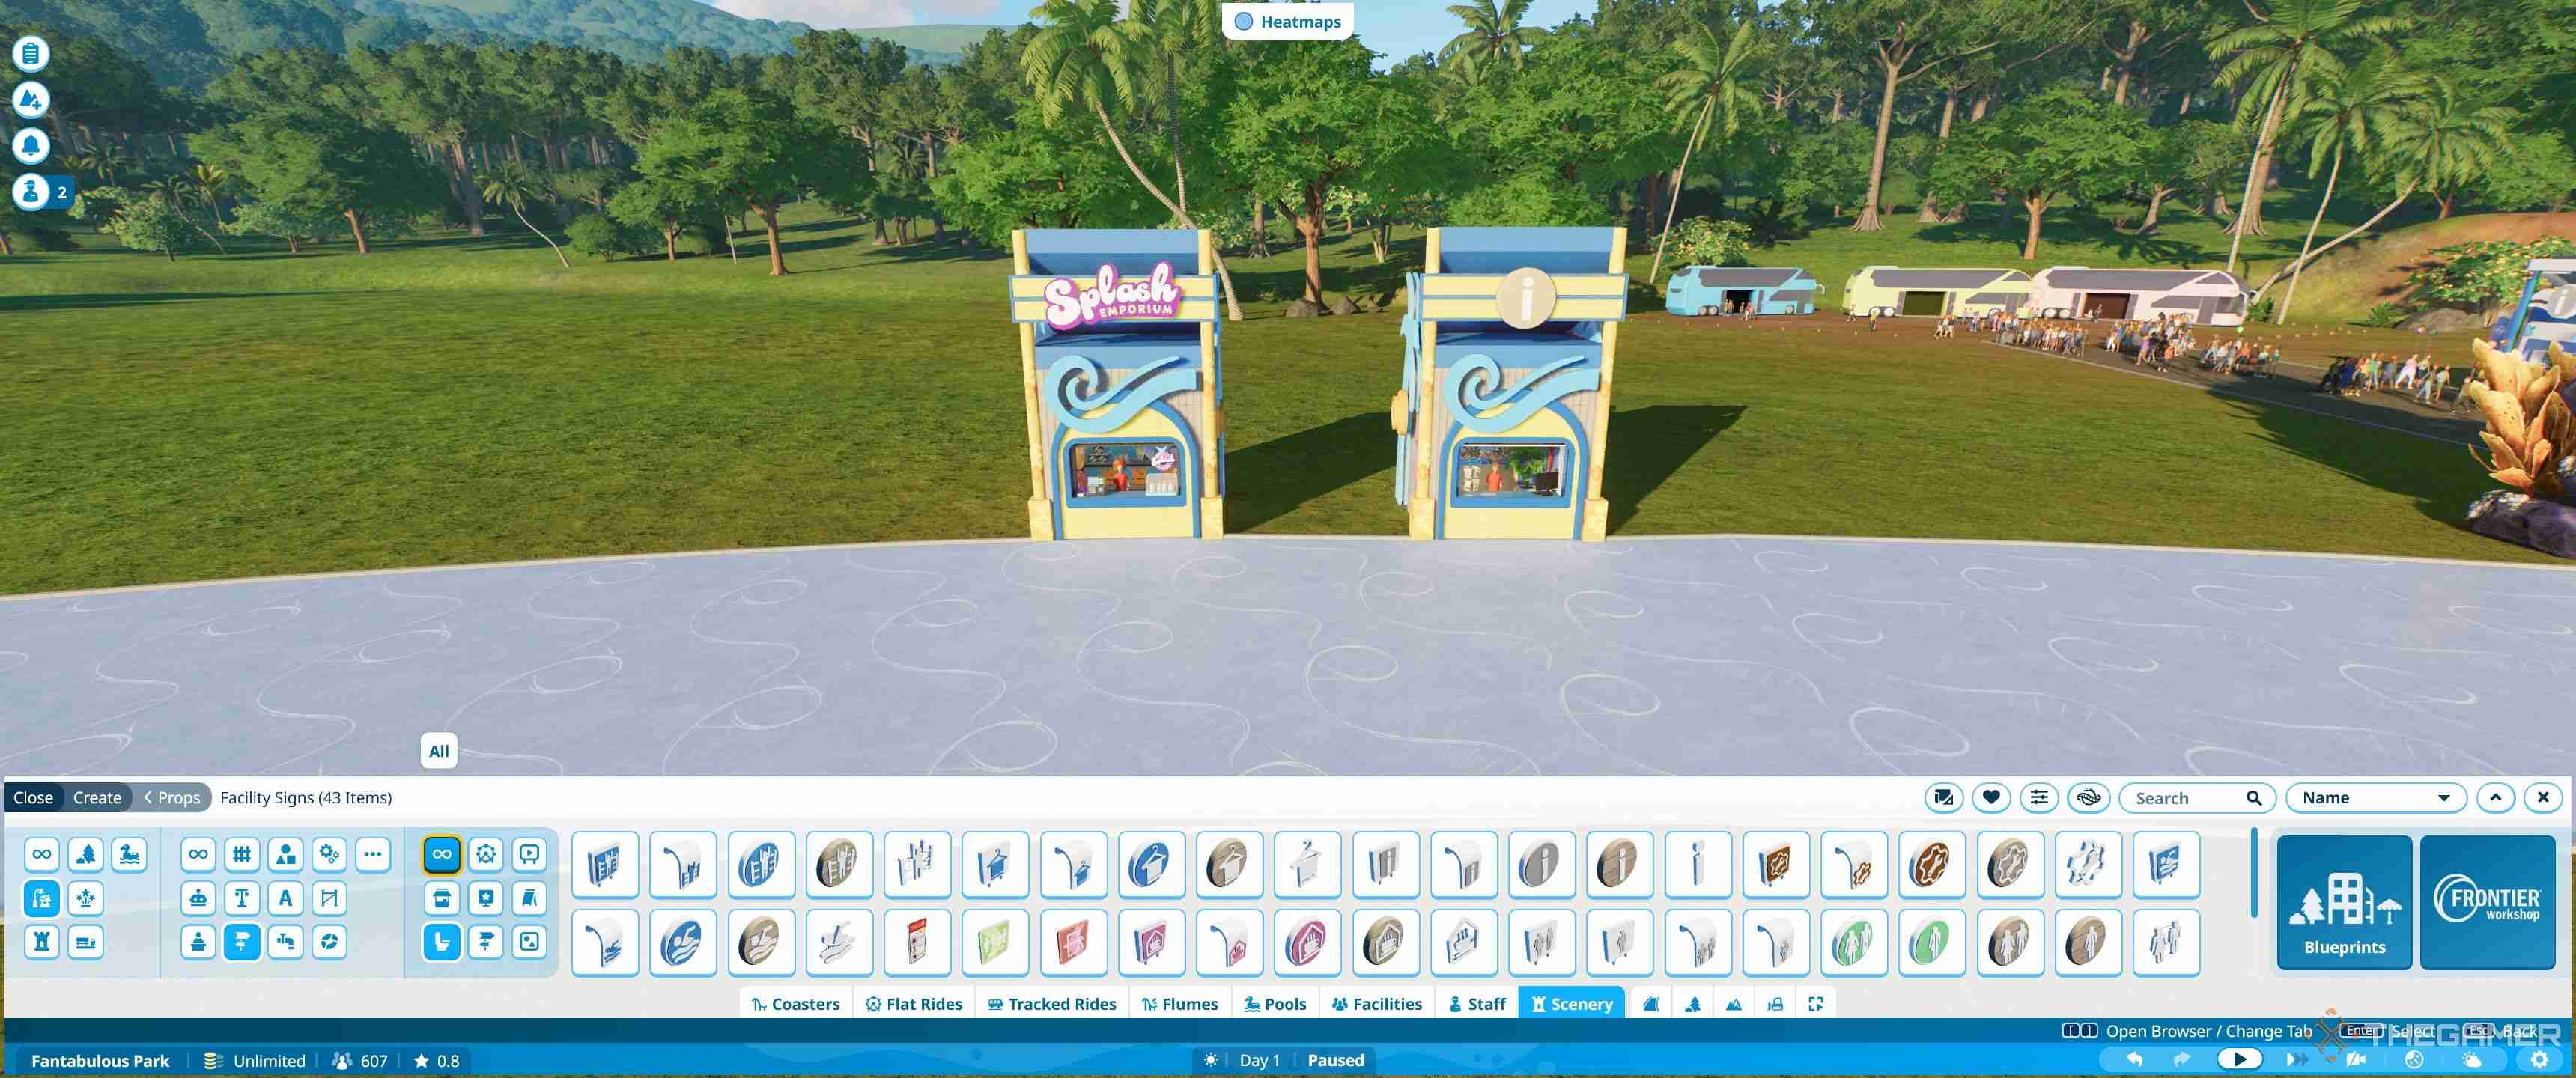
Props (Lamppost And Dinosaur Icon) > Signs And Advertising (Signpost Icon)
This is quite a cluttered section, since it includes a wide range of signs, fascias, awnings, and signposts, so you may want to use the subsections. They are: Shop Signs (Stall Icon), Facility Signs (Toilet Icon), Ride Signs (Ferris Wheel Icon), Theme Signs (Star on a Monitor Icon), Signs and Advertising (Signpost Icon), Screens (Triangle on a Monitor Icon), Shop Decorations (Standing Sign Icon), and Misc Signs (Circle and Triangle in a Square Icon).
Mostly you'll use shop signs and facility signs, to find the signs for your buildings. You may also use shop decorations for the awnings and fascias.
How To Change The Frontage
We suggest finding the pieces to build each type of frontage. This means a shop front with a window, a wall with door, and an archway if you wish - although you can leave the frontage blank on toilets and changing rooms.
Place them all down by your building.
If your shell has no front, you can place one of these straight inside. If it does, you can delete the front piece and replace it with another. Just by doing this, you can make any shell fit almost any building.
When placing pieces, the default settings will allow them to snap into place using the grid as a guide. This works for any building and enables you to quickly swap out the pieces.
How To Place Shops Inside Shells
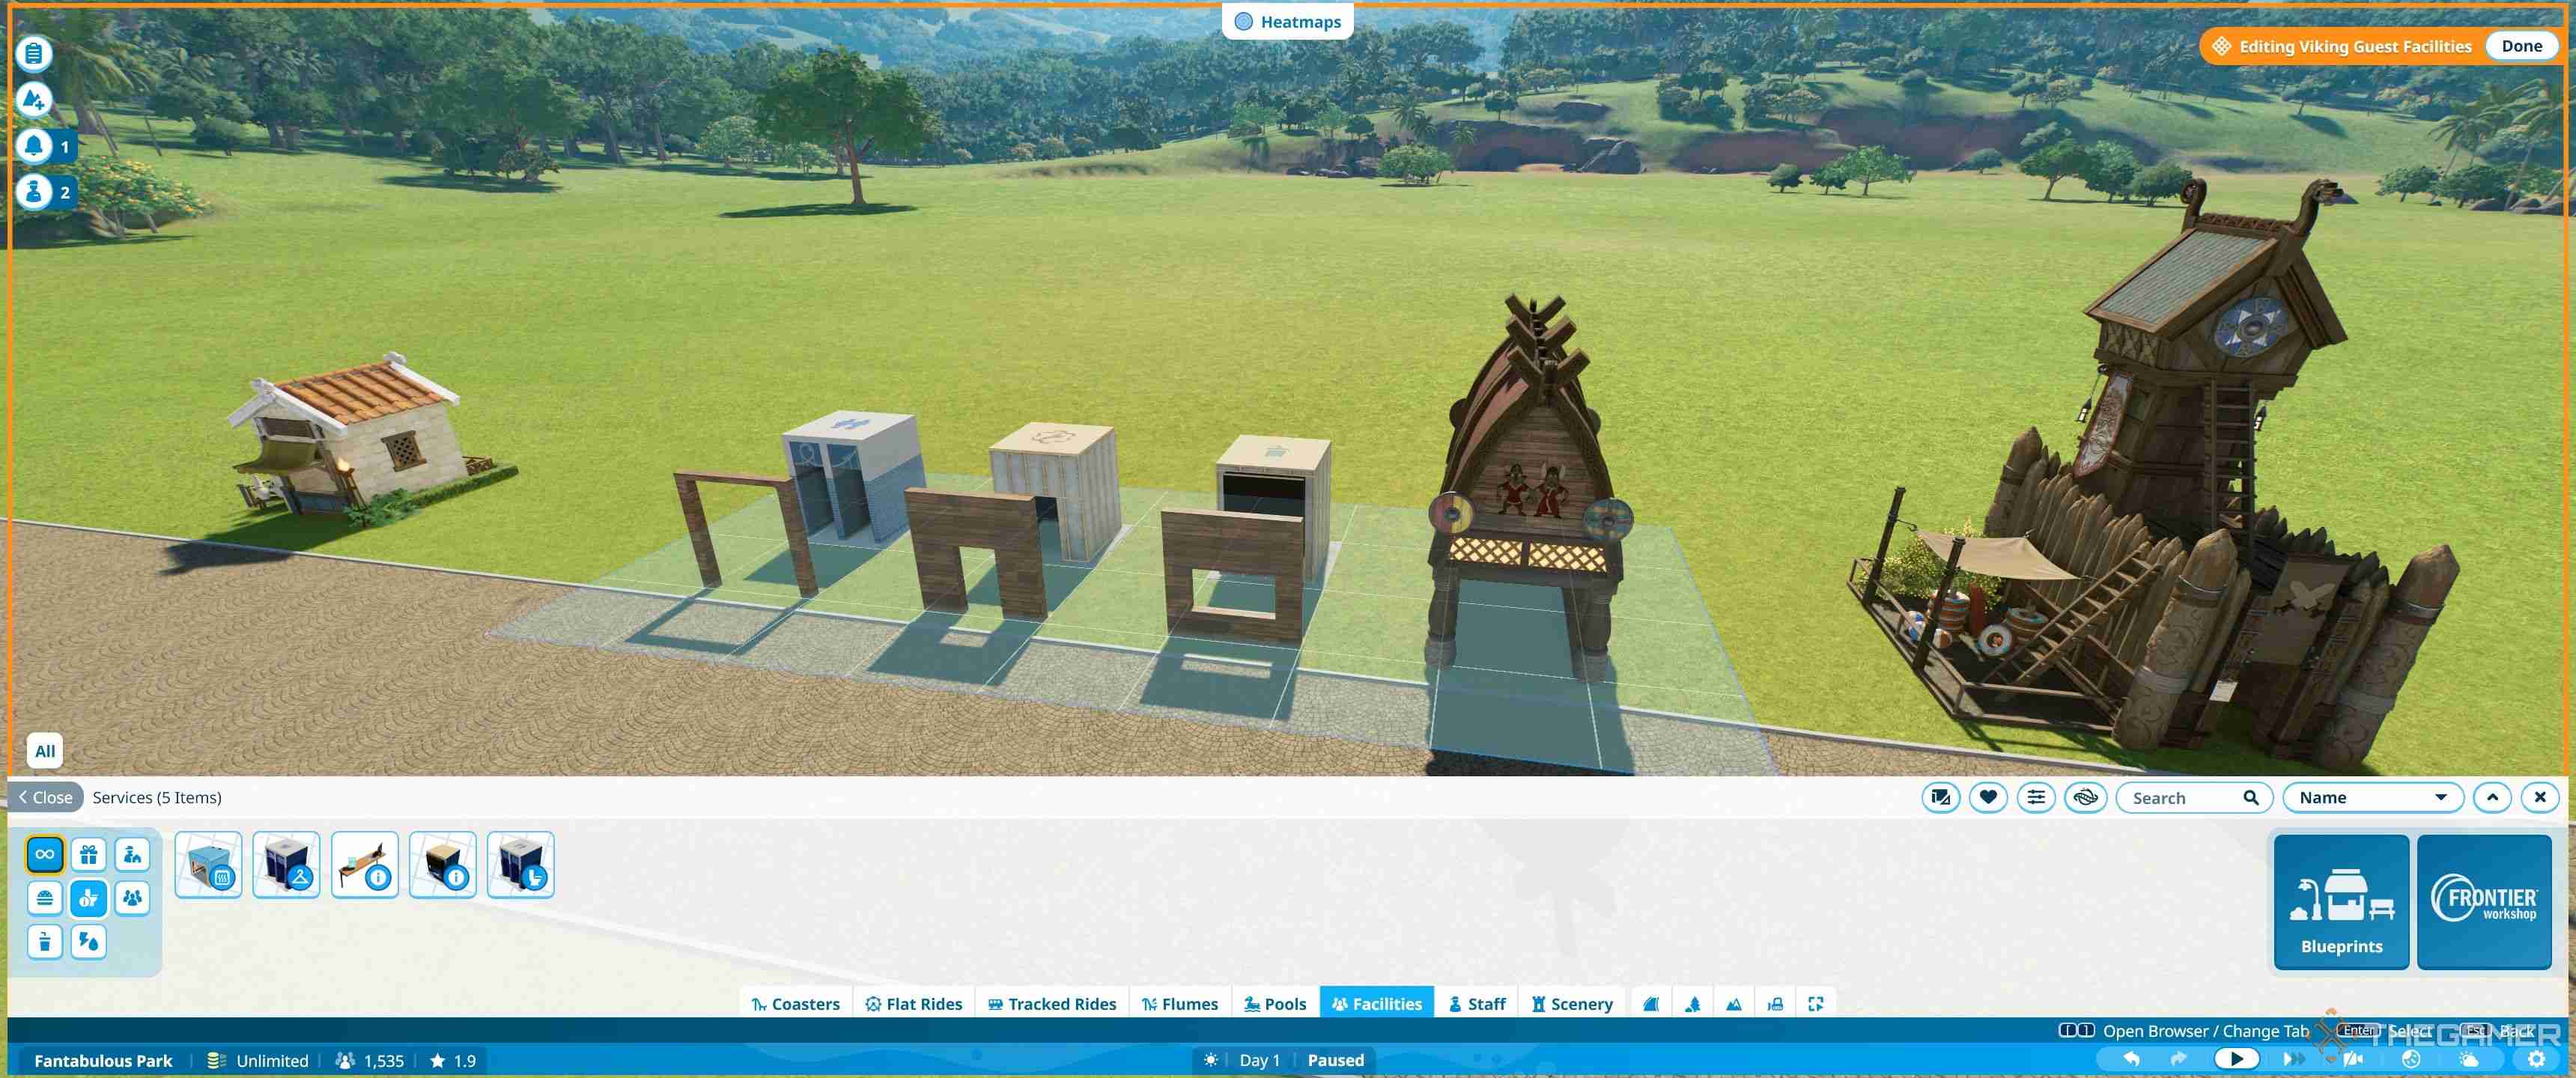
It's now easier than ever to place buildings inside shop shells. First, go to the facilities tab. Then select create custom. You'll now see all the bare shells of buildings, which are sorted by sub categories: Shops (Stall Icon), Services (Three People Icon), Staff Facilities (Person and Hut Icon), and Utilities (Lightning and Drop Icon).
Select the building you need and then drag it towards the shell. As you get close, you should see a pop-up menu that will say Add To Shell Name.

While this is visible, click the building and the shop will become one unit with the shell. Usually the shop will be placed facing the wrong way. However, it should be on the same grid as the shell, so you can simply turn it around.
Pressing Z on the keyboard will rotate it by 90 degrees, or shift and Z allows you to freely rotate it on its axis. Holding shift, and moving the mouse vertically, will adjust it up and down, although this is not usually necessary.
Once the shop or building is in place, this is the bare basics. The rest is decor.
How To Build A Basic Shell From Scratch
Building a basic shell will teach you how to use a few different building tools. You can use this knowledge to make more complex shells, or edit existing ones in more depth. Here, we'll go through the basic steps one by one.
Adding Walls
First, you'll want to find the facility or shop you want. When building from scratch, it's easiest to place the bare building first, since the default settings enable you to snap walls onto a building. Once they are all placed correctly, you can just delete the building from the center, and save the empty shell.
As before, you'll need Facilities > Create Custom to get to the building shells. Place the shop or facility you want, then navigate to Scenery > Building > Walls to get started.
The first step is to add three walls to the sides and back of the building.

By default, you can just drag these towards the shell, and they will snap into place. Selected walls can just be pushed by moving the mouse left and right, and will stop when they are up against a shell.
Once the walls are placed, you'll want to then place the correct front panel for the building type onto the front.
Adding A Roof
The roof pieces are the most complex but when you are just getting started there are a couple of easy cheats to place roofs, especially on small buildings.
Below are some roofs which are all placed either in one piece, two pieces, or four corners, rotated and matched together.

At the back is a thatched flat roof which is one piece, the blue roof is a flat roof with a curve placed above it, and the wooden one is a pre-built viking tiled roof.
These are all just placed down on the top of the building and moved up by holding shift and moving the mouse.
The front shows the 1m pitched roof, the aquatic bevelled metal roof, 2m pitched roof, pitched corner, and corner roof.
The pitched roofs are one piece which is just placed, with the larger building simply being two of them side by side. Triangle pieces which match the walls can be placed to cover the gaps at each end.
The other roofs are four pieces each which just need to be rotated so they match up. With just the Z key for rotating, and shift to move up and down, all these roofs can be placed easily with default settings.
Adding Details To A Shell
Once you have the core shell, the details are what will make your buildings your own. A lot of this will be experimentation. We recommend pulling apart pre-built shells to see how they fit together and then learning how to use a few key tools.
The easiest addition is signs, and for this you'll use the scaling tool as well as the advanced move tool.
To find a sign go to Scenery > Props > Signs and Advertising. Here you'll find all the shop and facility signs as well as fascias and awnings. Everything is placed in the same way, so the tricks you use here you can apply to any other additional decorative items.
How To Place A Sign
Placing signs is the easiest way to make a plain shell look eye-catching and there are several ways to do it. The most common way is simply to add the appropriate shop sign from the signs and advertising section.
When you go to place a sign you'll get some default settings you can change, according to what you find easiest. These just affect how the signs are placed initially.
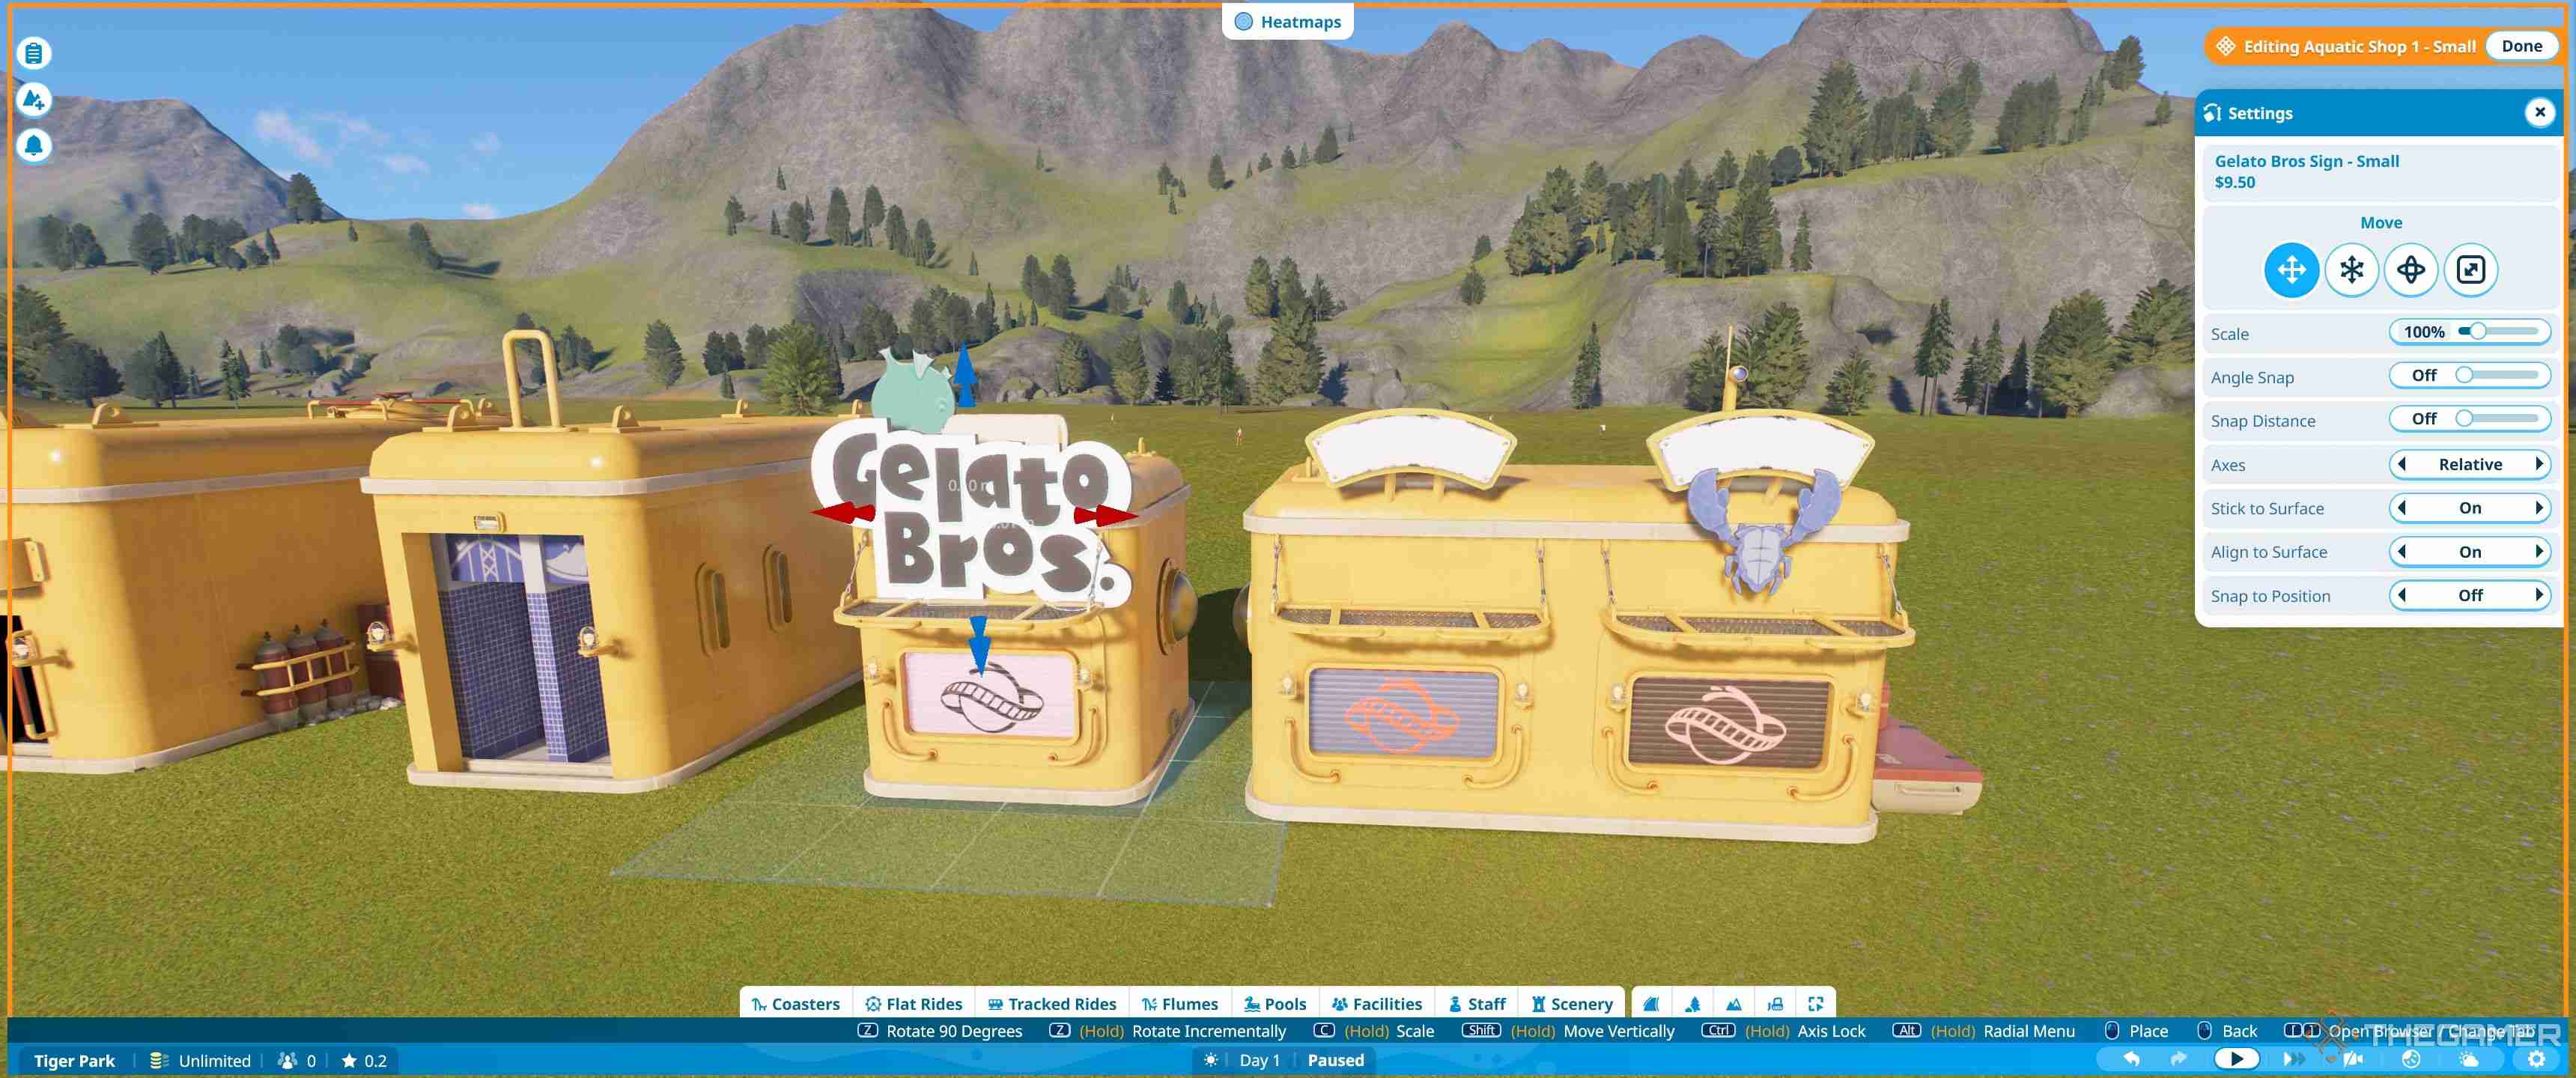
Options for stick to surface, align to surface, and snap to position are the main ones you'll be likely to change, but the default combination does work reasonably well and most signs will align properly.
How To Use Advanced Move And Rotate
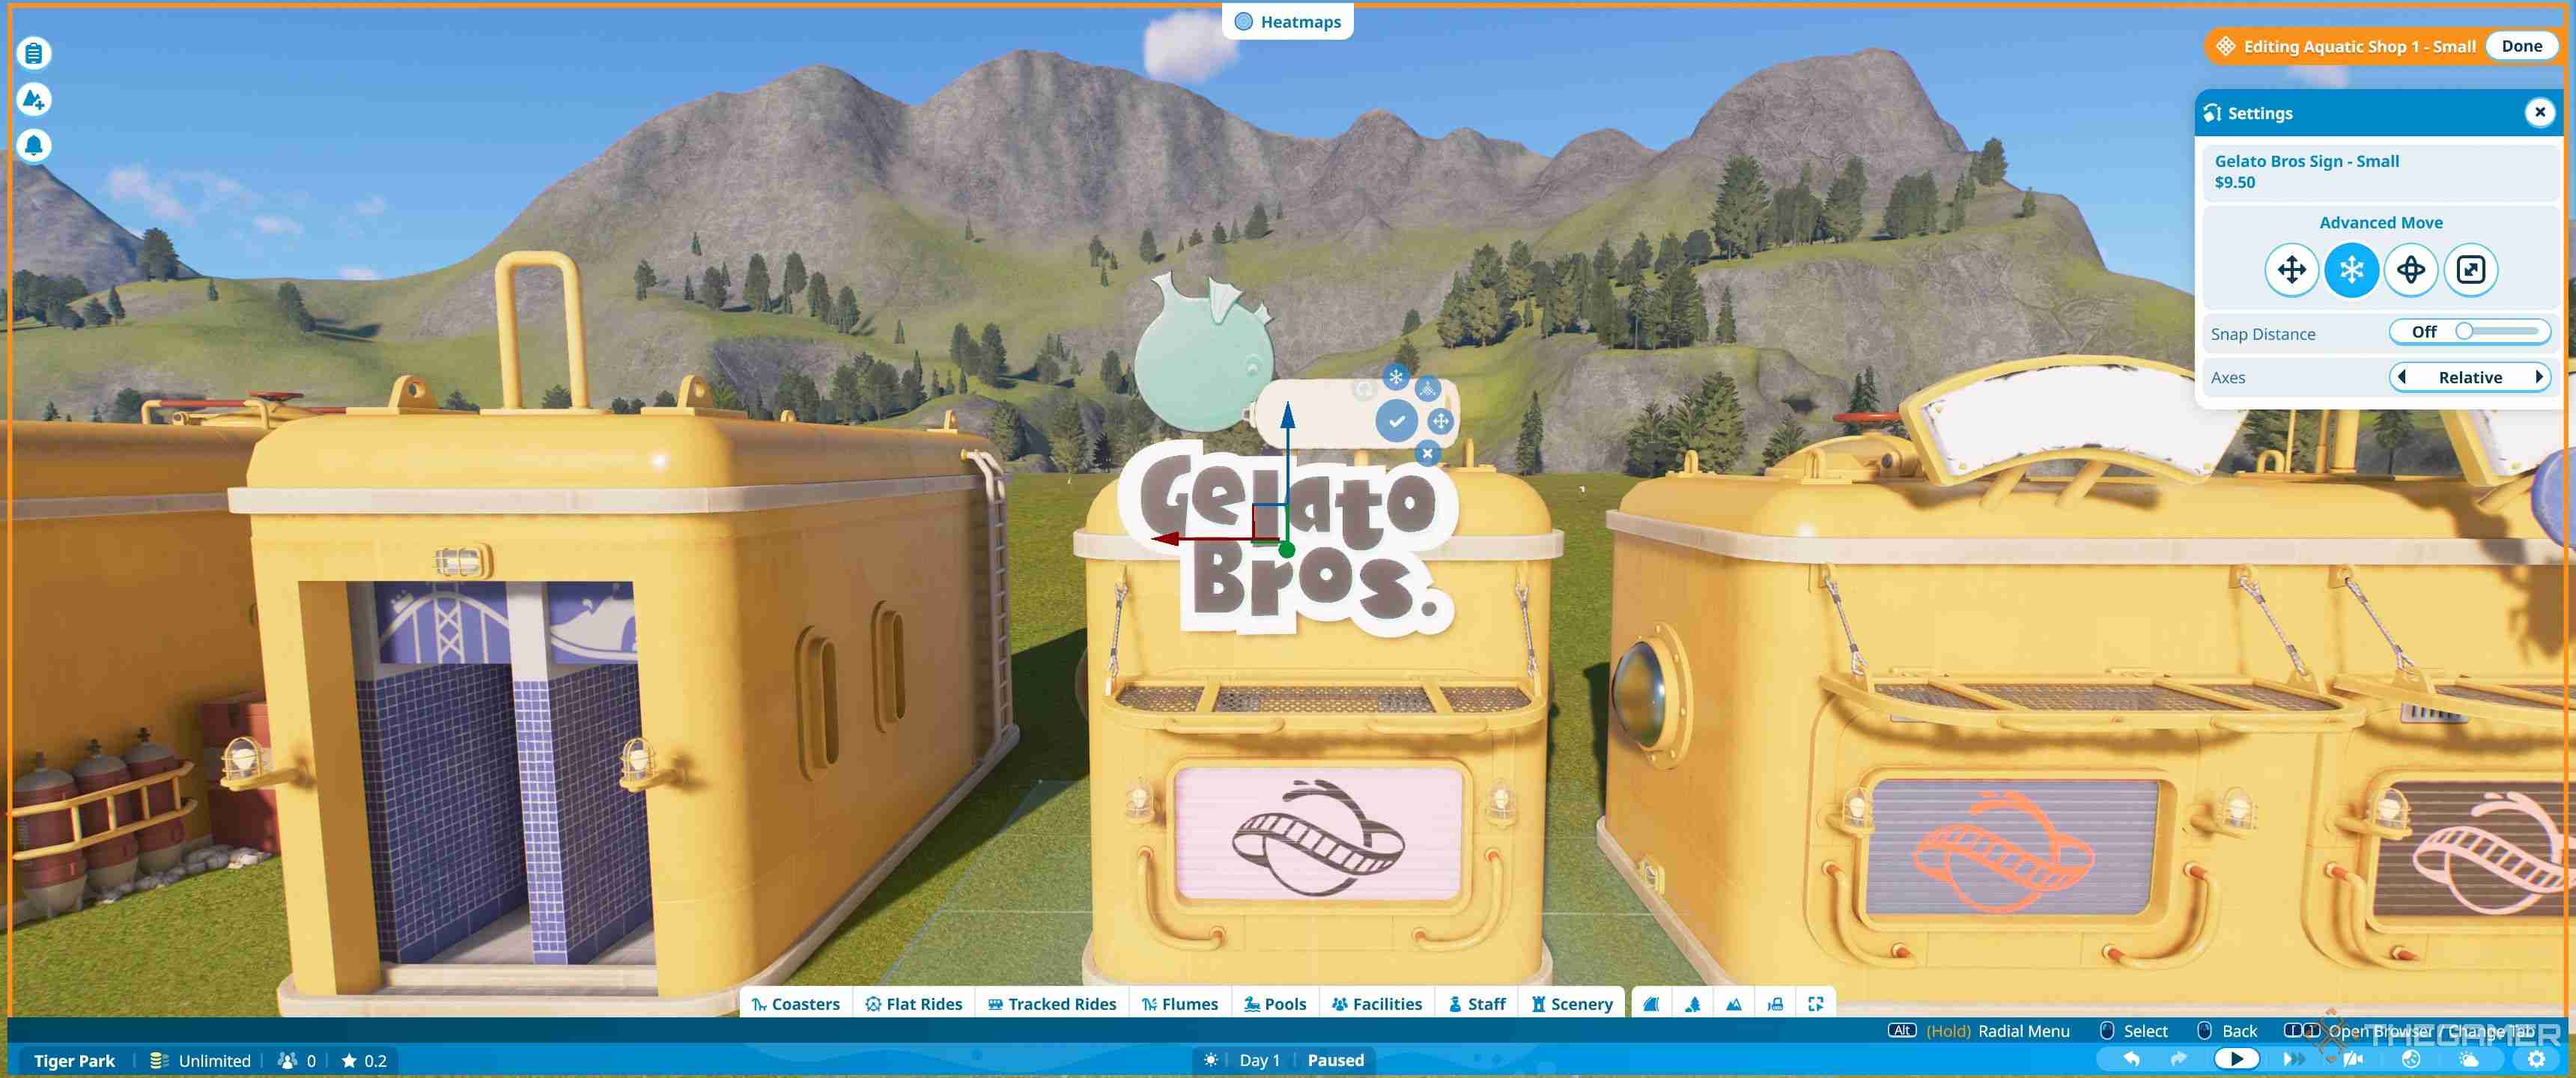
Advanced move is the tool which gives you more flexible options for placing signs. When selecting this you'll first see three lines. These move the item up and down, left and right and forward and backward. You click and drag them and the sign will move in the direction of the arrow.
If you mess anything up just hit escape and the last movement will reset.
Advanced rotate is the next option along, and shows you three circles. These rotate on three different axis by turning them around. This allows you to angle signs, or make sure they are exactly straight.
How To Use Advanced Scale
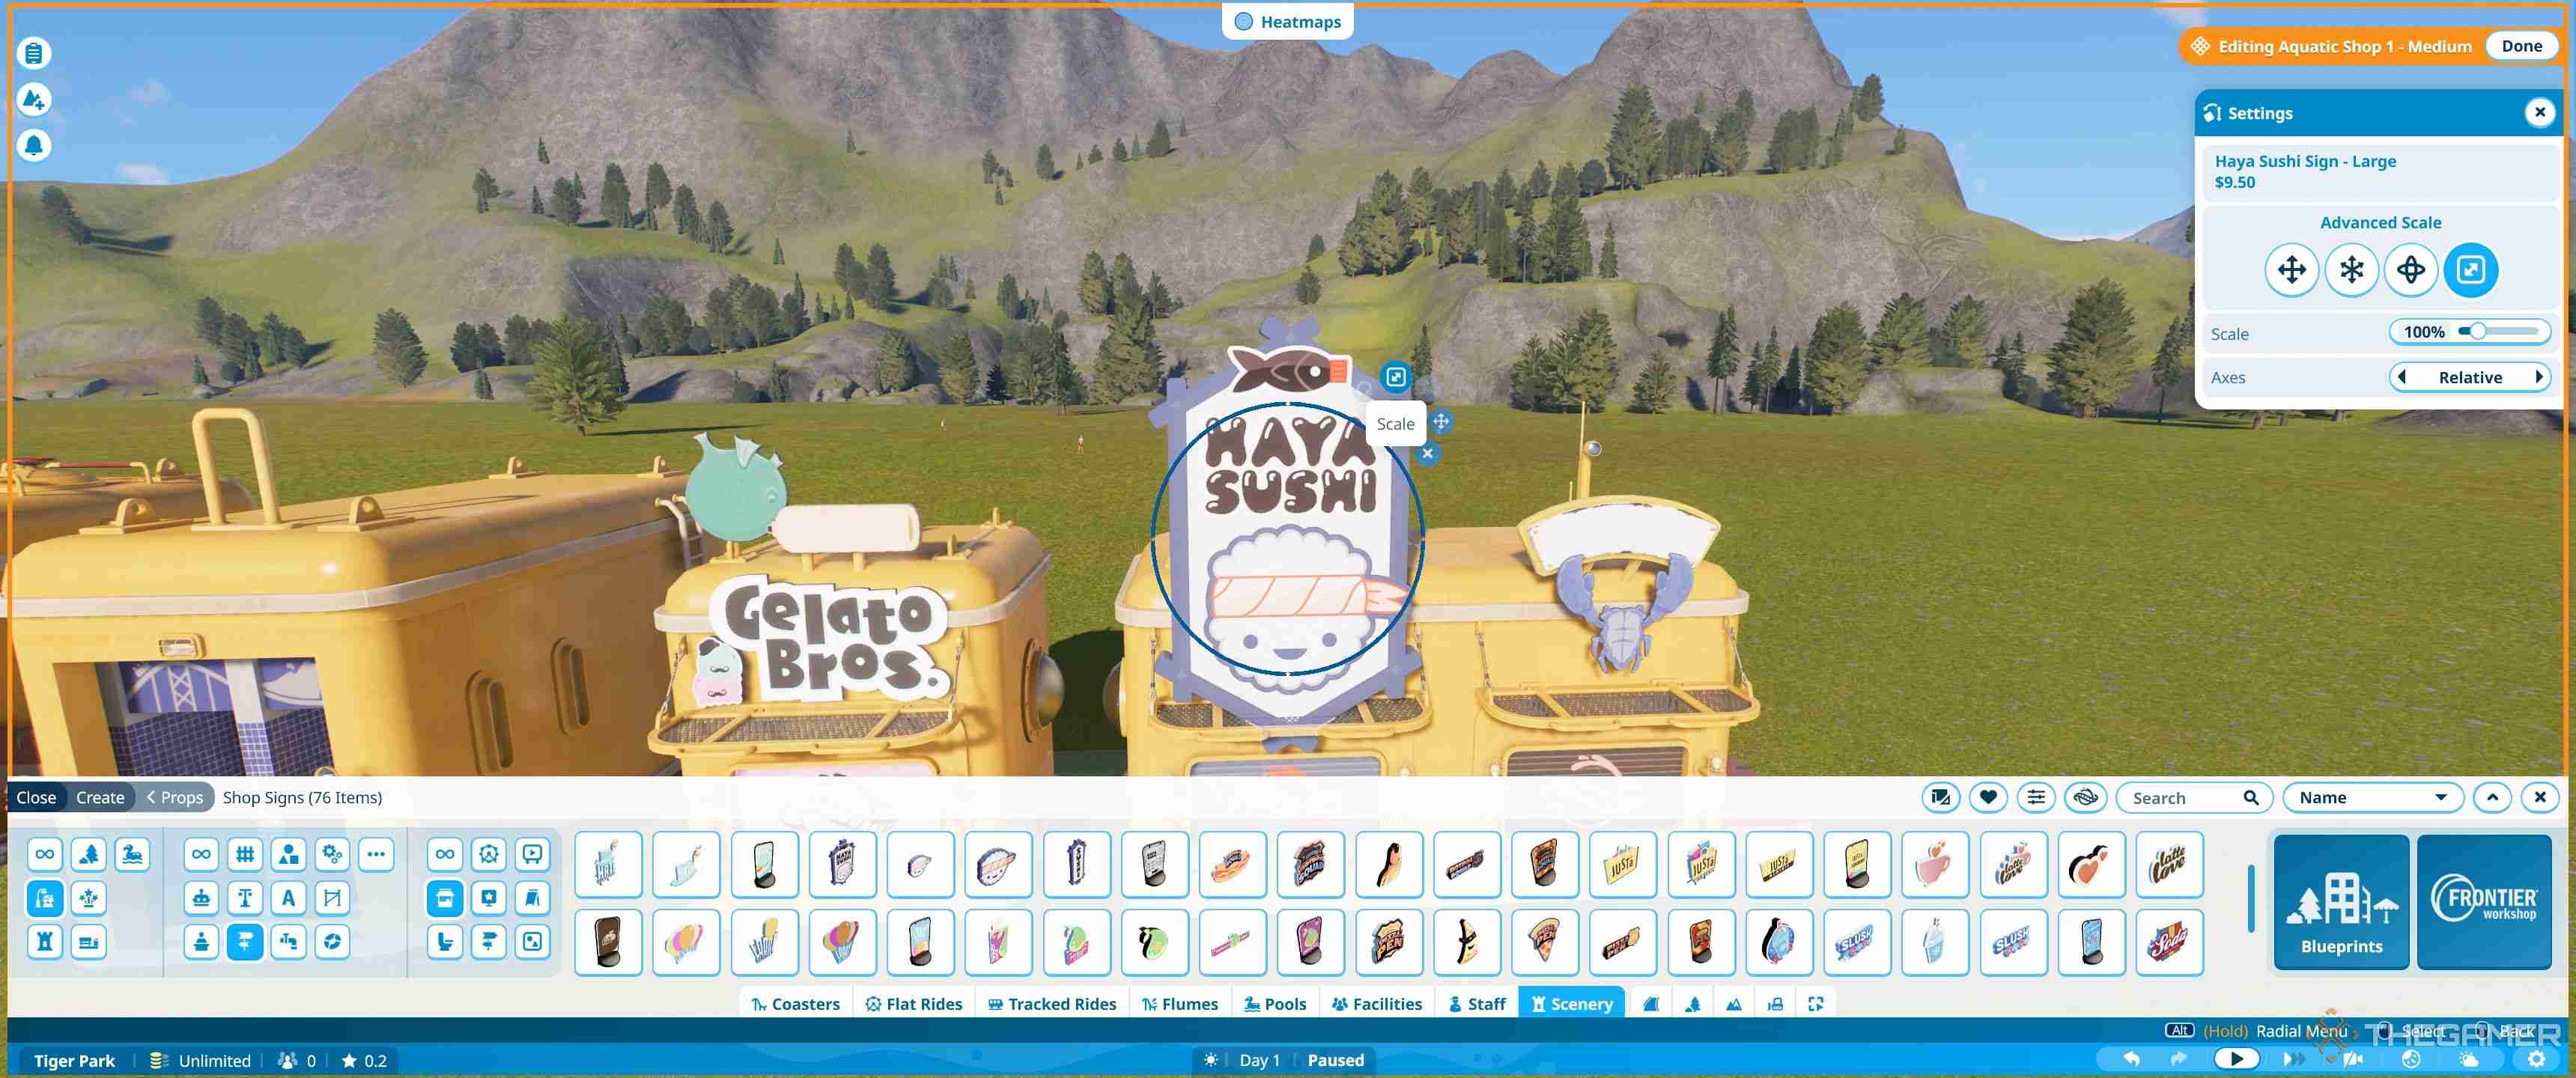
Advanced scale allows you to resize all those huge signs so they properly fit. To use it, simply click the blue circle and then rotate.
Clockwise increases the size and anti-clockwise reduces it. However, you need to make sure you frequently hit the tick button to save the current size, as if you accidentally move from one direction to another the signs can end up being too big to size back down.
How To Use Text Signs
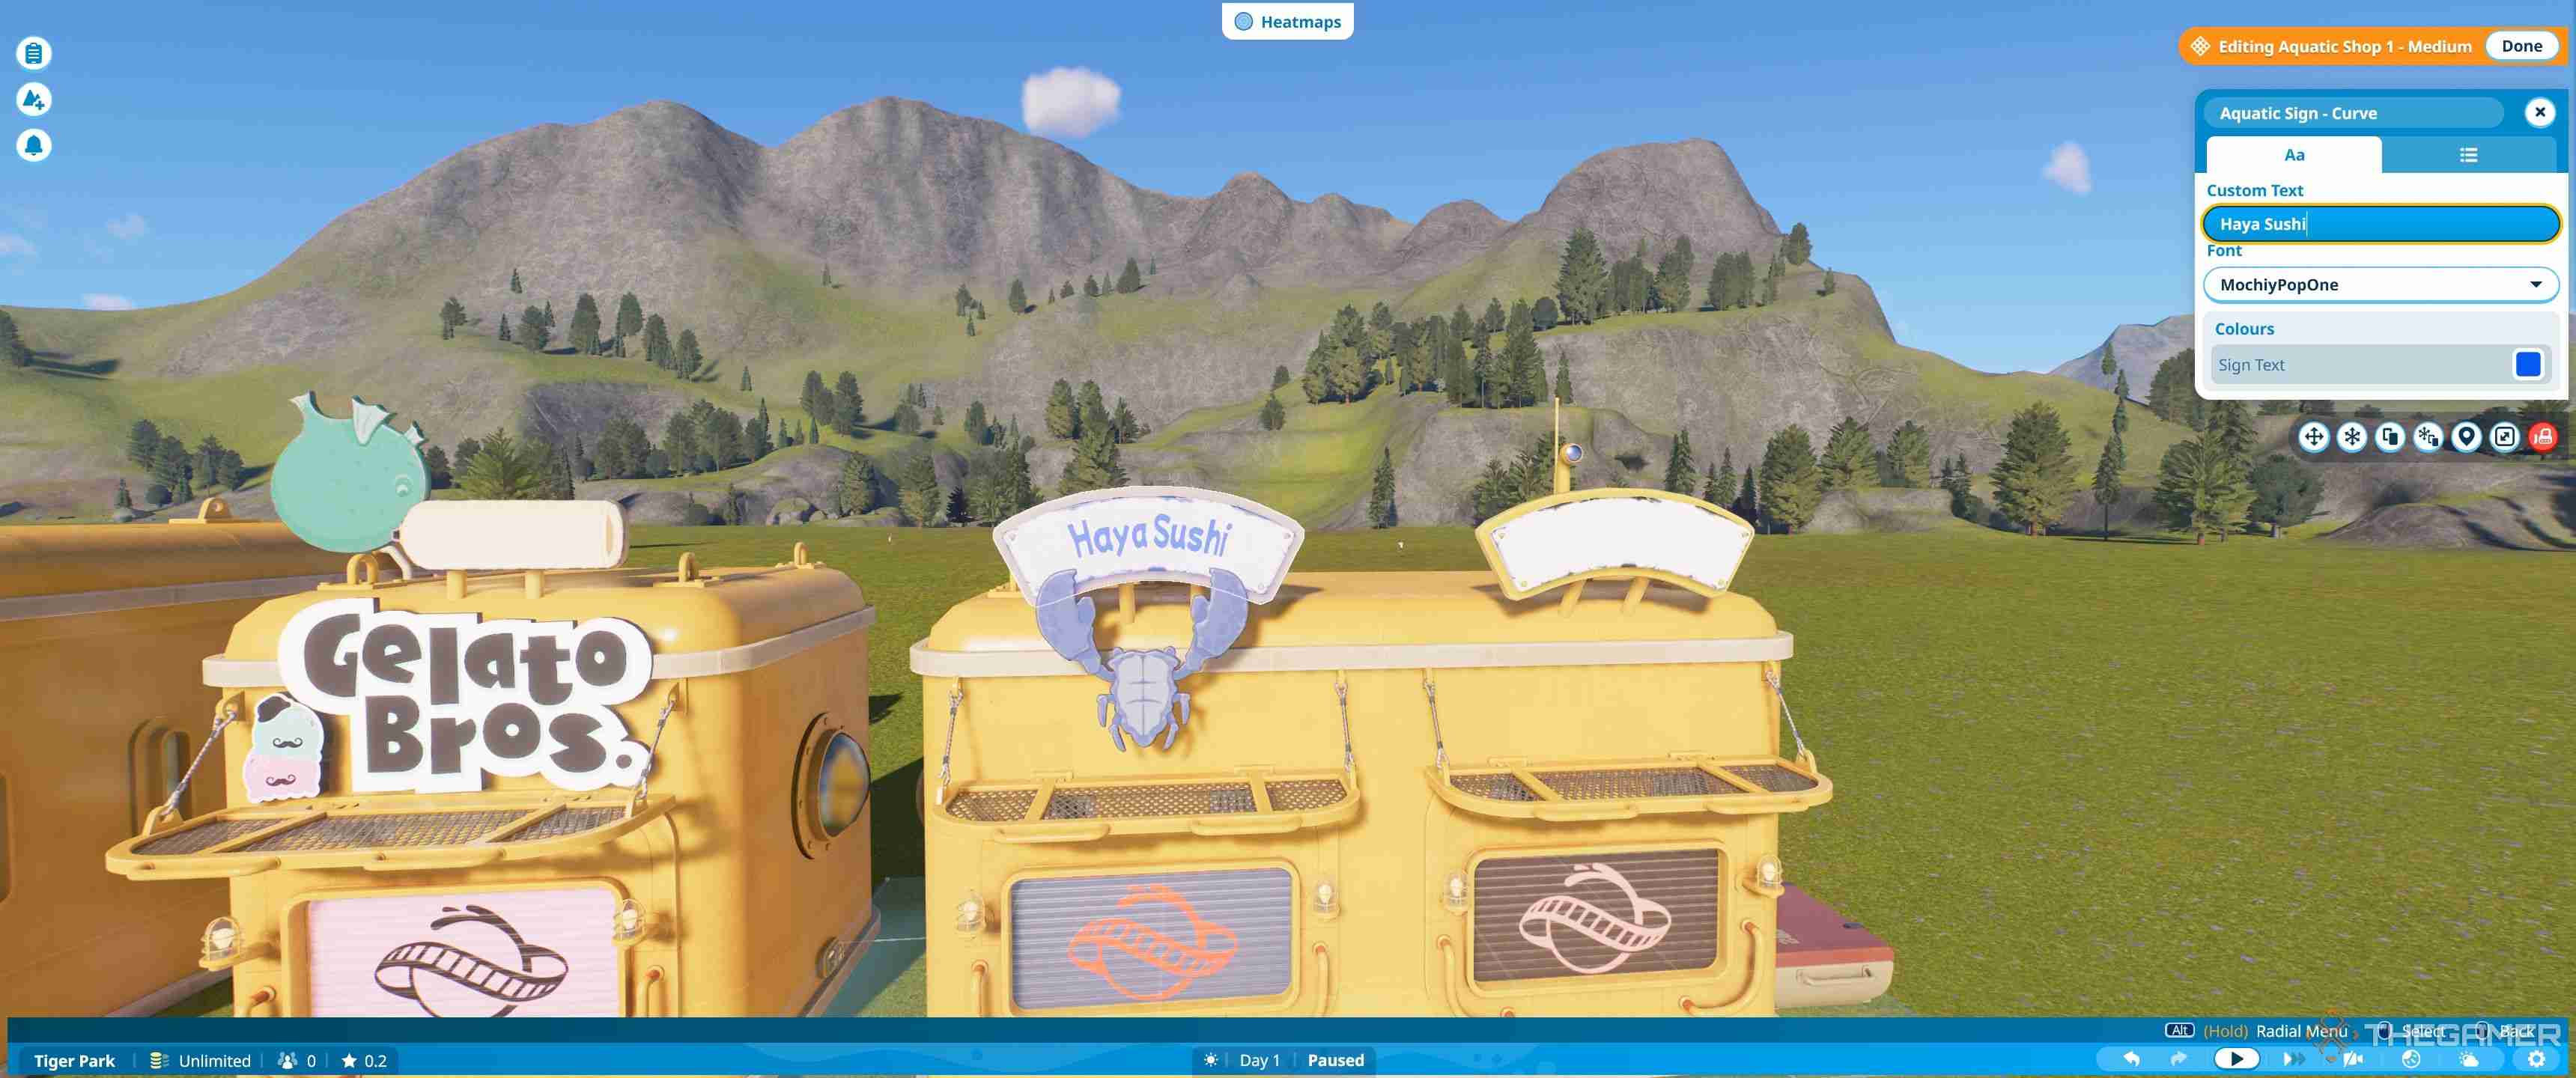
There are also a large number of text signs in the game, many of which are placed on buildings already. To edit these click the sign and a pop-up menu will appear.
In this menu, you can add the text you want on the sign. Underneath you can change the font, and at the very bottom the text colour. The second tab allows you to edit the colour of the sign and split it from the building.
If a regular shop sign is too vibrant, these are a nice alternative, and using the plain logos most stores have, or the generic decorations, like the crab pictured above, you can make a unique sign more fitting to your needs.
How To Add Finishing Touches
Once you've mastered the move rotate and scale functions, you can use these to place any other decorative items on the shell. The best way to learn is simply by jumping into sandbox mode and trying it out. Start by editing existing shells to add, move and adjust things to make them your own, and from here move on to create your own.
-
 最后生还者2季首改动保护艾比演员我已经等待了多年,以了解在HBO上如何适应[的非线性事件,这是我们的最后一部分第2部分,该系列的游戏是基于的。季节开始时,跳跃的情况发生了巨大的变化。 短暂返回了第一个赛季的关键结尾对话后,我们看到了长颈鹿的照片。这立即将我们返回盐湖城,盐湖城是乔尔(Joel)屠杀了萤火虫以保持艾莉(Ellie)活...游戏 发布于2025-05-03
 -
Delta Force弹药与护甲系统详解与传统的FPS游戏不同,提取射手具有更高级的装甲和弹药伤害系统。 The Operations mode in Delta Force is no different, though their version is somewhat simplified compared to a game li...游戏 发布于2025-05-03
-
神秘轮盘的诡异冒险:Split Fiction离开齐天大圣的领域后,你会偶然发现一个奇怪的小角落。那里有一台吐出香蕉的老虎机(为什么不呢?),还有一个看起来很重要的轮盘……但其实什么都不是。 你可能会认为这个轮盘隐藏着什么秘密谜题或游戏机制。也许正确地旋转它可以解锁一条隐藏的路径,或者也许落在正确的数字上会给你奖励。不。它什么也不做。 继续,...游戏 发布于2025-05-03
-
Pet Simulator 99 VIP福利详解许多Roblox游戏都提供购买游戏通行证,而PET Simulator 99也不例外。 VIP游戏通行证的价格为400 Robux,有望带来许多好处和奖励。但是您到底得到了什么,这是一项值得投资的? 本指南分解了宠物模拟器99 VIP游戏通行证的内容。 [2 从游戏中独家商店购买的VIP Pass...游戏 发布于2025-05-03
-
Smite 2解锁众神指南Smite 2 的众神并非唾手可得。想要扩充你的神明阵容,你需要付出努力——或者金钱。以下是如何解锁神明并打造你梦想阵容的方法。 在 Smite 2 中解锁神明的方法 创始者礼包:购买任何等级的创始者版本即可立即解锁所有神明,包括现有的和未来的。如果你不想费心磨练等级,这是最简单的方法。 神明代币...游戏 发布于2025-05-02
-
如何在《Anime Last Stand》中获得传送门动漫最后一站更新2引入门户 - 获取对掌握游戏至关重要的特殊单位的新方法。本指南说明了如何获取和利用这些门户。 [2 [2 获取门户的最有效方法是在噩梦难度下以无限模式征服老板。 每个老板击败都有10%的机会接收门户。 协助其他人完成门户网站也有机会赚钱。 虽然在故事模式下击败老板可能会产生门...游戏 发布于2025-05-02
-
任天堂宣布《旷野之息》在Switch 2上无好消息令人失望的消息:任天堂Switch 2版《塞尔达传说:旷野之息》或将缺失DLC内容 对于期待在任天堂Switch 2上完整体验《塞尔达传说:旷野之息》的玩家来说,任天堂似乎带来了一些坏消息。作为2017年Switch的首发游戏,《旷野之息》至今仍是该主机上最受欢迎的游戏之一。Switch 2版《旷野...游戏 发布于2025-05-02
-
《流放之路2》战士职业攻略Path of Exile 2中的战士:近战格斗大师 战士是《流放之路2》中典型的近战格斗职业。一手持战锤,一手持大盾,战士化身为战场上的坦克,吸收伤害的同时,用强大的打击击溃敌人。 战士在攻防两方面都能专精,使其成为一个优秀的全能型职业。如果您想在《流放之路2》中扮演战士,以下内容将向您介绍该职业...游戏 发布于2025-05-02
-
豪龙:夏威夷海盗黑帮财神神社兑换攻略在“像龙:无限的财富”中,熟悉的Kamurocho吉祥物Kamulop带着他的财富交换店返回! 本指南详细介绍了如何解锁商店,找到纸质命运并利用商店的独特奖励。 [2 在檀香山中收集纸质命运,在其他地方无法解锁独家项目。 [2 [2 开始第二章后不久,访问bar的访问会触发过过场动画,引入了Kam...游戏 发布于2025-05-01
-
Mudborne:如何增加更多存储空间Mudborne的最初库存感觉很宽敞,但探索,繁殖青蛙和资源收集很快需要更多存储。 幸运的是,存在几种选择来扩大您的承载能力。虽然有些家具适合特定生物,但随着您的进展,许多存储解决方案都可以使用。 背包甚至可以很早就可以实现! [2 增加泥浆中的存储 [2 [2 您可能已经获得了青蛙和虫子家具...游戏 发布于2025-05-01
-
-
模拟人生4狼人模式作弊码大全The Sims 4 Werewolves rounds out the trilogy of occult-themed game packs, giving your Sims the ability to transform into a beastly, barely-humanoid ba...游戏 发布于2025-05-01
-
怪物猎人荒野火石获取地点及攻略Monster Hunter Wilds手工制作需要各种特殊的材料,而Firestones是您使用武器和装甲所需的首次。 但是,他们的位置并未明确标记。本指南解释了在哪里可以找到和有效地耕种木材。 在Monster Hunter Wild 是从位于油井盆地的采矿露头获得的。 它们是每个节点的...游戏 发布于2025-05-01
-
王朝霸业起源终极解锁攻略及隐藏要素大全《王朝无双:起源》通关后挑战:解锁吕布、赤兔马及更多精彩内容! 恭喜你战胜了《王朝无双:起源》的主线剧情!真正的乐趣才刚刚开始,游戏丰富的后期内容等你探索!从更具挑战性的关卡到隐藏解锁要素,这里将为你揭晓所有内容,并教你如何轻松应对,避免抓狂(以及肉包子短缺)。 后期游戏内容:有哪些新内容? 完成主...游戏 发布于2025-04-30
-
苏丹游戏:13个新手必备攻略掌握苏丹的游戏:生存的1001阿拉伯夜晚的指南 在苏丹的游戏中,您浏览了一个疯狂的独裁者的奸诈世界,努力通过日常挑战为生存而努力。 本指南提供了胜过苏丹并避免迅速而令人不快的结局的基本技巧。 5:31 核心挑战在于巧妙地导航道德上模棱两可的难题。您将面临对流血,盗窃和不忠的需求,同时保持微妙的平...游戏 发布于2025-04-30


学习中文
- 1 走路用中文怎么说?走路中文发音,走路中文学习
- 2 坐飞机用中文怎么说?坐飞机中文发音,坐飞机中文学习
- 3 坐火车用中文怎么说?坐火车中文发音,坐火车中文学习
- 4 坐车用中文怎么说?坐车中文发音,坐车中文学习
- 5 开车用中文怎么说?开车中文发音,开车中文学习
- 6 游泳用中文怎么说?游泳中文发音,游泳中文学习
- 7 骑自行车用中文怎么说?骑自行车中文发音,骑自行车中文学习
- 8 你好用中文怎么说?你好中文发音,你好中文学习
- 9 谢谢用中文怎么说?谢谢中文发音,谢谢中文学习
- 10 How to say goodbye in Chinese? 再见Chinese pronunciation, 再见Chinese learning


