
Top 6 Fixes for Lightshot Not Working on Windows 11
 Browse:399
Lightshot is a free screen capture tool available for Windows and Mac. You can grab screenshots, share them with others, or upload them to its cloud storage. It is even possible to annotate the screenshot. While it’s a fantastic utility, some users report that Lightshot is not working or doesn’t work properly and either crashes in between or doesn’t launch at all.

Evidently, this happens when Lighshot doesn’t have administrator privileges, has a misconfigured hotkey, or is due to a recent Windows update. We will discuss six methods to fix Lightshot and make it functional again.
1. Restart Lightshot With Administrator Privileges
Missing administrative privileges can prevent Lighshot from saving images or working properly. So, you must restart Lightshot with administrative privileges. Here’s how to do it:
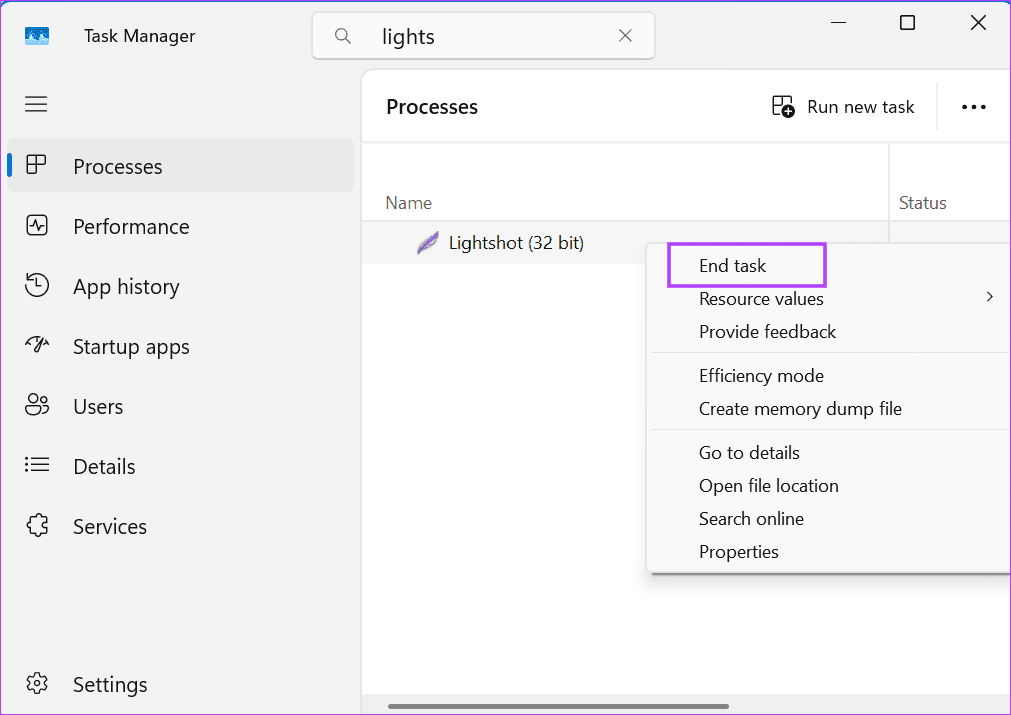
Step 1: Press the Ctrl Shift Esc keys to open the Task Manager.
Step 2: Find the Lightshot process and right-click on it. Select the End Task option.
Step 3: Close the Task Manager.
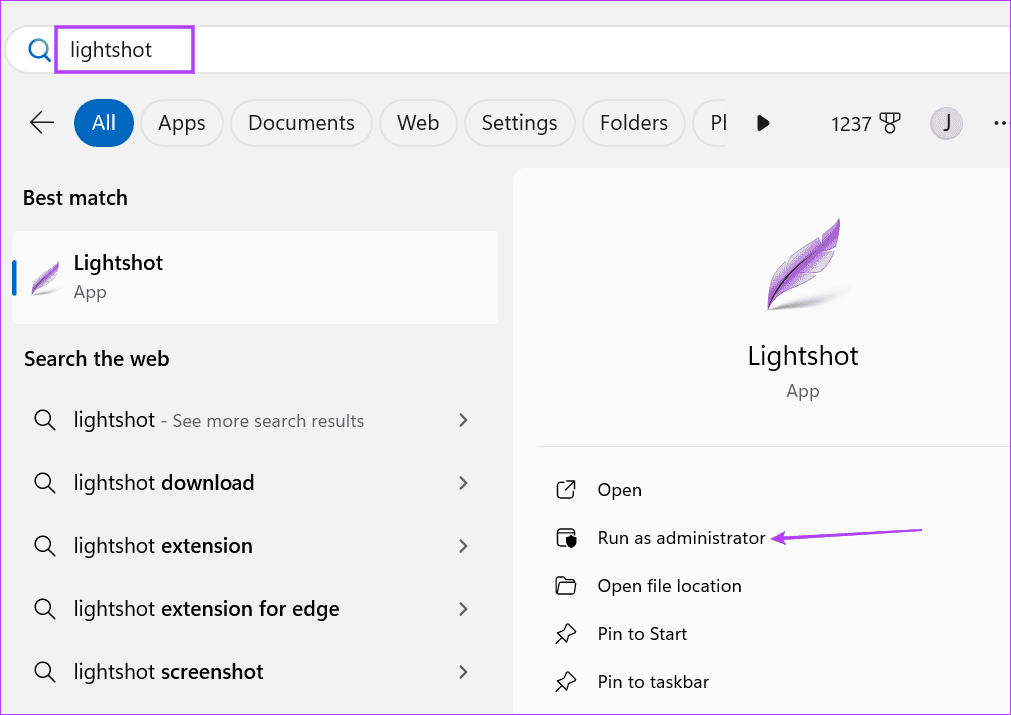
Step 4: Press the Windows key to open the Start menu. Type lightshot in the search bar and click on the Run as administrator option.
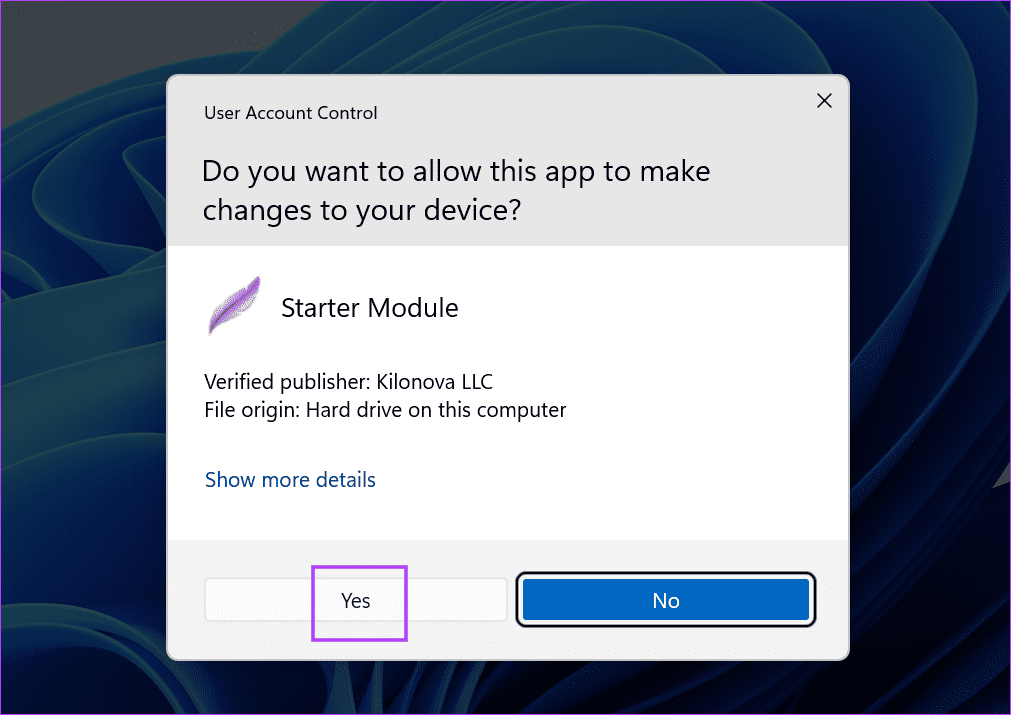
Step 5: The User Account Control window will launch. Click on the Yes button to open Lightshot with administrator privileges.
Step 6: Go to the system tray icons and click on Lightshot. Or you can press the hotkey to open the capture window.
2. Check and Configure Lightshot’s Capture Key
Microsoft changed the way the PrintScreen key works in Windows 11. It opens the Snipping Tool by default now. Needless to say, if you previously used the same key to launch the screen capture in Lighshot, it won’t work now.
So, you must reconfigure the hotkey or disable the PrintScreen key from opening the Snipping Tool by default.
Here’s how to disable Windows from using the PrintScreen key for the Snipping Tool:
Step 1: Press the Windows key I to open the Settings app.
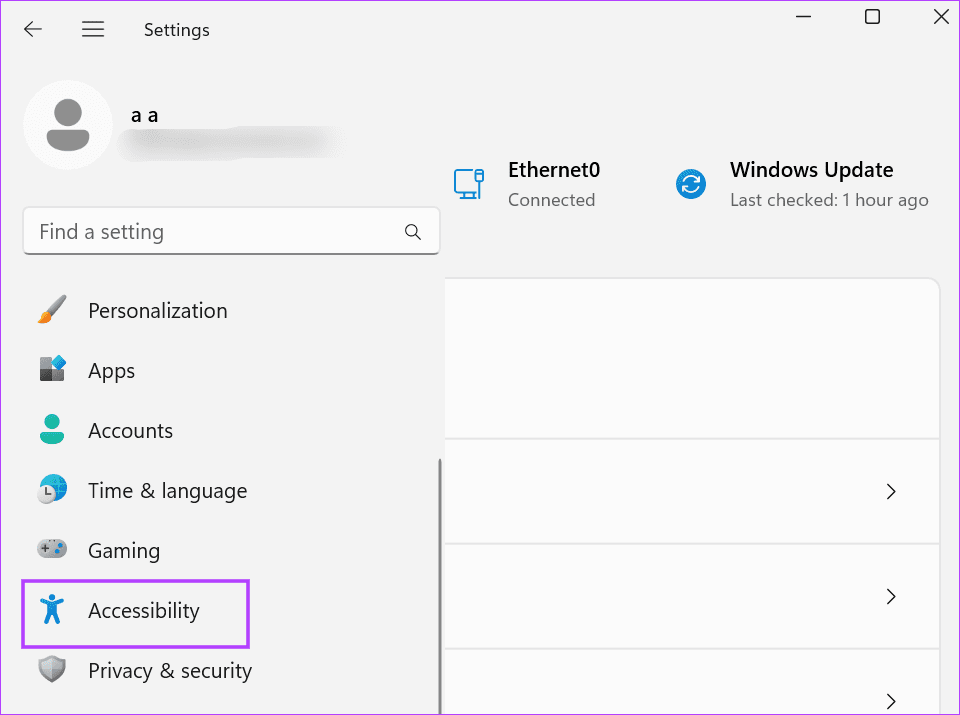
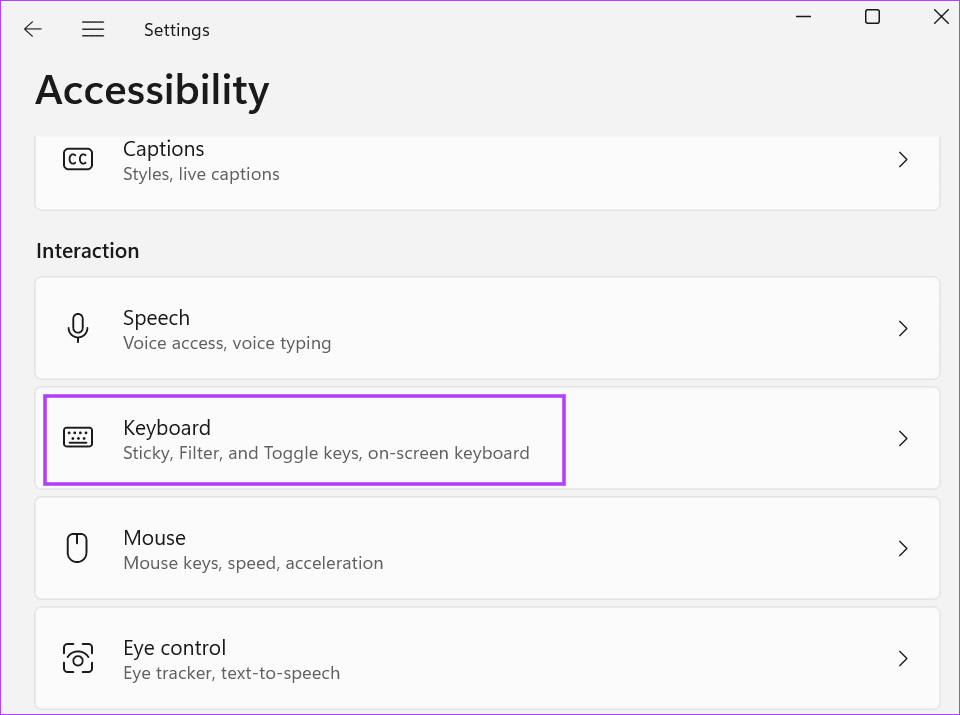
Step 2: Click on the Accessibility option.
Step 3: Scroll down to the Interaction section. Click on the Keyboard option.
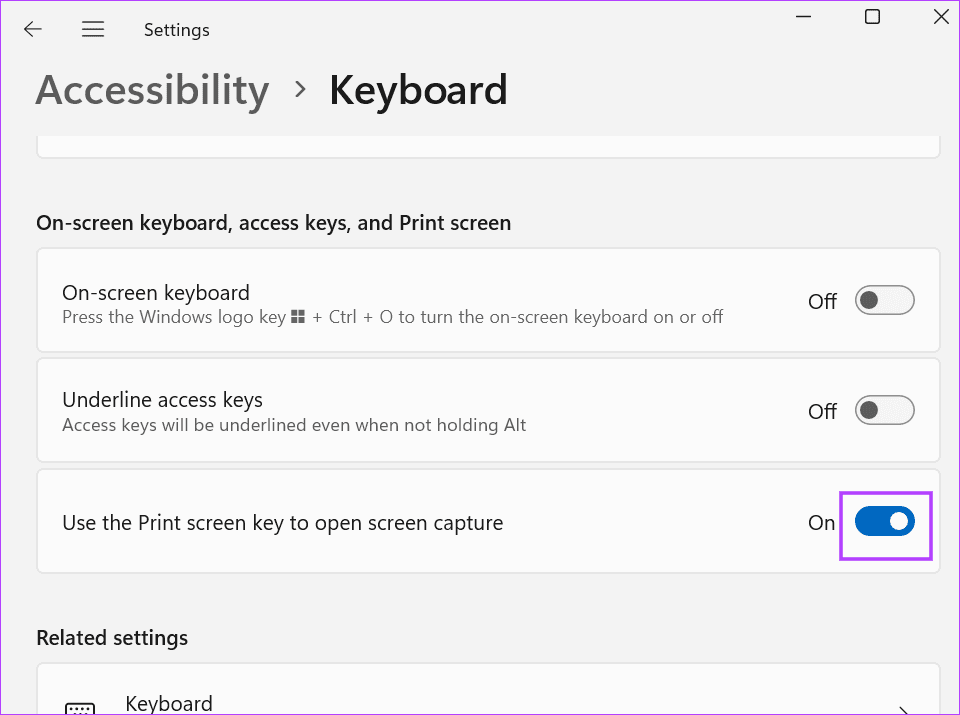
Step 4: Disable the toggle next to the ‘Use the Print Screen to open screen capture’ option.
Step 5: Close the Settings app.
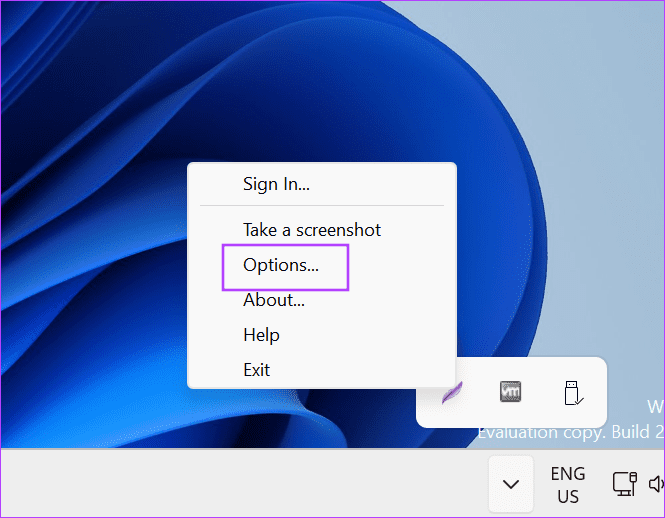
Step 6: Go to the system tray icons area and right-click the Lightshot icon. Select Options.
Step 7: Switch to the Hotkey tab.
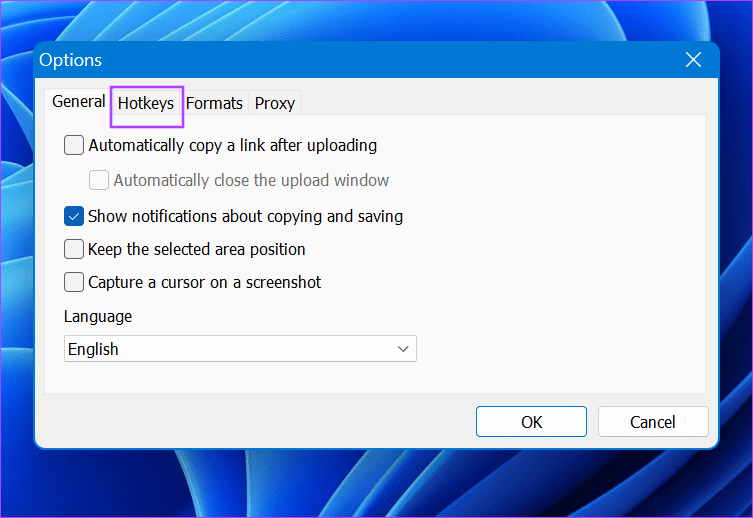
Step 8: Enable the General Hotkey checkbox. Click on the key mapping box and press PrintScreen.
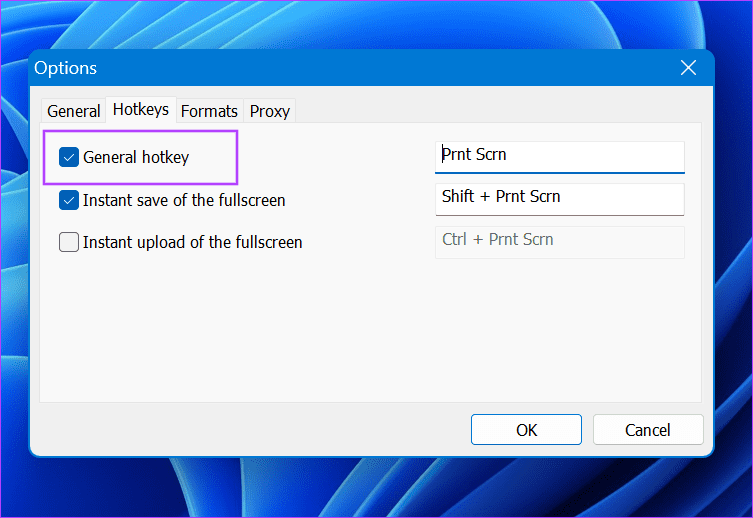
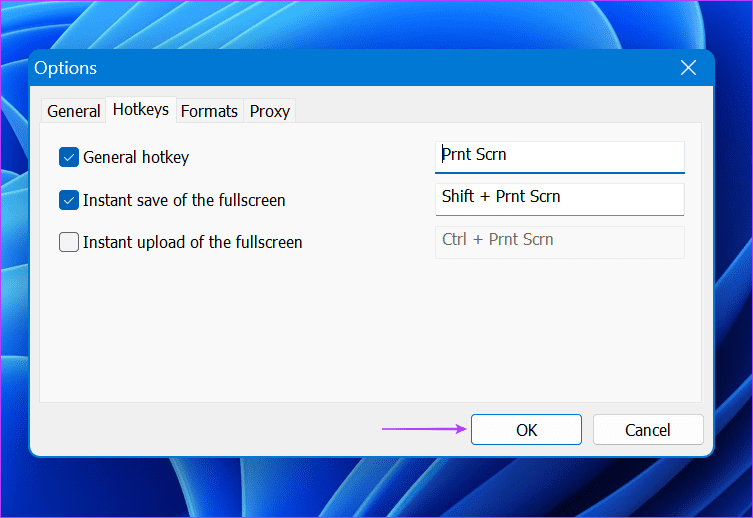
Step 9: Click on the OK button.
Step 10: Restart Lightshot with administrator privileges.
Step 11: Press the PrintScreen key to check if the capture option appears now.
3. Change the GPU Preference in the NVIDIA Control Panel
A few users fixed the Lighshot not capturing issue by changing the GPU preference in the NVIDIA Control Panel. If you have a laptop with two graphics cards (integrated and discrete), you must switch to the auto-select GPU mode option in the NVIDIA Control Panel. Here’s how to do it:
Step 1: Press the Windows key to open the Start menu. Type nvidia control panel in the search bar and press Enter.

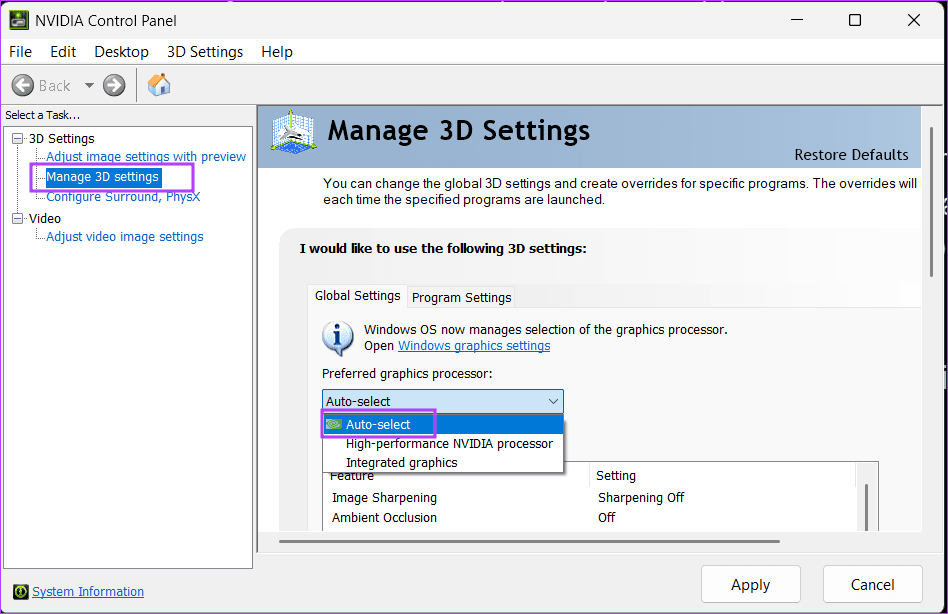
Step 2: Click on the Manage 3D settings option.
Step 3: Click on the Preferred graphics processor option and choose Auto-select.
Step 4: Now, click on the Apply button.
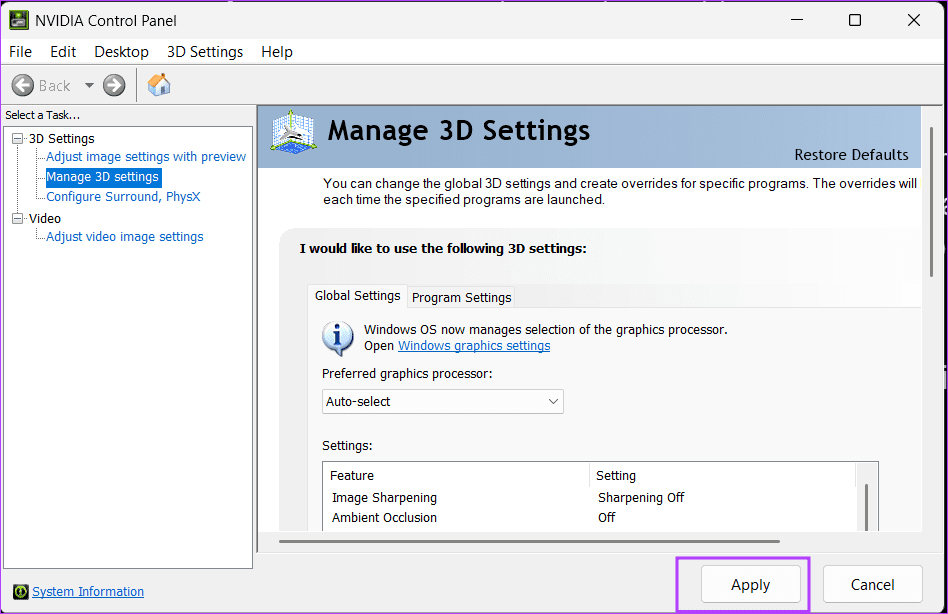
Step 5: Close the NVIDIA Control Panel app.
4. Remove a Recent Windows Update
Many users complained about Lightshot not capturing screenshots after Windows installed an automatic update. However, some users noticed that the Lighshot problem disappeared after manually installing the latest definition updates.
All you need to do is open the Settings app and check for the latest updates. If any are available, install them and check if Lighshot works properly. But if there are no new patches and updates, you must uninstall the update that caused interference with Lightshot. Here’s how to do it:
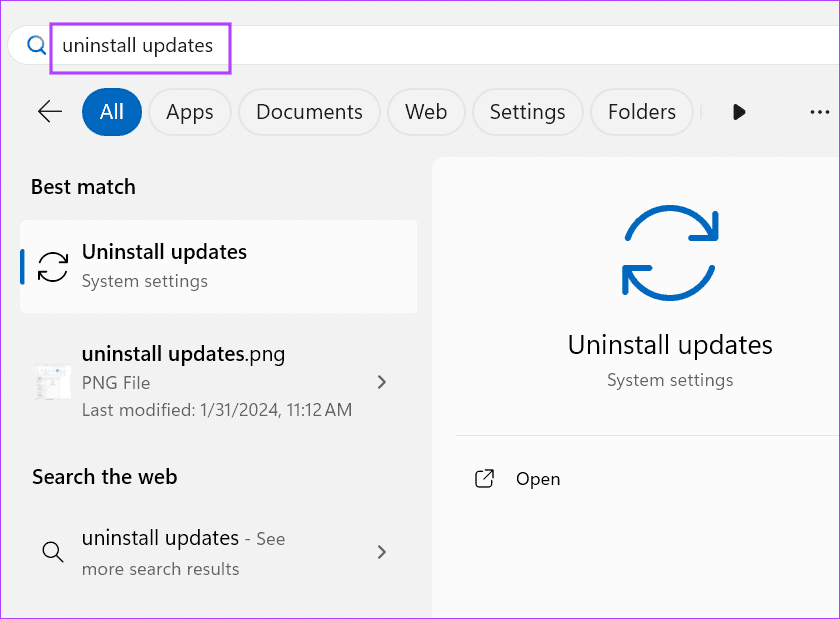
Step 1: Press the Windows key to open the Start menu. Type uninstall updates in the search bar and press Enter.
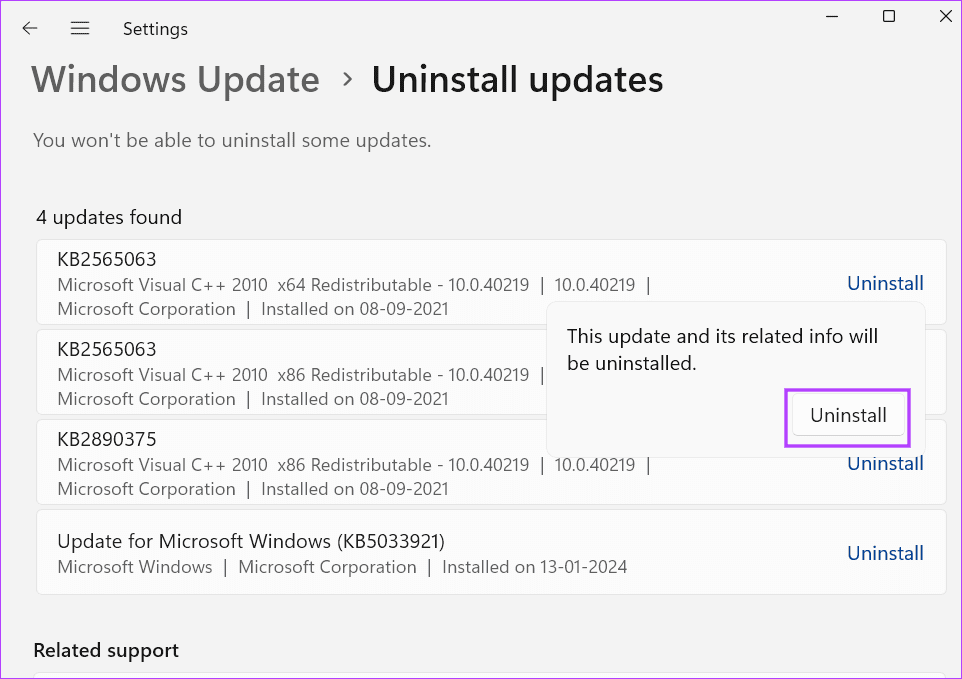
Step 2: Find the most recent update and click on Uninstall.
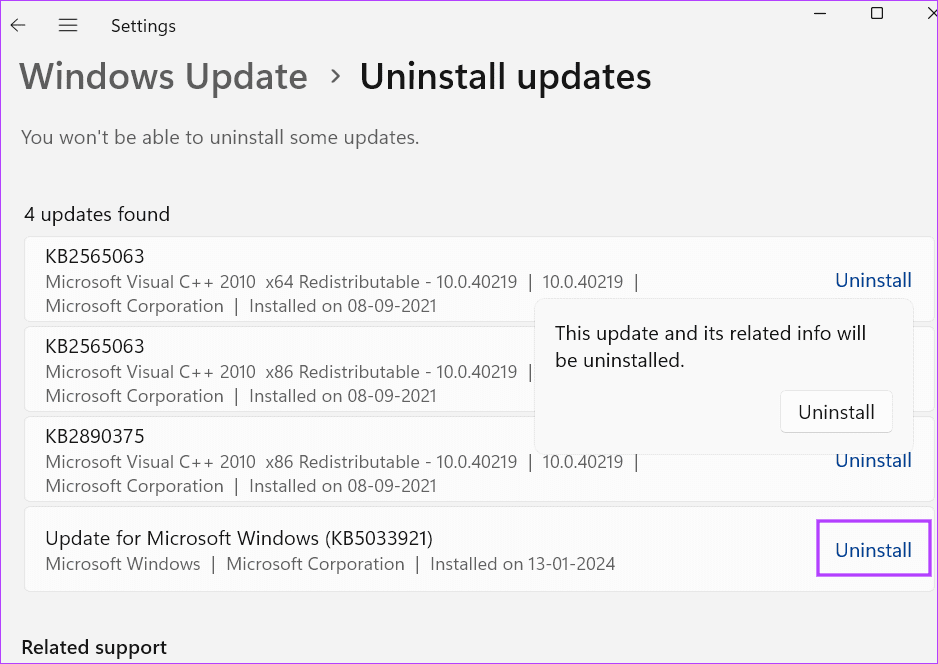
Step 3: Click on Uninstall once again to remove the update.
Step 4: Restart your PC to apply the changes.
5. Update System Drivers
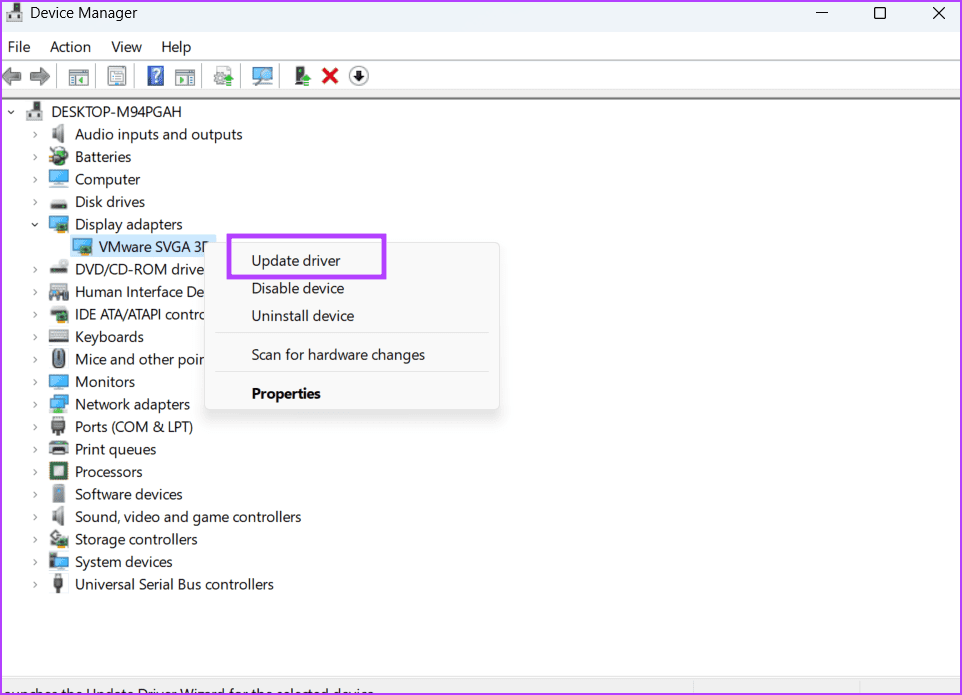
If you last updated your device drivers a while ago, you must update them using the Device Manager. Open the Device Manager and right-click on a device. Select the Update driver option, and the utility will install the latest drivers.
However, Device Manager doesn’t always download the latest drivers. In that case, you can use a driver download utility (MyAsus, MSI Center, etc) offered by your PC manufacturer. That will help you check and download all the drivers’ updates in one go.
For custom PC users, it will be painstaking because they need to check and download the latest version for each device. Also, update your BIOS along with the device drivers.
6. Reinstall Lightshot
The last resort is to reinstall Lightshot. Since Lightshot has no option to check for updates, you must uninstall the current version and replace it with the most recent version from the official website.
It will replace the corrupt files of the current installation and fix the launch and crash issues with Lightshot. Here’s how to do it:
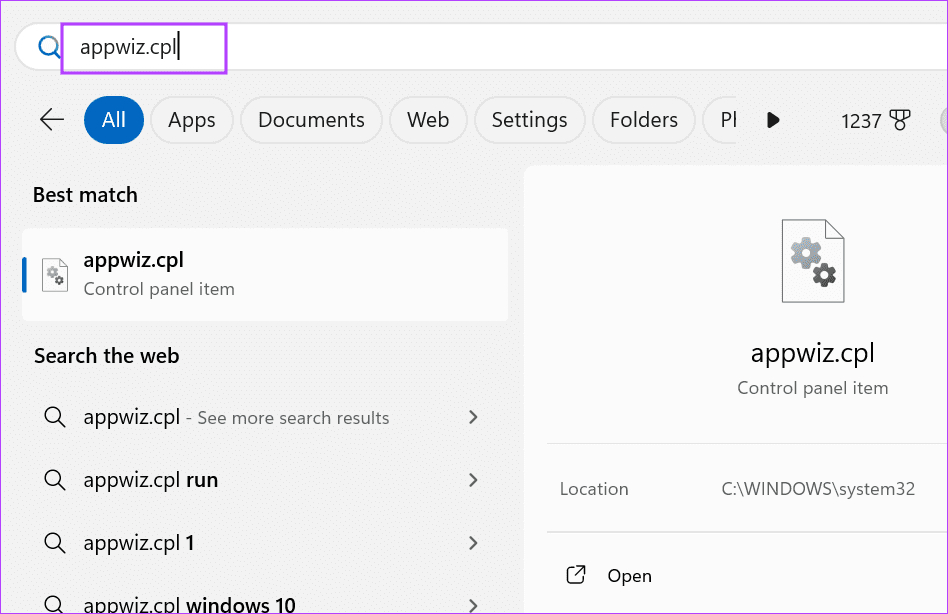
Step 1: Press the Windows key to open the Start menu. Type appwiz.cpl in the search bar and press Enter.
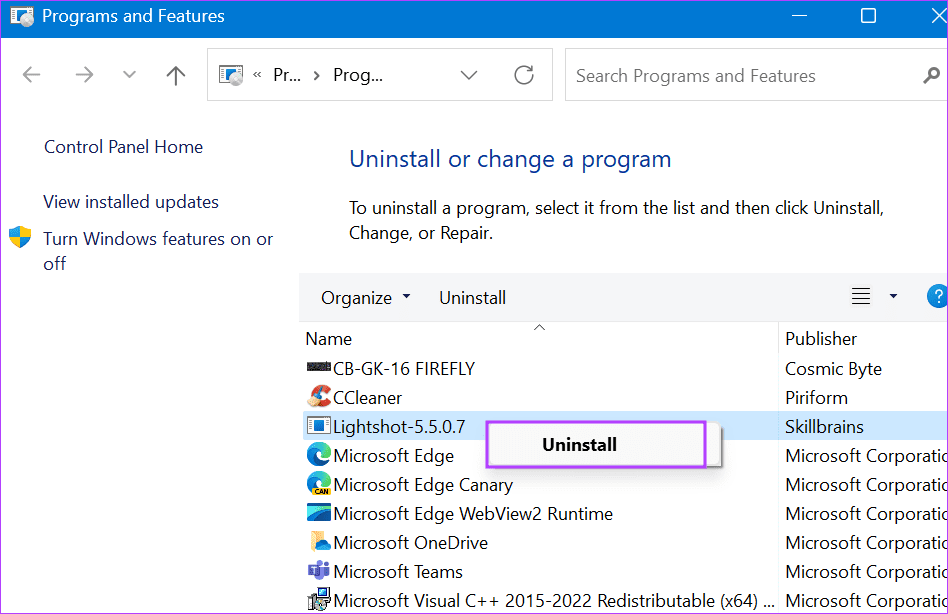
Step 2: The Programs and Features window will launch. Right-click on Lightshot and select the Uninstall option.
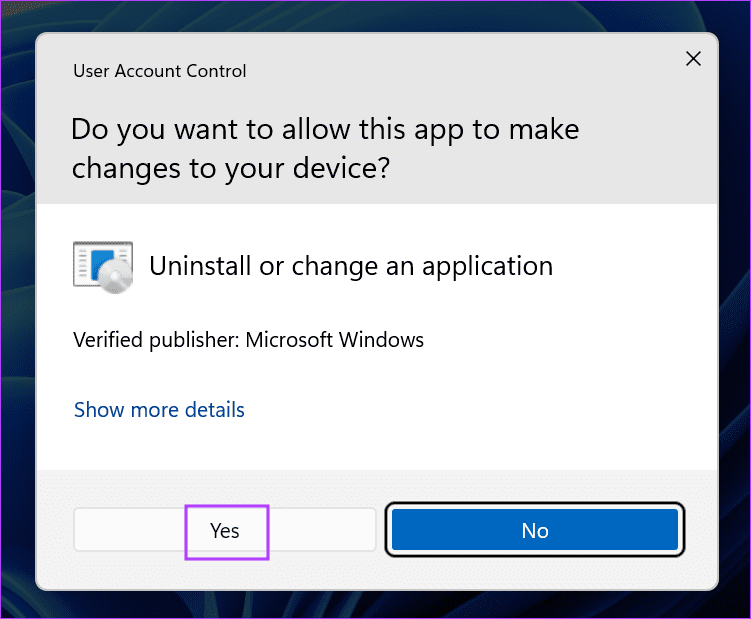
Step 3: The User Account Control window will launch. Click on the Yes button.
Step 4: Follow the on-screen instructions to remove the app.
Step 5: Download Lightshot from the official website.
Step 6: Run the setup file and install Lightshot.

Step 7: Launch Lightshot with administrator privileges. Customize your preferred hotkeys and check if the app works fine.
No More Screenshot Troubles
We hope the above methods helped you fix the ‘Lighshot not working or opening’ issue in Windows. Change the default behavior of the PrintScreen key, map a new hotkey, and update drivers and Windows. Lastly, reinstall Lighshot to fix the issue. Share the method that worked for you in the comments below.
-
 How to delete duplicate photos on Mac?Digital clutter is a common problem, especially with photos. Most people take numerous shots from similar angles, leading to a proliferation of dupli...Software tutorial Posted on 2025-05-02
 -
Recommended Best Solar Chargers in 2025Whether you often camp off the grid, go backpacking, or grapple with power outages, a solar charger is a nifty gadget to have in your arsenal. It can ...Software tutorial Posted on 2025-05-02
-
The ultimate guide to resetting your phone without losing dataRejuvenate Your Smartphone: A Guide to Factory Resets Remember that initial thrill of powering on your new phone? That pristine interface, lightning-...Software tutorial Posted on 2025-05-01
-
7 practical tips for Apple's new version of Messages applicationiMessage's Hidden Gems: Mastering iOS 16's Enhanced Messaging Features iMessage, Apple's secure messaging platform, has evolved significan...Software tutorial Posted on 2025-05-01
-
How to hide yourself on social platforms such as Instagram, Facebook, XMaintaining online privacy on social media is crucial, even for close friends and family. You might want to limit access to prevent unwanted attentio...Software tutorial Posted on 2025-05-01
-
A simple tutorial on how to fax files on your phoneSome organizations still don't accept documents via email—you may need to fax documents instead. No, you can't use your smartphone's phon...Software tutorial Posted on 2025-04-29
-
How to delete temporary Mac files? Find and clear methodsClearing Temporary Files on Your Mac: Reclaim Disk Space and Boost Performance Temporary files, often overlooked, can consume significant disk space o...Software tutorial Posted on 2025-04-29
-
Is the volume stuck at 100% in Windows? Try these solutionsWindows volume stuck at 100%? Easy to fix! Computer volume issues are a headache! If your Windows volume is stuck at 100%, don't worry, this Min...Software tutorial Posted on 2025-04-29
-
How to delete your data from a person search siteThis article was last updated on February 24, 2025. Many people are unaware that a significant amount of their personal data is readily accessible on...Software tutorial Posted on 2025-04-21
-
How to disguise an iPad as a laptopThis updated article (originally published October 31, 2019) explores how to transform your iPad into a laptop alternative using iPadOS 16 beta featur...Software tutorial Posted on 2025-04-21
-
How to clean Mac mailbox cache? How to delete it on Mac?This guide explains how to clear the Mail cache on your Mac, addressing common issues like slow performance and email loading problems. The macOS Mai...Software tutorial Posted on 2025-04-21
-
How to prioritize the allocation of WiFi to the most needed devicesModern homes usually have multiple devices connected to Wi-Fi access networks simultaneously, which often leads to bandwidth tightness, especially w...Software tutorial Posted on 2025-04-19
-
McAfee antivirus software review: Is it enough? 【Function, Price】McAfee: A Veteran Antivirus, But Is It the Best for Macs? McAfee, a long-standing and reputable name in cybersecurity, offers a robust antivirus suite...Software tutorial Posted on 2025-04-19
-
OnePlus Watch 3 is postponed to April due to funny issuesAfter the long-awaited OnePlus Watch 3 smartwatch is released, the purchase plan may require a slight adjustment. A ridiculous production problem has...Software tutorial Posted on 2025-04-19
-
Tips to make the most of the tap function on the back of your iPhoneOver the years, Apple has developed a large number of tools to make using iPhones more convenient. Although the "Tap Back" feature is dull,...Software tutorial Posted on 2025-04-18


Study Chinese
- 1 How do you say "walk" in Chinese? 走路 Chinese pronunciation, 走路 Chinese learning
- 2 How do you say "take a plane" in Chinese? 坐飞机 Chinese pronunciation, 坐飞机 Chinese learning
- 3 How do you say "take a train" in Chinese? 坐火车 Chinese pronunciation, 坐火车 Chinese learning
- 4 How do you say "take a bus" in Chinese? 坐车 Chinese pronunciation, 坐车 Chinese learning
- 5 How to say drive in Chinese? 开车 Chinese pronunciation, 开车 Chinese learning
- 6 How do you say swimming in Chinese? 游泳 Chinese pronunciation, 游泳 Chinese learning
- 7 How do you say ride a bicycle in Chinese? 骑自行车 Chinese pronunciation, 骑自行车 Chinese learning
- 8 How do you say hello in Chinese? 你好Chinese pronunciation, 你好Chinese learning
- 9 How do you say thank you in Chinese? 谢谢Chinese pronunciation, 谢谢Chinese learning
- 10 How to say goodbye in Chinese? 再见Chinese pronunciation, 再见Chinese learning


